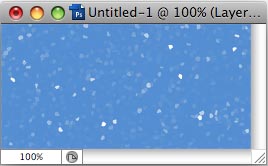
Start with black document, 3-4 times bigger than desired final size. Fill with background color you need (blue for example).

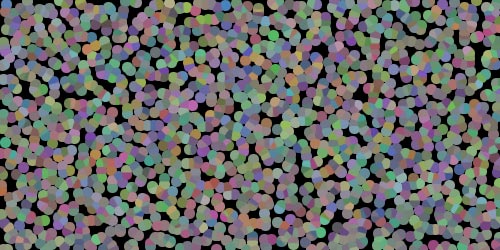
Create new layer, fill with grey color (#808080).

Go to Filters menu - Pixelate - Pointilize. Set size you want, keeping in mind that image will be scaled down (you can experiment, for me 16-20 px was OK).
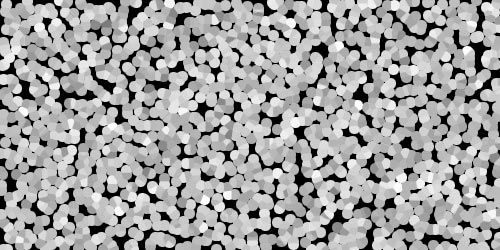
Desaturate (Ctrl-Shift-U), then set Auto Levels (Ctrl-Shift-L).
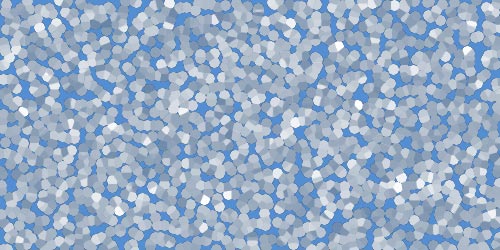
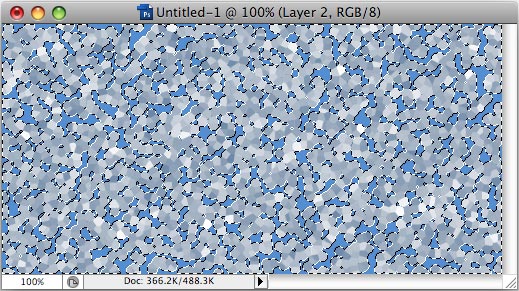
Now we need to replace black with transparent. Use the following sequence: - select all (Ctrl-A) - copy (Ctrl-C) - turn on quick mask (Ctrl-Q) - paste (Ctrl-V) - turn off quick mask (Ctrl-Q) - invert selection (Ctrl-Shift-I) - delete (Del). You should get something like shown here.
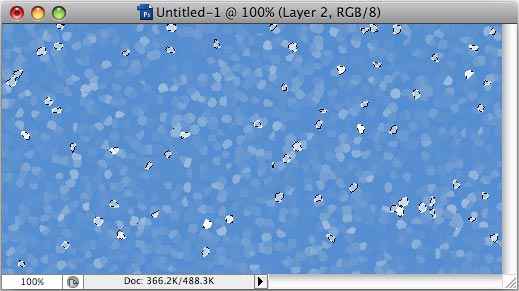
Now make the following: - right-click on layer thumbnail image (in Layers palette). Menu will open; choose Select Pixels. - invert selection (Ctrl-Shift-I) - delete (Del).
Repeat previous step 2 or 3 times, until the image starts to look like falling snow indeed.
Finally, scale down the file to 50-30% of its size. You can also set layer Blend mode to Screen, to avoid darker snowflakes. That's all!