


Step 1 - Setting Up Background:
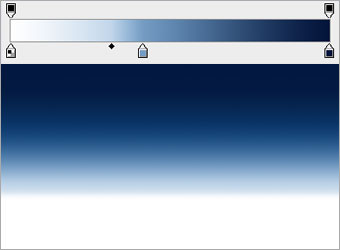
Create a document with size 750x550 pixels.
Select the Gradient tool and create a gradient seen in the diagram. The colors (from the left) are #FFFFFF, #759CC3 and #02143A.
Drag this gradient from the bottom upwards..
Step 2a - Create Snowballs:
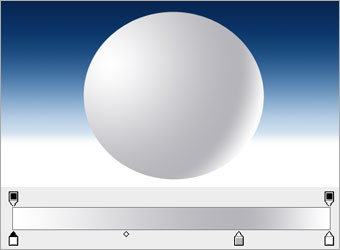
Create a new layer and name it as Snow Body.
Select the Gradient tool and create a radial gradient as shown in the diagram. The colors (from the left) are #FFFFFF, #B8B7BD and #FFFFFF.
Draw a circular selection on Snow Body layer and fill in the gradient you have just created. Start the gradient from top-left side.
Step 2b - Create Snowballs:
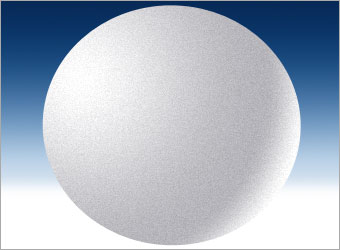
Select the Snow Body layer and go to Filter > Noise > Add Noise.
Set the amount to 2, distribution to Gaussian and check on Monochromatic.
Hit OK once you are done.
Step 2c - Create Snowballs:
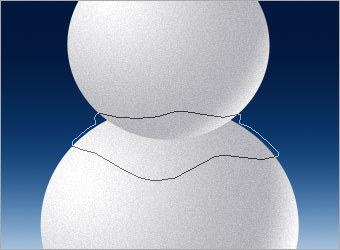
Create a new layer and name it as Snow Head.
Repeat Step 2a and 2b with a slightly smaller circle on the Snow Head layer.

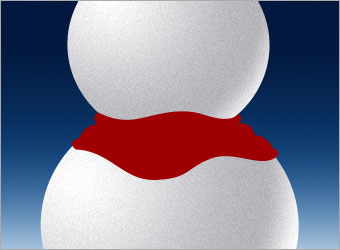
Step 3a - Drawing Scarf:
Create a new layer above the Snow layers and name it as Scarf.
Using the Pen tool, draw a general path of how your scarf will look like.
Step 3b - Drawing Scarf:
Go to Paths tab and select the path you have drawn. Click on Load path as Selection button.
Go back to Layers tab and select Scarf layer. Fill the selection with #9F0004.
Step 3c - Drawing Scarf:
Create a new layer and name it as Scarf Folds.
Use the Lasso tool and draw the folds you want on the scarf.
Use the Soft Brush tool of size 50px and color #4F0101, paint along the lower part of the selection. The selection will prevent you from painting any areas outside of it.
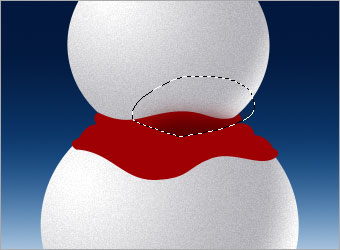
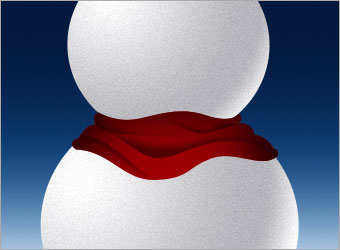
Step 3d - Drawing Scarf:
Repeat Step 3c with a few more folds on the Scarf Folds layer.
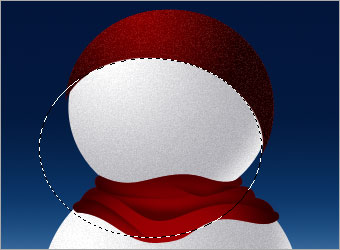
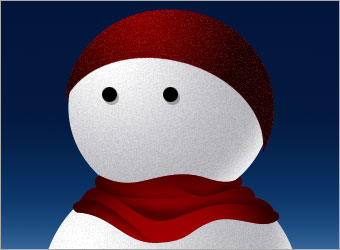
Step 4 - Drawing Snow Cap:
Create a new layer and name it as Snow Cap.
Repeat Step 2a (except the gradient colors are #870203, #210102 and #870203) and Step 2b.
Create another circular selection and use it to delete away part of the red ball you have drawn earlier.
Step 5 - Drawing the Eyes:
Create a new layer and name it as Eyes.
Draw two simple circles and fill them with #000000. Right-click on the Eyes layer and choose Blending Options.
Activate Drop Shadow and set its opacity to 30%, distance to 3 and size to 0. Leave the rest of settings as default.
Step 6a - Drawing the Nose:
Create a new layer and name it as Nose.
Using Pen tool, draw a cone shaped path. You may need to Convert Point tool to adjust the edges a little.
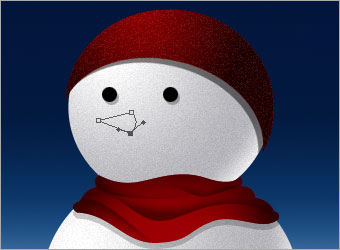
Step 6b - Drawing the Nose:
Go to Paths tab and make the cone path as a selection.
Back to Layers tab and on the Nose layer, fill it with linear gradient starting from top (colors are #FFB036 and #FE2E00).
I found the nose is too sharp so made it blunt by drawing a small circle at the tip and erase the excessive portion.
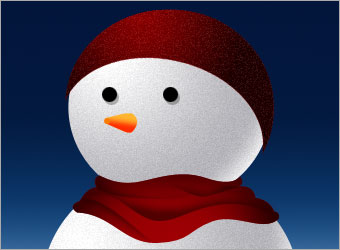
Step 6c - Drawing the Nose:
Create a new layer below Nose and name it as Nose Shadow.
Using the Polygonal Lasso tool, create a triangle selection and fill it with #000000.
Set the opacity of Nose Shadow layer to 20%.

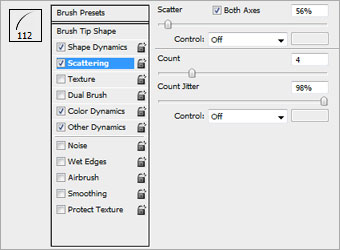
Step 7a - Creating Furball:
Select the Dune Grass brush from one of the default brush presets.
Open up the Brush Palette and key in the settings shown on the left.
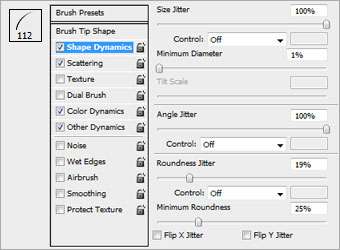
Step 7b - Creating Furball:
Key in the settings shown on the left.
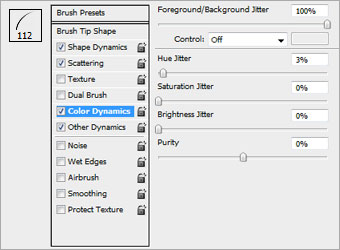
Step 7c - Creating Furball:
Key in the settings shown on the left.
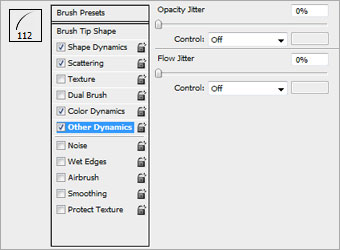
Step 7d - Creating Furball:
Key in the settings shown on the left.
Step 7e - Creating Furball:
Create a new layer and name it as Furball.
Set the foreground color to #9b0004 and brush size to 20. Then start to paint a furball on the layer by going round and round a point continuously till you get a furball with size similar to mine in the diagram.
Step 7f - Creating Furball:
Duplicate another 3 furballs from the layer you have just drawn.
Resize and position them like the ones on the left.

Step 8 - Adding Snow Dust:
Create a new layer and name it as Snow Dust.
Select the Dry Brush from one of the default brush presets.
Set the foreground color to #FFFFFF, brush size to 30, and paint some snow dust on the cap and furballs.
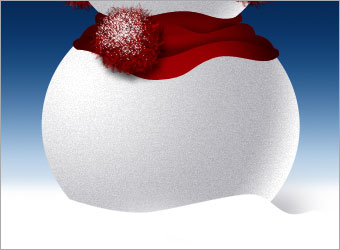
Step 9 - Adding Snow Floor:
Create a new topmost layer and name it as Snow Floor.
Use Brush tool with color #FFFFFF, paint a wavy floor at the bottom of the snowman.
Then set the foreground color to #CCCCCC and add in some shadows to it.
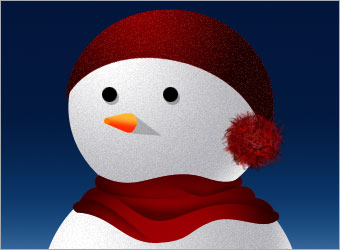
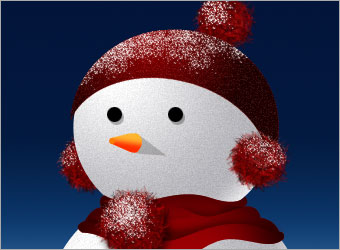
Optional:
Ok there we have the snowman! i have added some snow at the background to complete the whole design.
Hope everyone will enjoy this tutorial and have a merry christmas this year end.

 10Steps is a huge resource of Photoshop tutorials, freebies and inspiration for designers.