Create a new file ( File>New ), having 600x600 px and 72 dpi and fill the background with color - #C8430F.

Download a set of ready to use brushes for Adobe Photoshop - here.
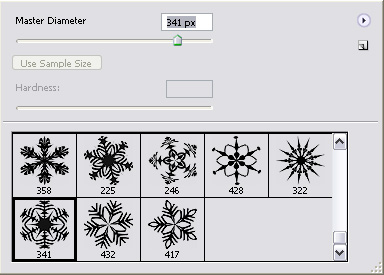
Create after that a new layer ( Create new layer ) and choose the Brush Tool (B) out of the downloaded set to represent along the picture's edges several snowflakes of different shapes and sizes:
Also you could play with opacity and flow. I choose these parameters:
Opacity - 38%
Flow - 48%
This is my result so far:

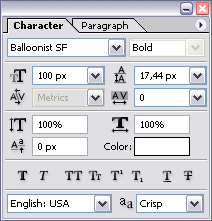
Choose the Horizontal Type Mask Tool (T) with following parameters:
Type "Merry Christmas!":

Again select Brush Tool (B) and fill the text with snowflakes. Play with Master Diameter. I set it from 16px to 50px depending of the snowflake.
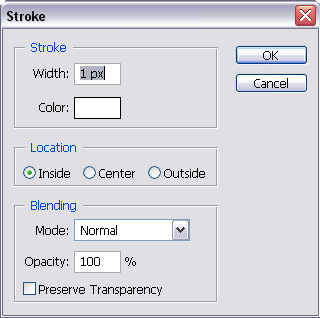
Add a stroke:
Behold the result ! The outcome is stunning taking into consideration the simplicity of this drawing technique. E-cards, site backgrounds, wall pappers, and any Christmas-related fraphics elented can be created with these tips.