
Step 1
Create a new document sized 1000x400px, you can adjust this ratio to suit your computer screen. Fill the Background layer with Black.
Choose a font you like, I use this font from dafont.com. Type some texts onto the document and position the text as below:

Name this layer as "Text".
Step 2
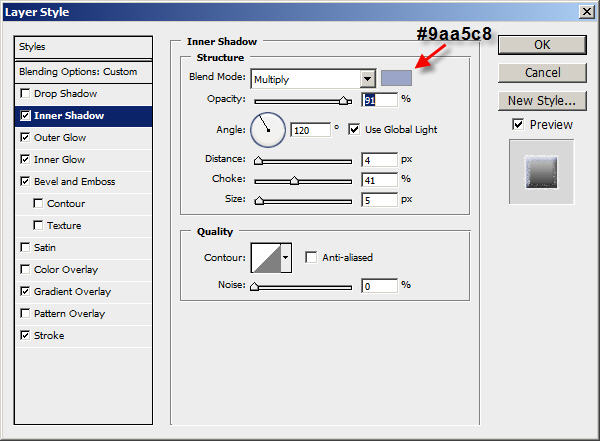
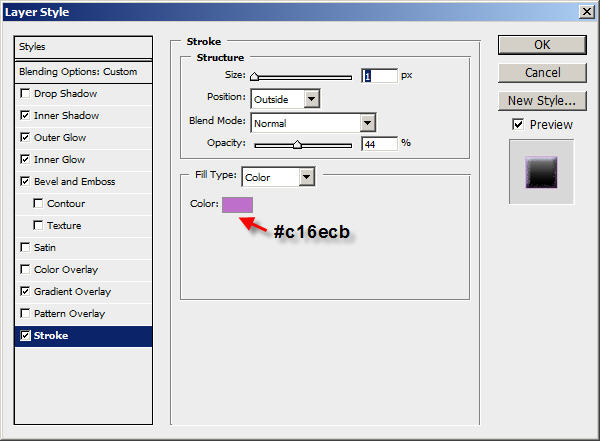
On the "Text" layer, apply the following layer blending options:
Inner Shadow
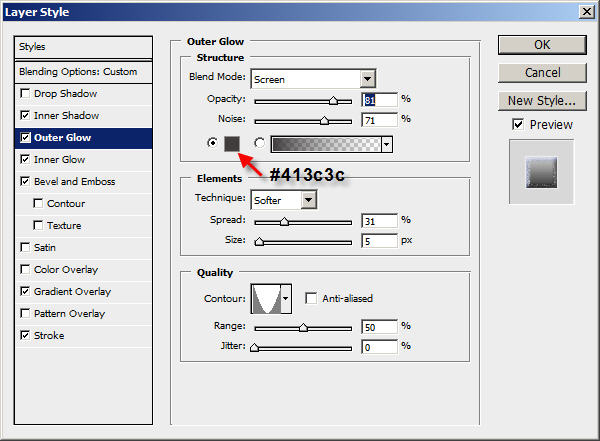
Outer Glow
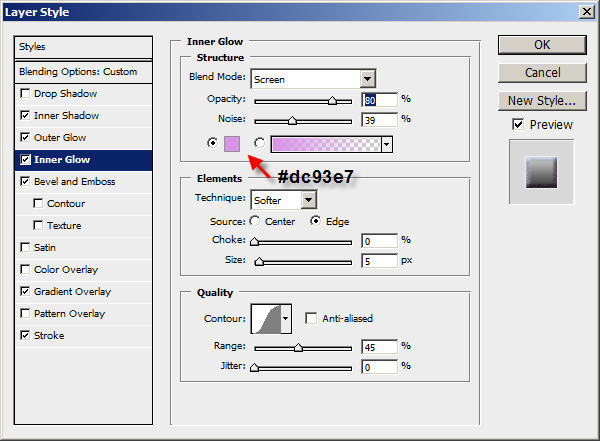
Inner Glow
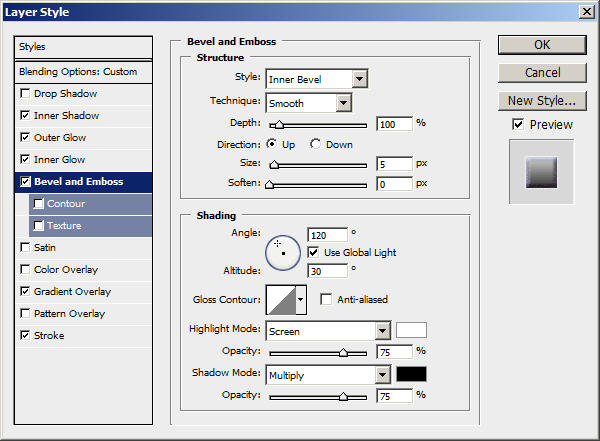
Bevel and Emboss
Gradient Overlay
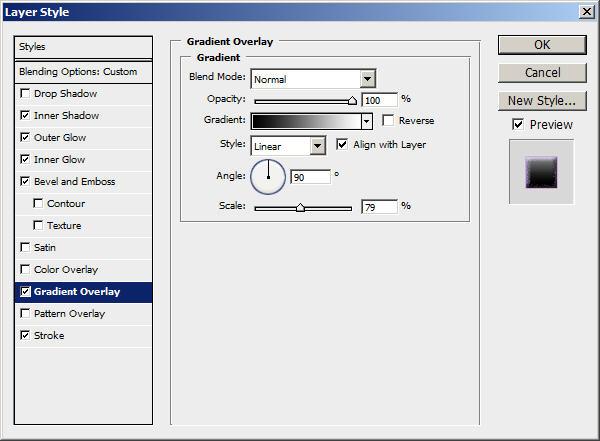
Stroke
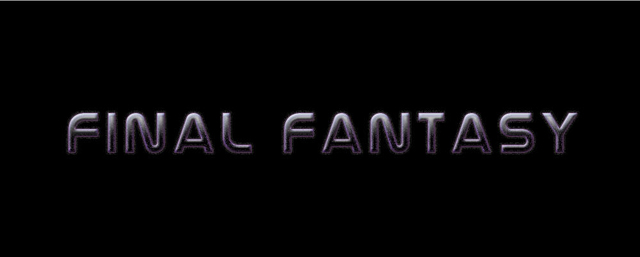
This effect so far will look like this:
Step 3
Ok here comes the tricky bit :)
Use Ctrl + Left Mouse Click the select the text, then create a new layer on top of the "Text" Layer and call this layer "Star". Fill the "Star" layer with Black colour and position it according to the image below:

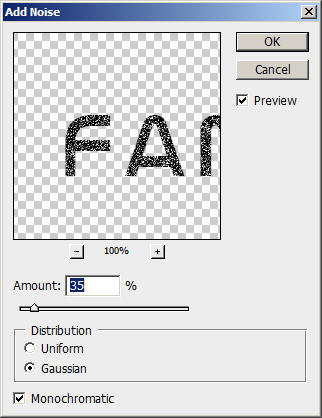
Keep the selection alive and go to Filter > Noise > Add Noise and apply the following settings:
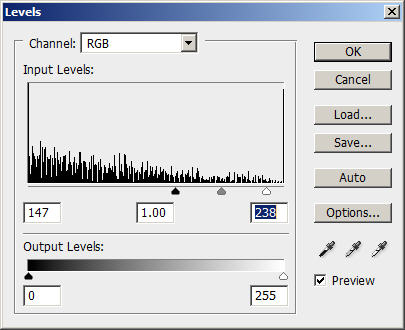
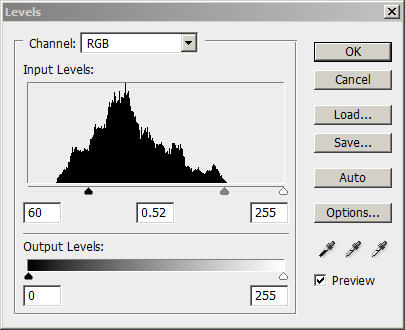
Optional: if you feel there is way too many star/noise, hit Ctrl + L to bring up the Level Adjustment Tool and apply the following settings:
When you finish everything with the "Star Layer", change the layer blending option to "Soft Light" and you will have the following image:

Step 4
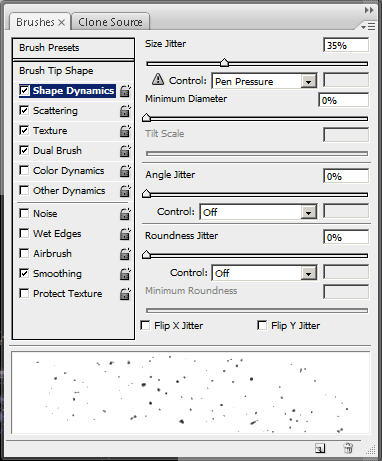
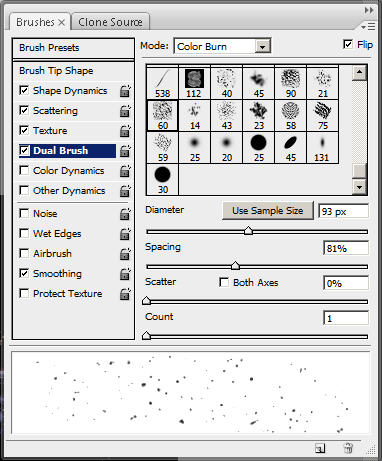
Create a new layer and name it "Star 2″, grab a 9px round soft brush and apply the following brush settings:
Shape Dynamics
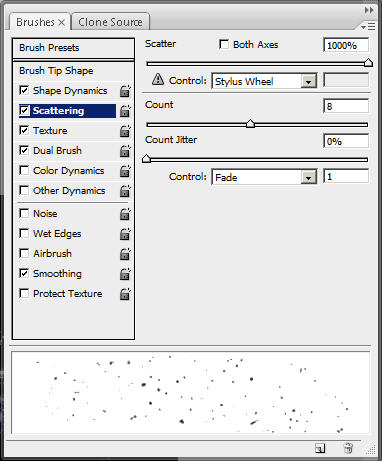
Scattering
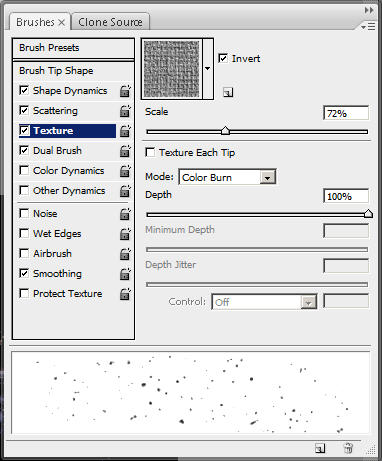
Texture
Dual Brush
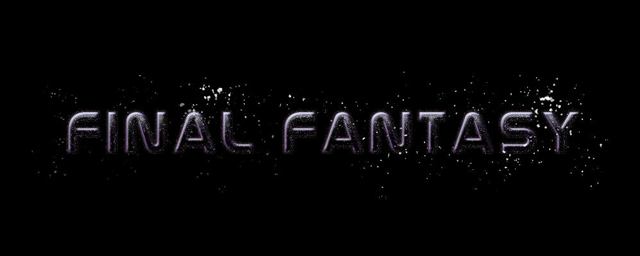
After applying the brush settings, use it to paint gently over the text (see below image):
Step 5
Now we're gonna add some nebula effect on the text.
To do this, create a new layer and name it "Nebula", use the Lasso Tool with a 20px feather, select the surrounding area of the text (Tip: you can hold down the "Shift" Key while selecting and this will add to your existing selection)
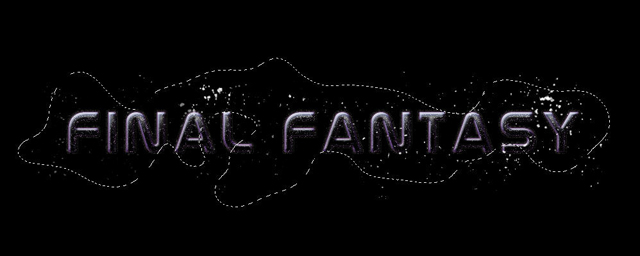
Fill the selection with black colour. Go to Filter > Render > Cloud (choose white as foreground colour and black as background colour) and render some cloud.
Then hit Ctrl + L to bring up the level tool again, apply the following settings:
Drag the "Nebula" layer below all previous layers (but above the background layer) and set its fill opacity to around 80%.
The effect so far looks like:
That's it for this tutorial! The rest is left upon your own creativity! You can add some more textures in, or create another layer with some colour over it. That's totally up to you!
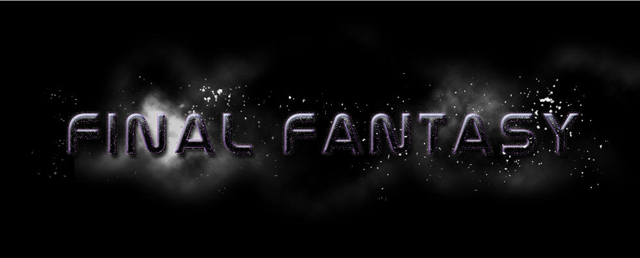
Below is my final image for this tutorial:

Hope you enjoy this tutorial and as usual, if you have any question, feel free to drop me a line!
Cheers and have a nice day!