Step 1
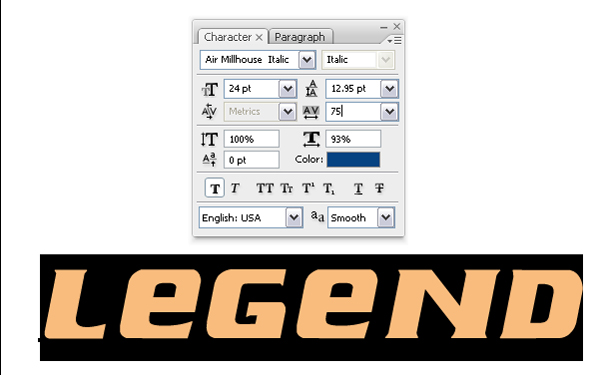
Open new document and tipe text.

Step 2
Give some spacing betwen the leters.
Step 3
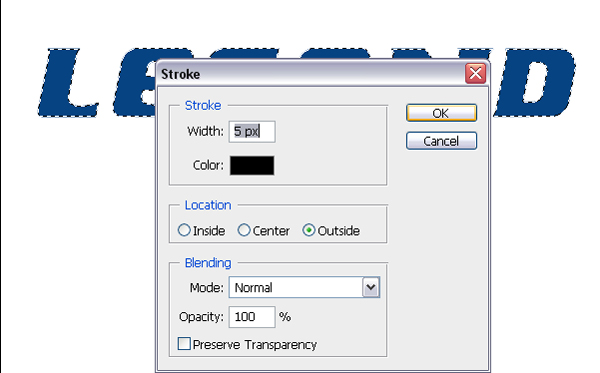
Now rasterize text layer. Give selections and open new layer.

Step 4
Give some stroke to new layer. Go to Edit>Stroke.
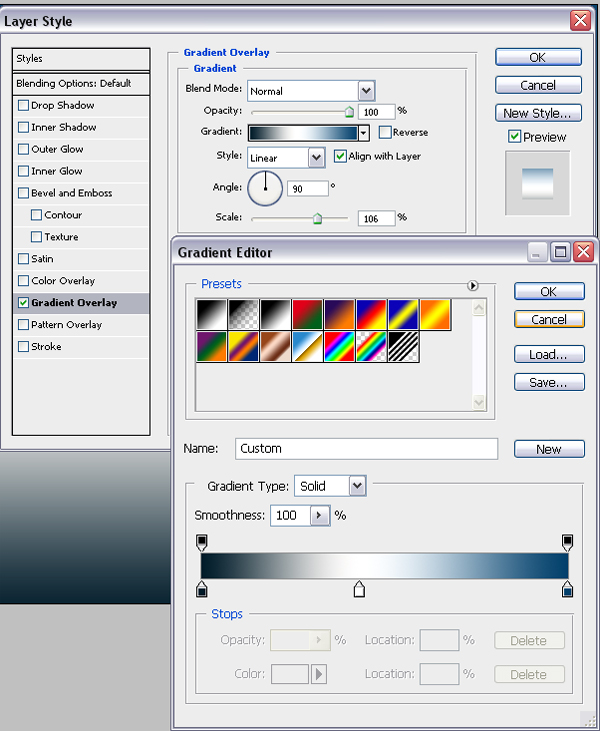
Step 5
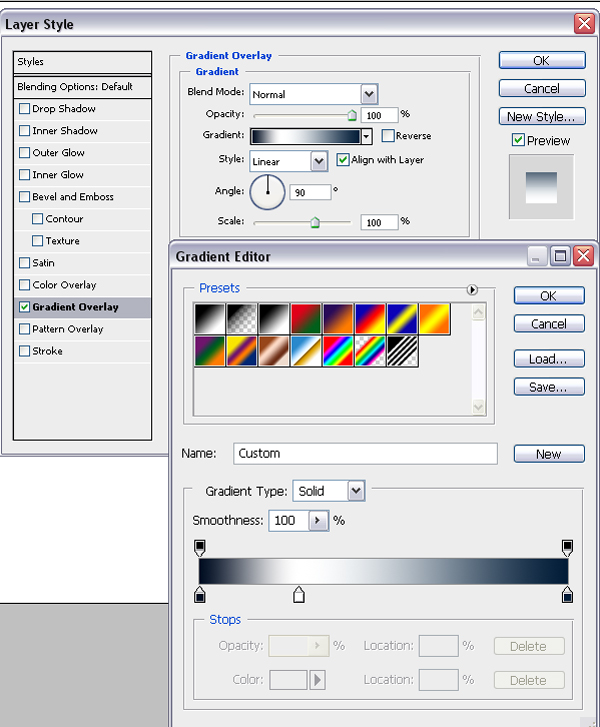
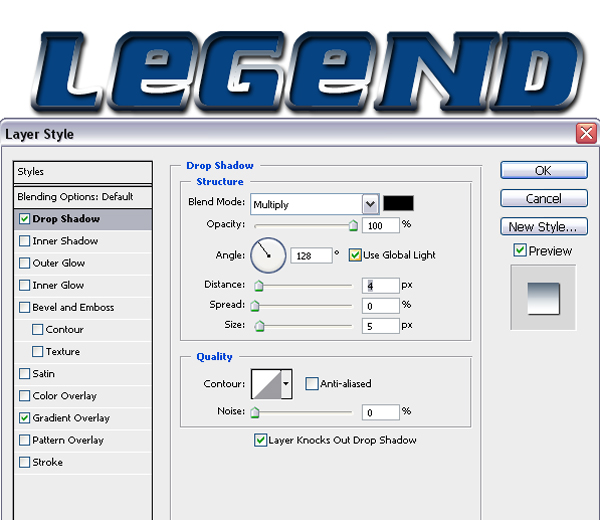
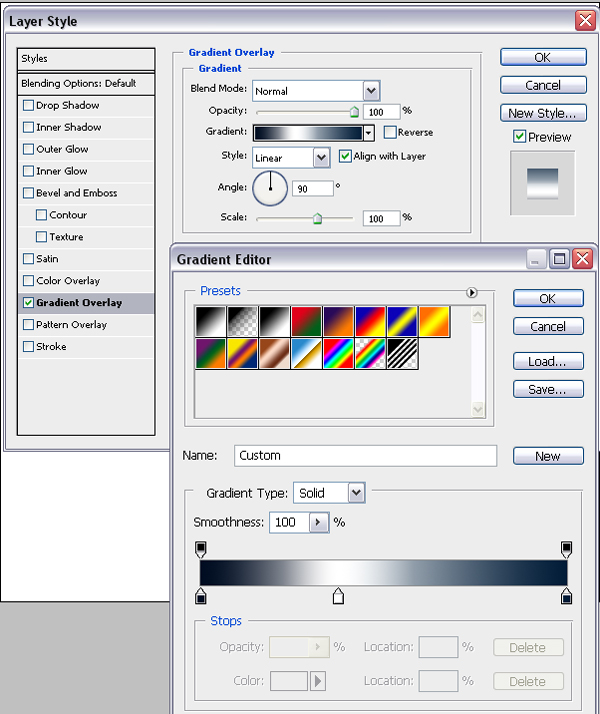
After giving stroke, go to Blending Options and give Gradient overlay.
Step 6
Then Drop Shadow.
Step 7
Go back to first text layer and do same with Gradient Overlay.
Step 8
This is how it look's

Step 9
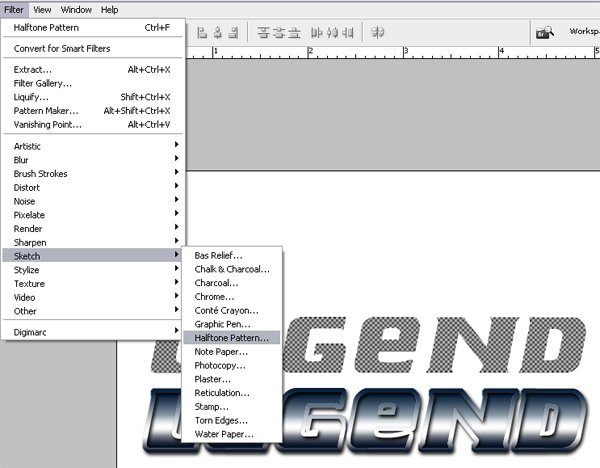
Duplicate first text layer and clear all effects.

Step 10
Go to Filter and use Halftone Pattern in Sketch.
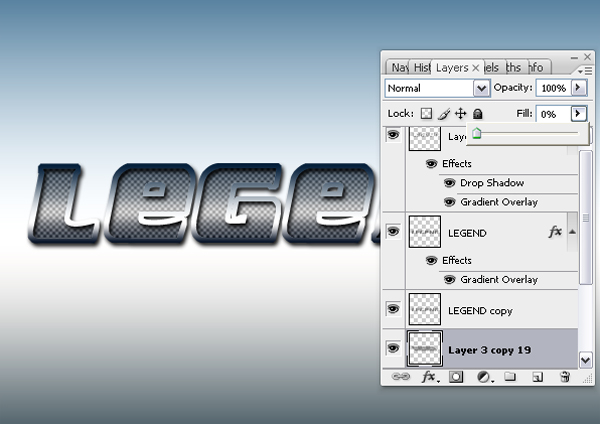
Step 11
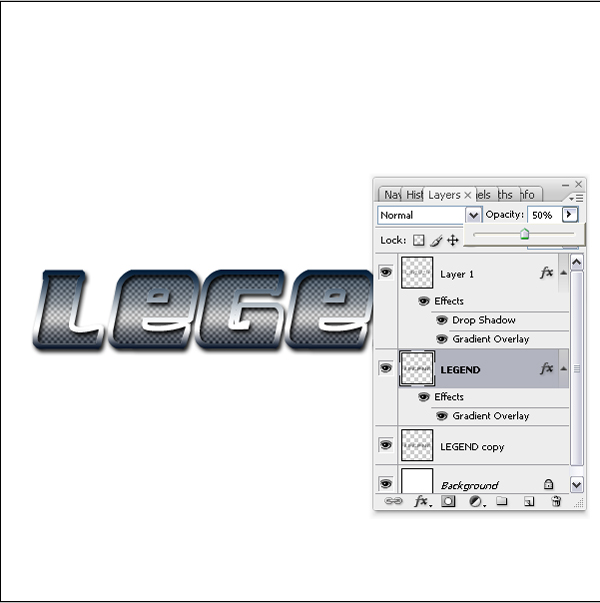
Centered duplicated layer with first layer and put him behind.
Now select again first text layer and give him opacity to 50%.
Step 12
Select background and give some Gradient Overlay.
Step 13
Now open new layer and with Rounded Rectangle Tool make shape like in picture. then color him.

Step 14
Duplicate last layer and merge all them.

Step 15
Then use Distrort transformation.

Step 16
Put him on center behind all layers.

Step 17
Put Fill at 0%.
Step 18
Give Inner Shadow effect.

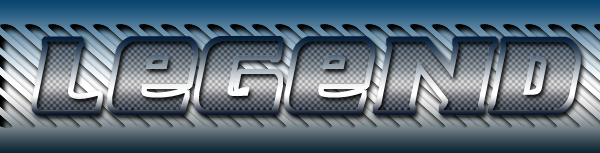
Step 19
And you have nice metalic logo.