


We will start with a black canvas, and add a circle selection with the Elliptical Marquee tool:
This will be our - yes, you've guessed it - moon. Fill this selection with White on a new layer, all by itself:
Keeping the selection, make sure your colors are black and white (press D), and then create a new layer and goto Filter > Render > Clouds. Clouds are Rendered at Random, so yours will look slightly different. But you should have something that looks like this:
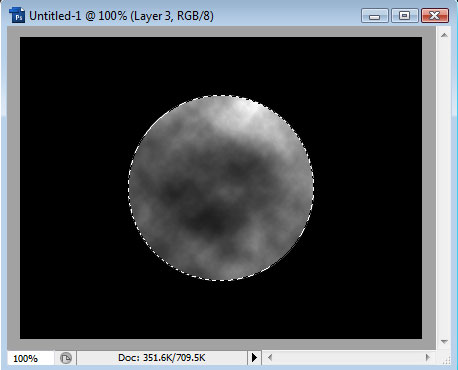
If your clouds are not dark enough, goto Image > Adjustments > Levels and drag the middle to the right until you get the desired effect.
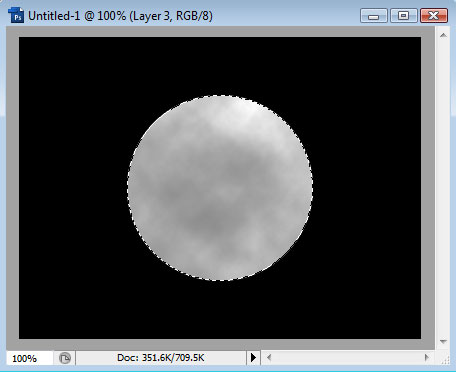
Next, reduce the opacity of this new layer to around 50%:
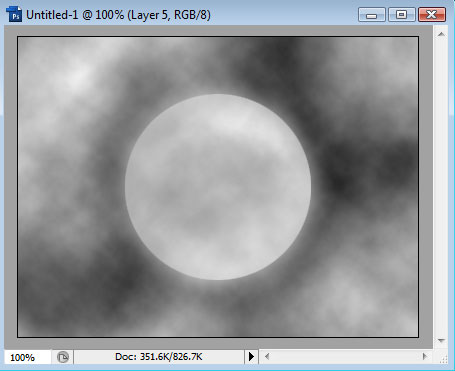
Next, open up the Layer Styles for this layer by either double-clicking the layer or right-clicking and choosing Blending Options. Add an Inner Shadow like so:
Now go back to the original moon layer and open up its Layer Styles. Add an Outer Glow similar to this:
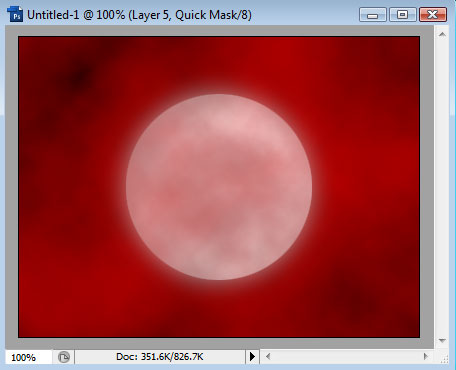
Finally, add another new layer and press Q to enter Quick Mask Mode. Now goto Filter > Render > Clouds. Notice the clouds are of a red hue. This is because the clouds we just rendered will make up our mask - being transparent:
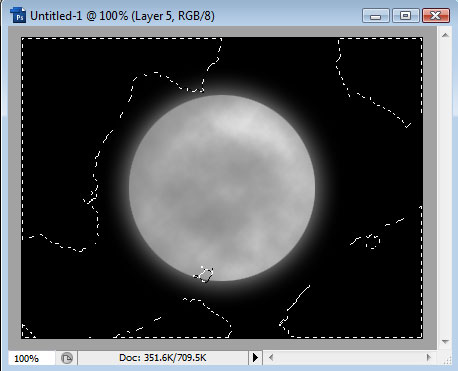
Now press Q to exit Quick Mask Mode and we should have a selection of the clouds. Don't worry, it will be more detailed than it appears here:
Making sure White is your current foreground color, goto Edit > Fill, then press Ok to fill with Foreground color. We should now have something like this:
Finally, reduce the opacity of the clouds layer:
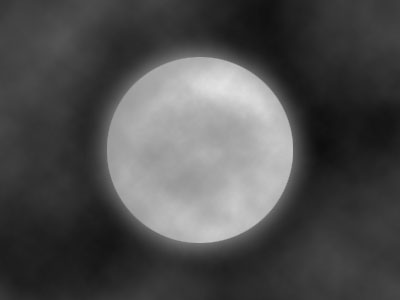
Alternatively, you can erase parts of the cloud layer to create partial clouds around or over the moon. Experiment!