I will start as usual with a new document with the following size: 760x770.

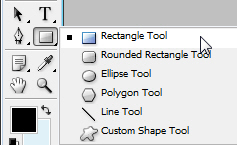
I will select Rectangle Tool
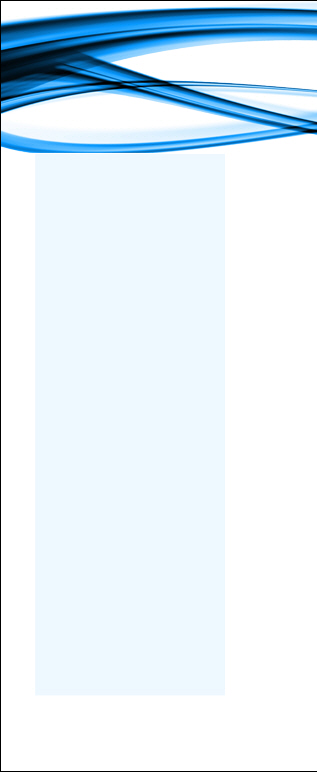
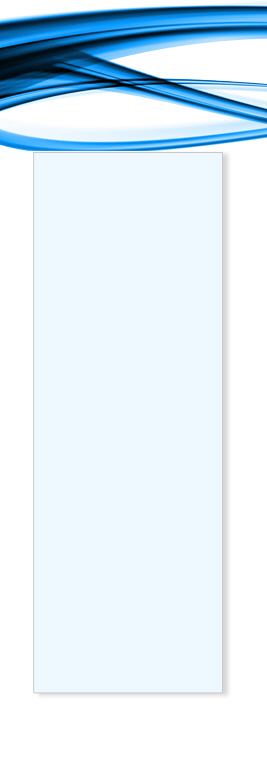
I will set the foreground color to #edf8ff , and on the left side i will create a rectangle:
I will add some simple layer styles.
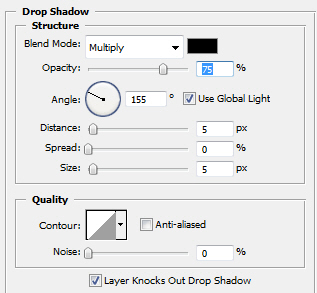
Drop Shadow
Stroke
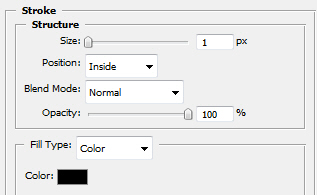
And after i apply these layer styles this is my result:
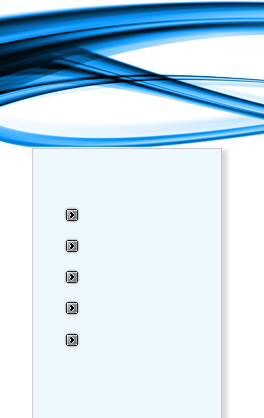
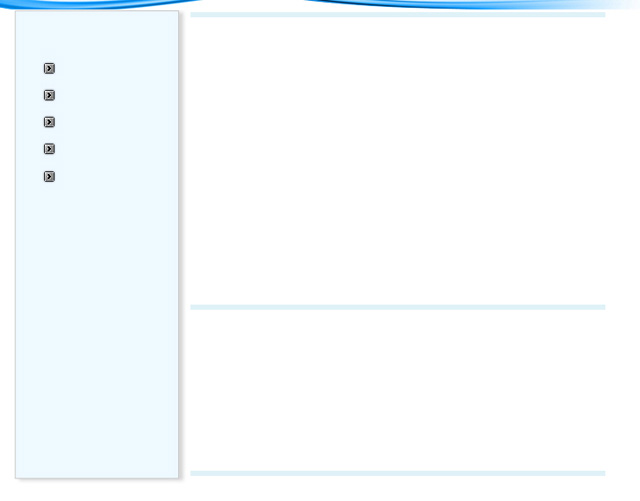
I will place some buttons on the layout.
![]()
And i have placed them like in the following image.
I will select Line Tool
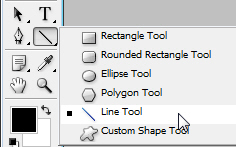
and i will create some lines like in the next image:
Now it is time to add some great looking brushes. You will find one of the best set of brushes here.
With Brush Tool i will add some details with the brushes i have from Talk-Mania Big pack from above.
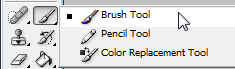
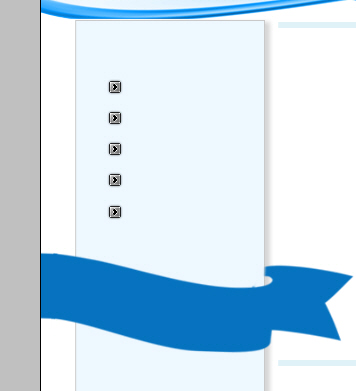
I will select the following brush, and with this color # 0175bf i will click one time on my layout.
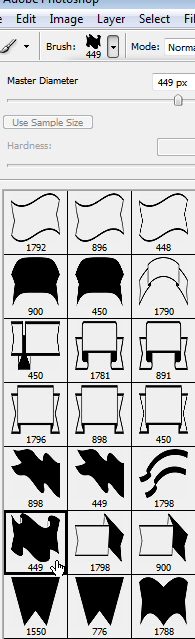
This is my result:
With Dodge Tool
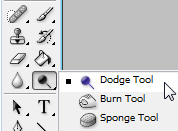
I will make some drawings on this scarf.
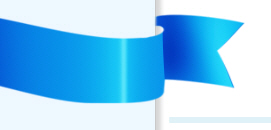
After that i will add some shadows with Burn Tool

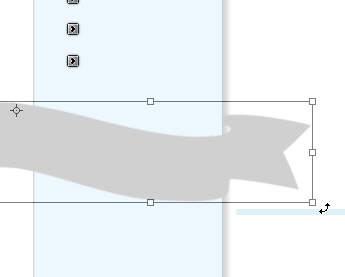
I will create a copy of this scarf by pressing Ctrl+J, then i will place the scarf under the blue one. I will change the color of this scarf to #d0d0d0 and i will rotate a little to the right.
Note: the blue scarf is hidden right now. I want to show you the gray one.
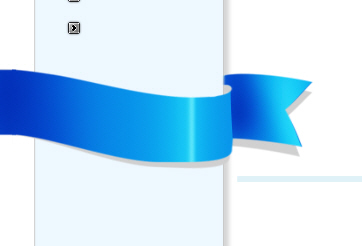
After i unhide the blue scarf layer this is my result:
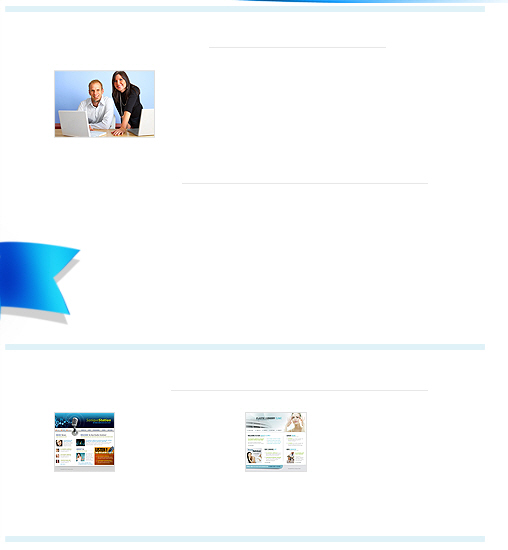
I will place some images on the body of the layout.
and with Horizontal Type Tool:
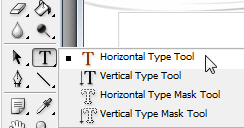
I will type some text.
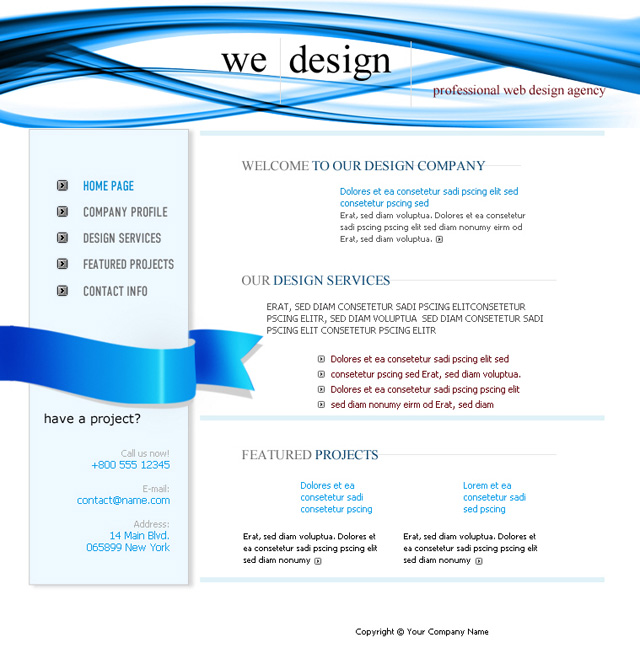
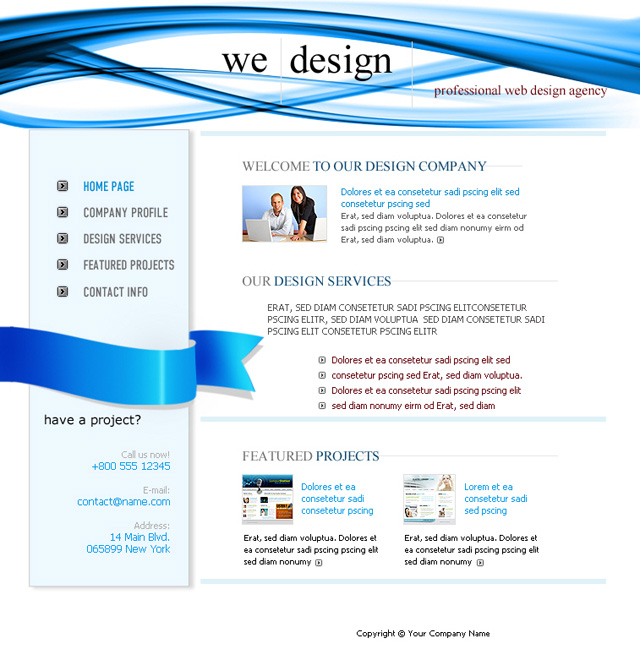
This is my final layout: