

To complete in a few minutes this tutorial you will need some layer styles. The best choice for you is 3D Logo Creator.
Please create a new layout with the following size 760x770 pixels.
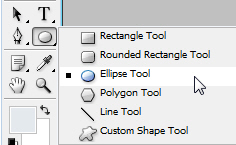
I will select Rounded Rectangle Tool:
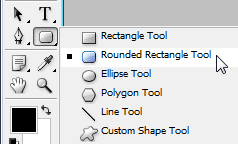
And I will create a new rectangle with the following layer styles.
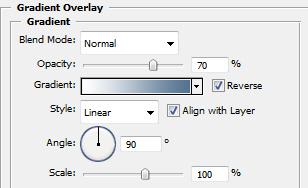
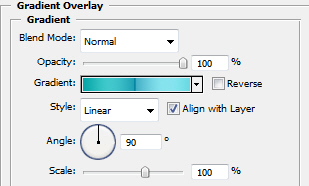
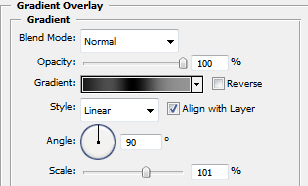
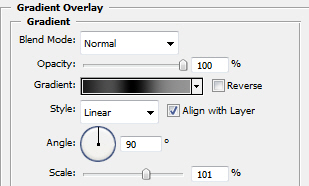
Gradient overlay
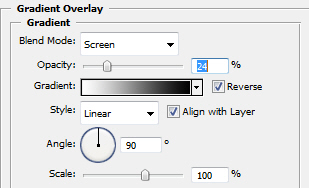
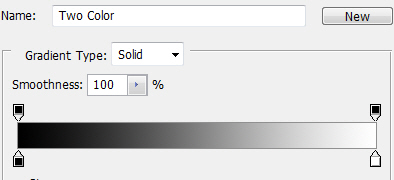
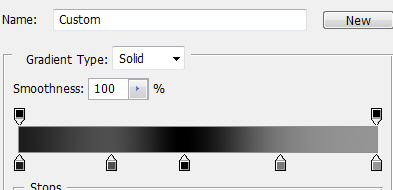
The color for the left side is #00000.
The color for the right side is #ffffff.
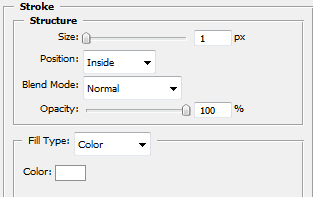
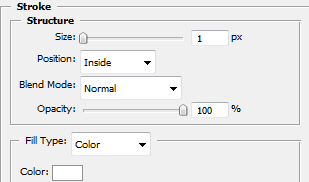
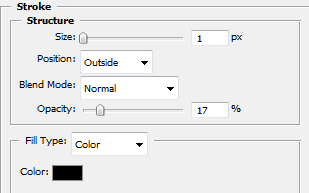
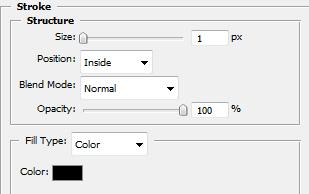
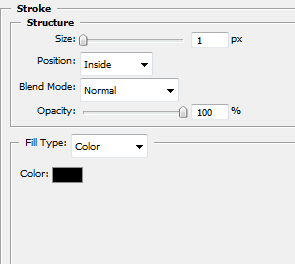
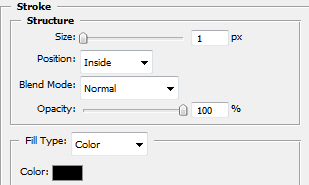
Stroke
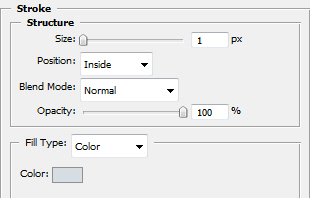
For stroke settings I have used the following color #d6dee4.
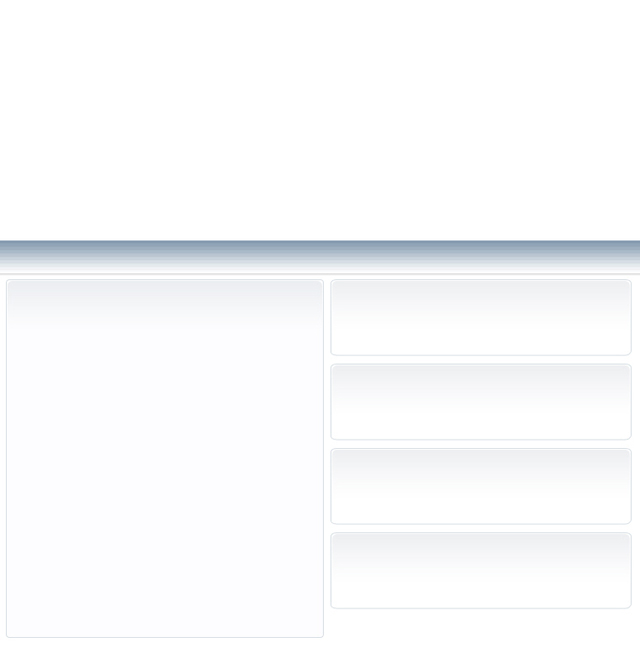
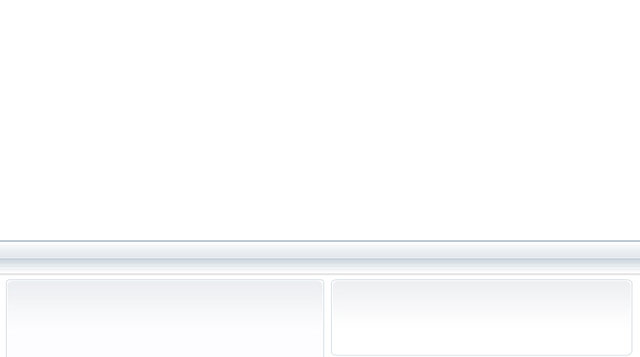
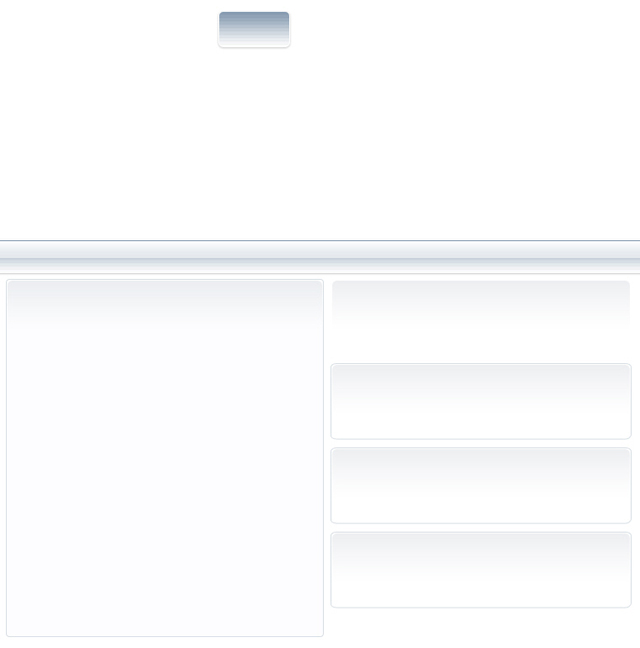
Here is my result so far. You can see that is a very light stroke:
After that I will create another rectangle with the following color #eff2f4 and the Opacity value I will set to 45%.
With the same layer styles as above I will create another rectangle. I will place this shape like in the following image
I will duplicate ( Ctrl+J ) this small shape several times and with Move tool ( V ) I will place them like in the following image.
I will create another rectangle with the following proprieties.
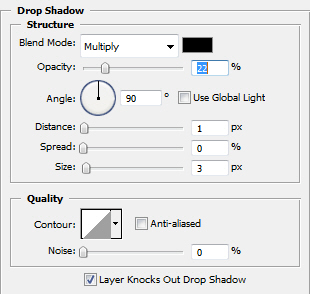
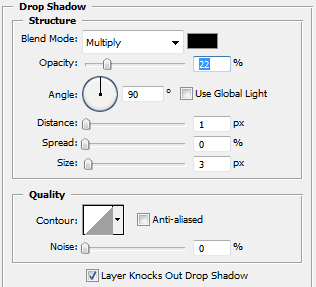
Drop shadow
Gradient Overlay

Color for left side is #517290
Color for right side is #ffffff
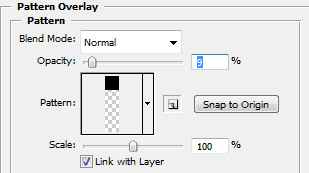
Pattern Overlay

Stroke
This is my result:
After that I will create another rectangle with the following color #ecf0f3.
And I will place this button right above the last one. Please note you have to change a little with the blending mode until you are happy with the result.
Now I will create some buttons.
With Rounded Rectangle Tool I will create a button with the following layer styles.
Drop Shadow
Gradient Overlay
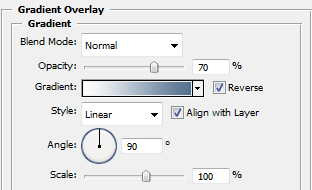
Color for left side is #517290
Color for right side is #ffffff
Pattern Overlay
Stroke
I have the following result
After that I will create another rectangle with the following color #e4e9ee.
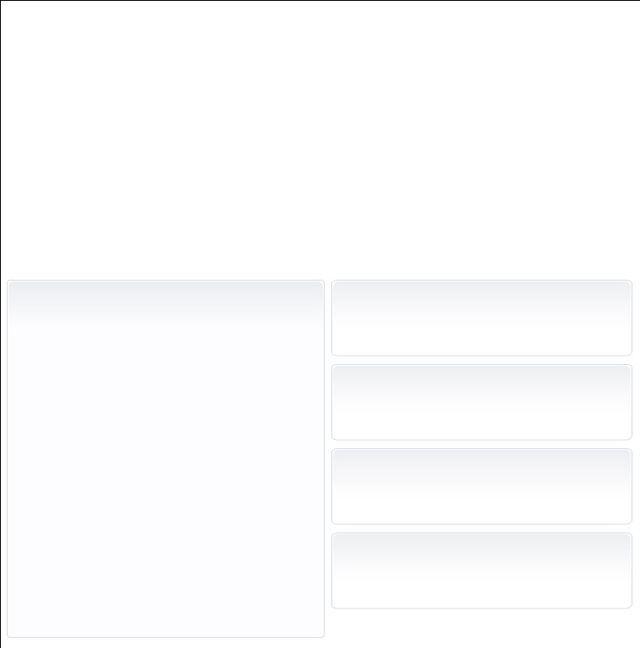
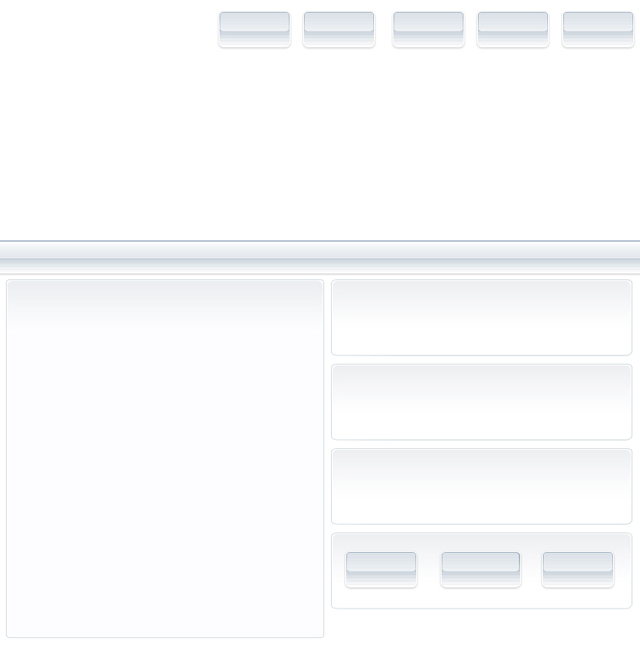
And I will place this shape on the top of the button ( I will reduce the opacity value to 50 % and this is my final button ):

I will duplicate the button a few times and I will place them like in the following image:
With Ellipse Tool I will create another shape:
For this circle I will use the following layer styles.
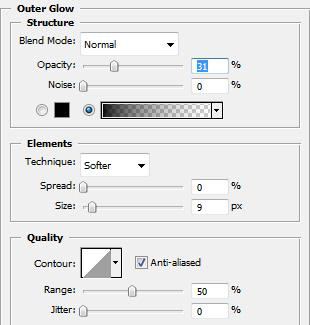
Outer Glow
Stroke
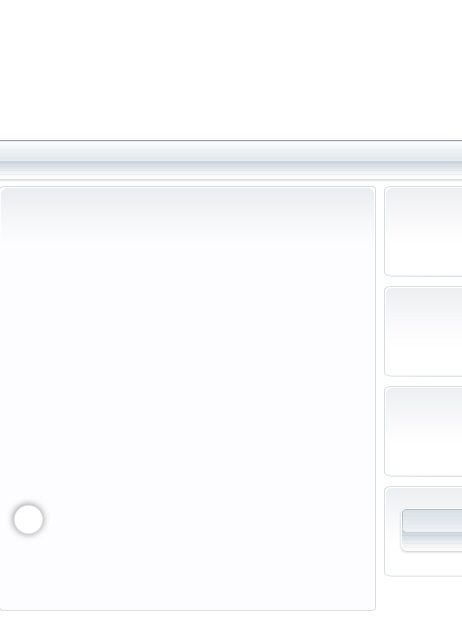
This is my result:
After that I created another shape with the following layer styles.
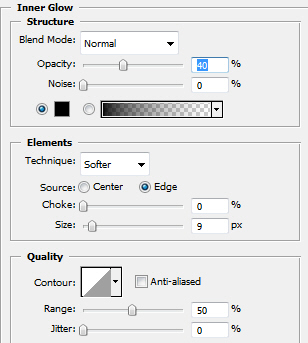
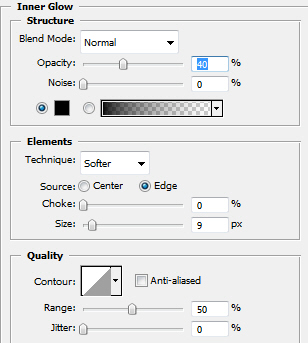
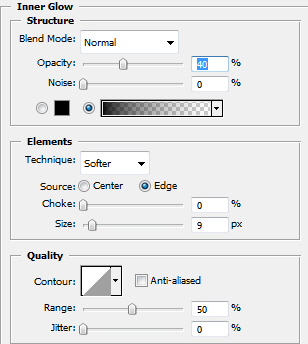
Inner Glow
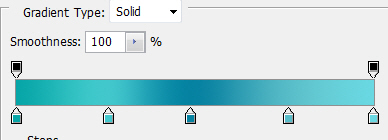
Gradient Overlay
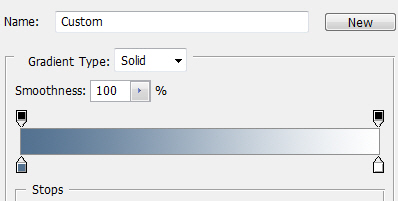
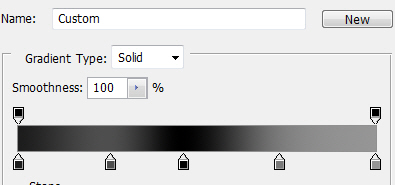
Gradient

with the following color
#00a9a7
#3ccacc
#0085a1
#3ccacc
#65dbe2
Stroke
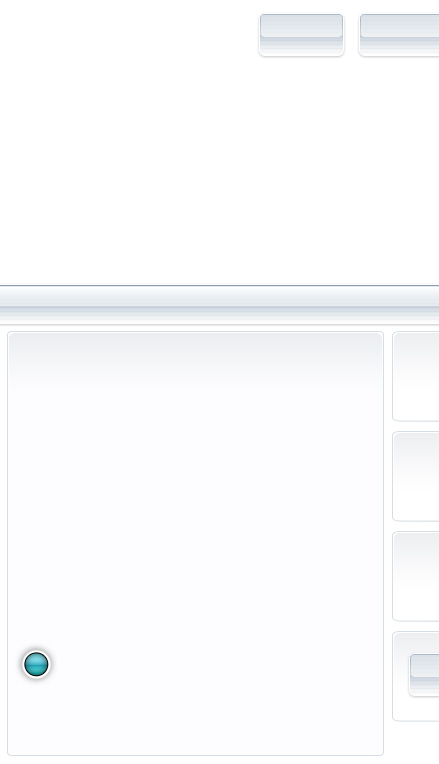
And this is my result:
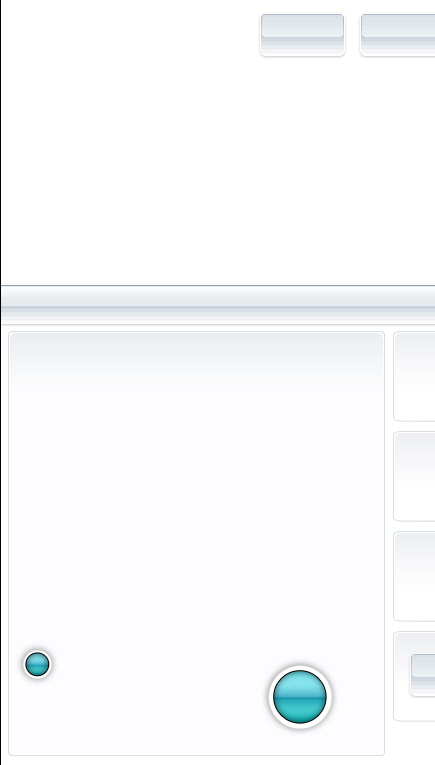
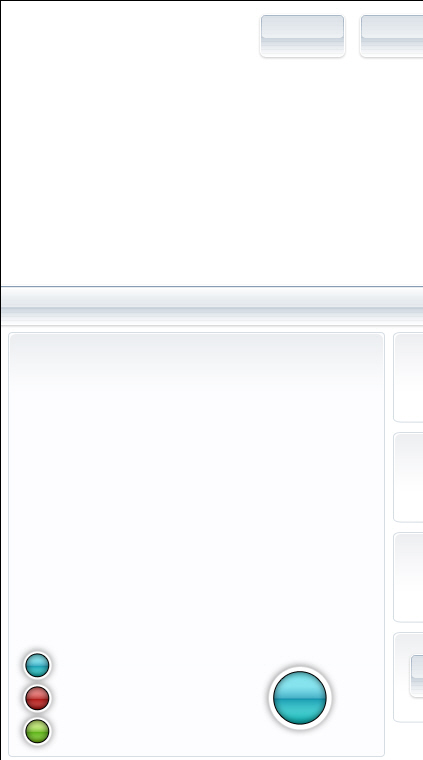
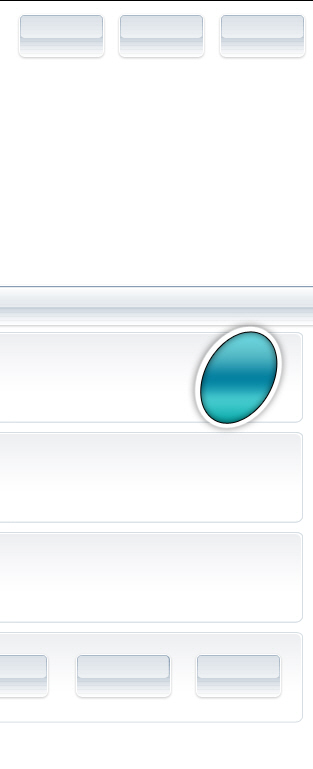
I will duplicate this layer ( Press ctrl+j ) and with Move tool I will place the copy of this circle like in the following image:
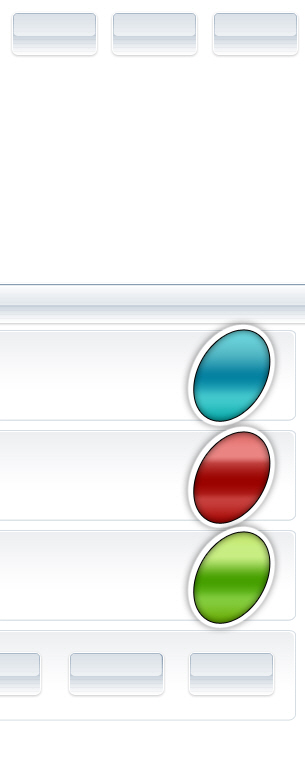
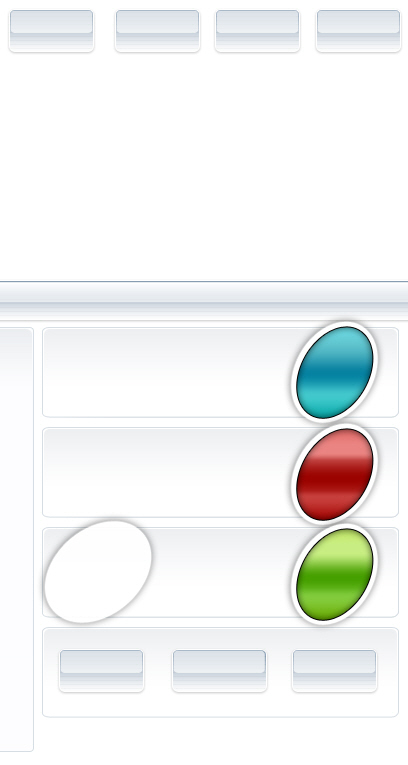
Now I will create another copies, and by changing the gradient I will have a great result:
Again with Ellipse Tool I will create another circle with the following proprieties.
Outer Glow
Stroke
And this is my result:

After that I will create another circle with the following layer styles.
Inner Glow
Gradient Overlay
Gradient
For the gradient part I have used the following colors:
#00a9a7
#3ccacc
#0085a1
#3ccacc
#65dbe2
Stroke
And this is my result:
After that I have duplicated this shape several times, and I have changed the gradient settings.
I will create another circle with the following layer styles.
Inner Glow
Gradient Overlay
Stroke
And I will place this rounded shape like in the following image:
Again I will create another shape with the following layer styles.
Inner Glow
Gradient Overlay
Gradient
Stroke
This is my result:
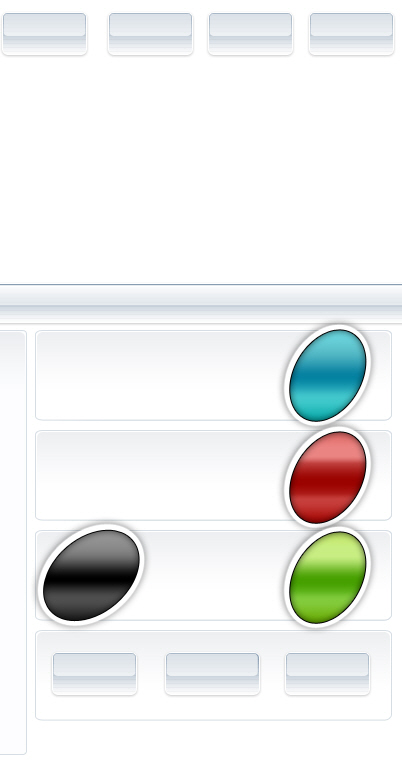
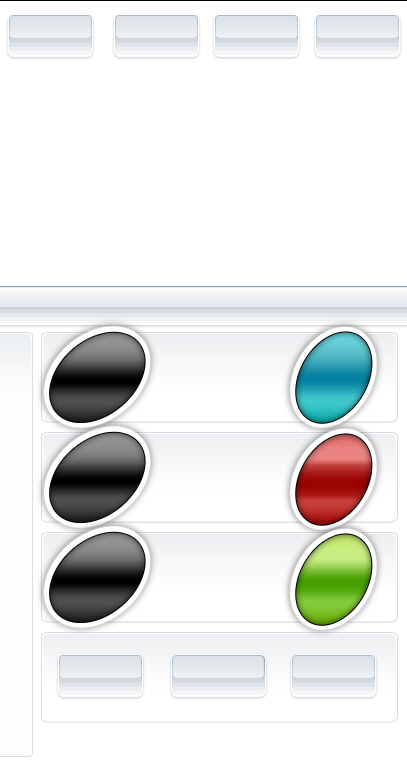
I will duplicate the black shape a few times, and with move tool, I will place it like in the following image:
With Horizontal Type Tool
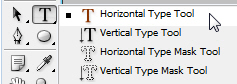
I will write some text:
The next step is to add some images with 3d servers, or anything you consider is good for this type of website.

I will add more details with Line tool:
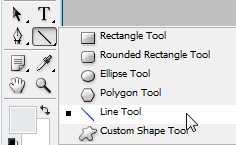
I will make some lines like in the following image:

I will rasterize this lines. To rasterize a layer, you have to right click on the layer in your layer palette, then select Rasterize and with Eraser tool
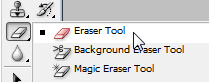
and with a soft round brush I will delete the end parts of the lines:

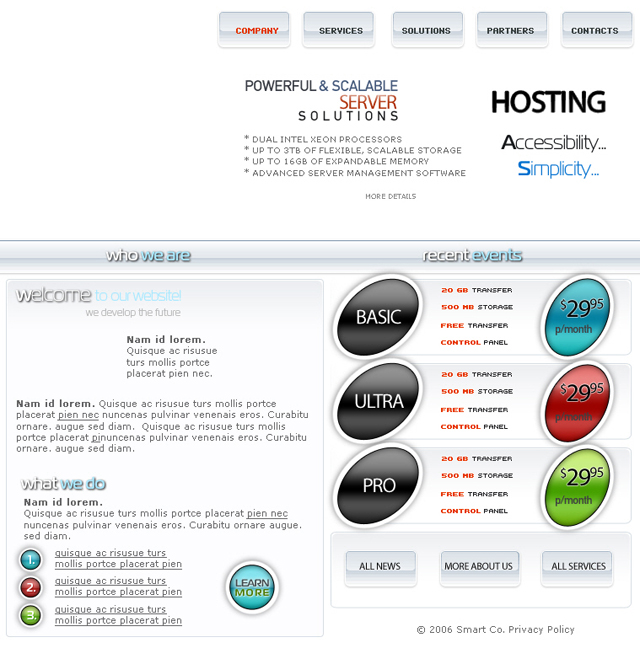
This is my final result:

I hope you like my tutorial.