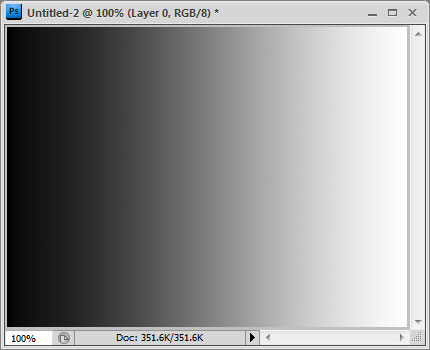
To start off, let's create a new document in PhotoShop of dimensions 400x300. Choose the Gradient tool and a gradient Black to White, then fill in from left to right:
Next, goto Filter > Render > Difference Clouds. Feel free to undo and redo to get the lightning effect you want:
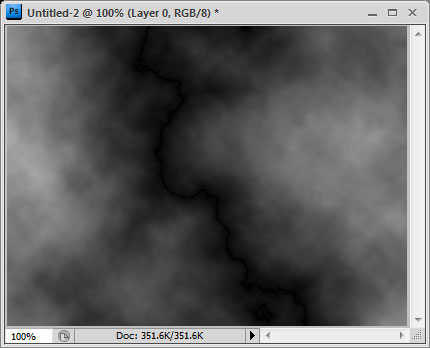
Notice the main black line through the middle. This will be our lightning bolt. But to isolate it, we first invert (Image > Adjustments > Invert or Ctrl+I) it:
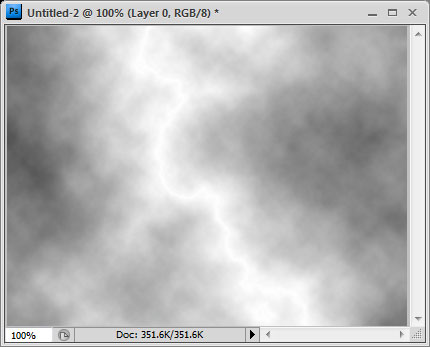
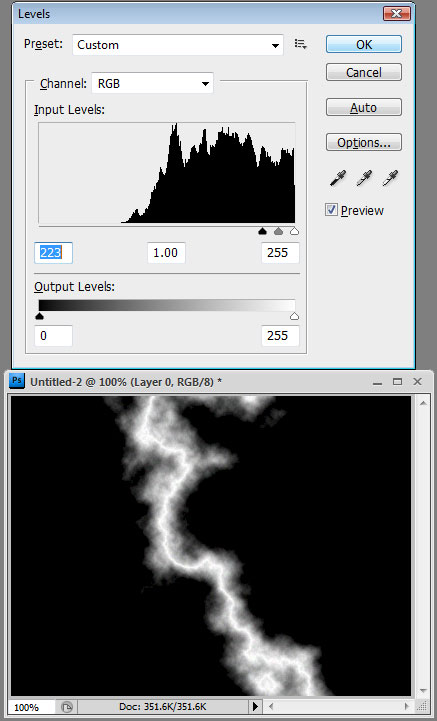
Then we want to goto Image > Adjustments > Levels:
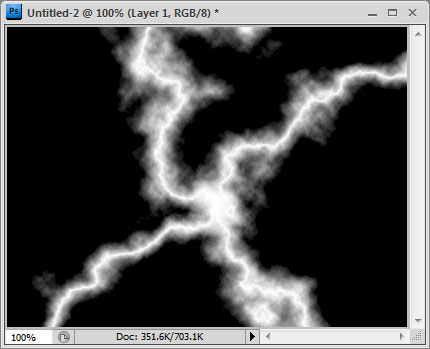
Use the black slider on the left, of the Input Levels to isolate the lightning bolt, like so:
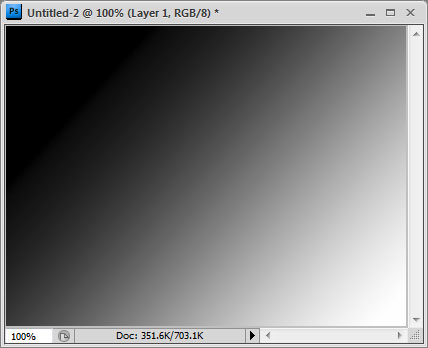
We can add multiple bolts of lightning by repeating the steps. Create another layer and add a gradient again, but this time, change the direction like so:
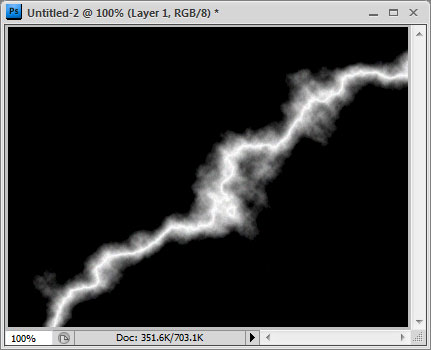
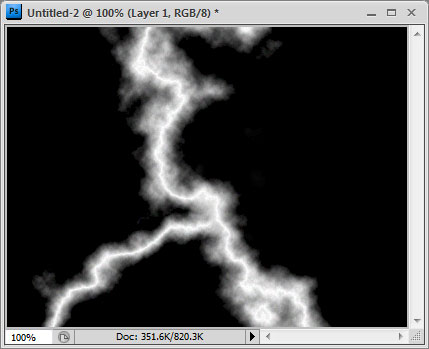
Then do the same as before: Filter > Render > Difference Clouds:

Then repeat the Invert and Levels steps above:
Now if you change the Blending Mode of this new layer to Screen, we should have both our lightning bolts visible together:
If we wanted, we could erase parts of a lightning bolt, too. Then once done, hit Ctrl+E to merge the two layers together:
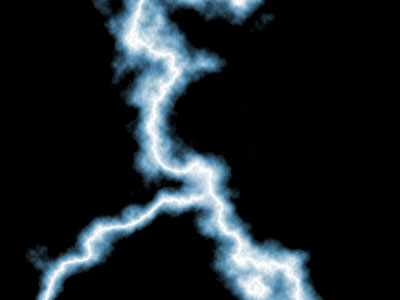
Finally, we can change the color of the lightning by going to Image > Adjustments > Hue/Saturation. Make sure the Colorize option is checked, and find a color that you like: