

Step 1
Create a new document sized 800 x 800 px, fill the background layer with Black Colour.
Let's create some lighting effect for the background to work with. Use the Gradient Tool (G) tool and select the Radial Gradient options, Fill the background layer as shown below:
Step 2
Download a copy of this font from dafont.com and type some texts onto the background layer. Resize (if necessary) and position it in the centre of the canvas:

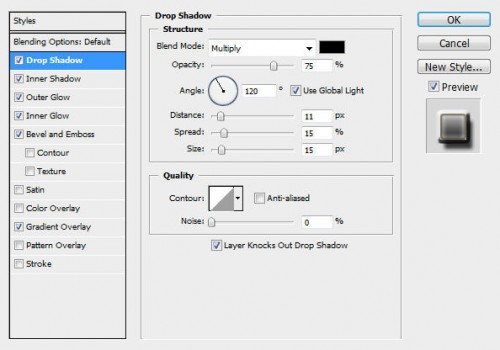
On the text layer, apply the following layer blending options:
Drop Shadow
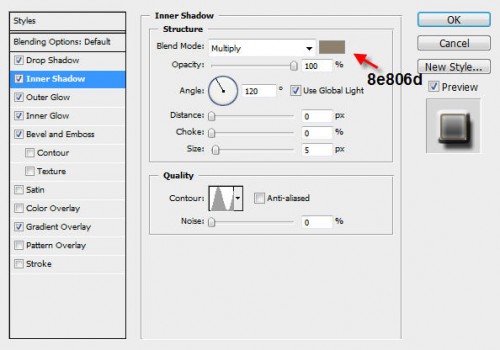
Inner Shadow
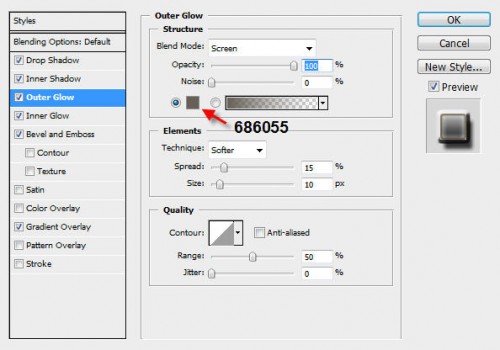
Outer Glow
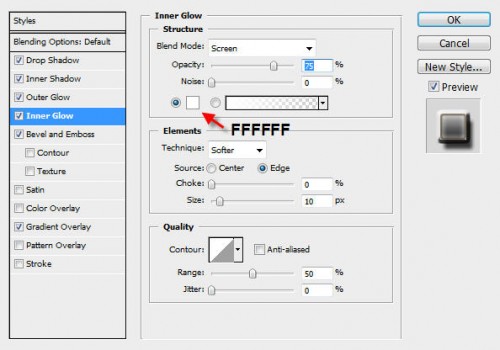
Inner Glow
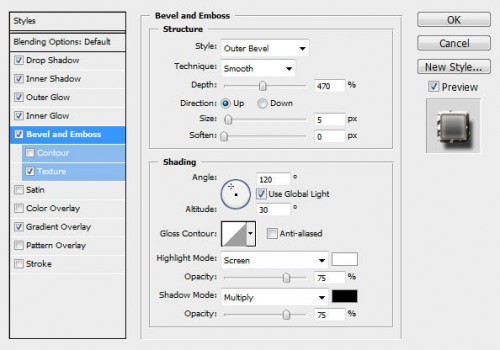
Bevel and Emboss
Gradient Overlay

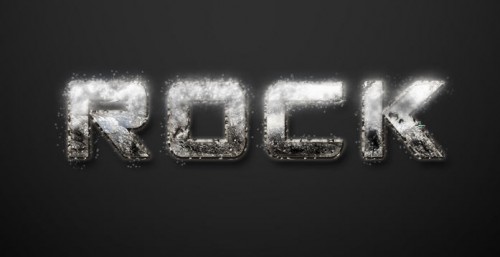
Here is the effect so far:

Step 3
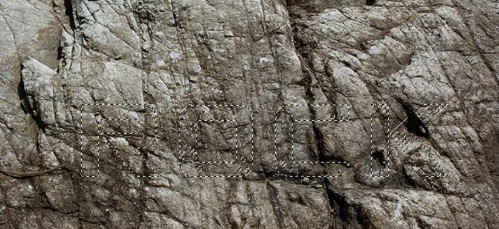
Donwload a copy of this rock image from cgtextures.com and load it into Photoshop. Then go back to our document and load the selection of the our text layer (holding down your Ctrl key and left-click on the thumbnail of the text layer in the layer palette):

Then drag the selection onto the rock image we just loaded:
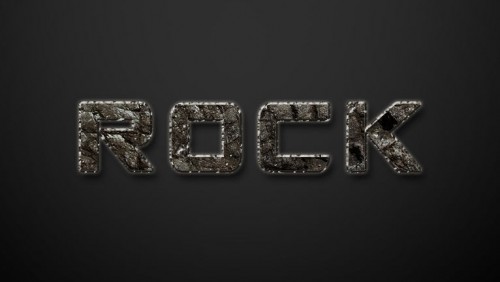
Copy and paste the selection back to our text document and name the newly created layer "rock texture". You will see the following effect:
Step 4
Duplicate the "rock texture" layer once. Hide the duplicated layer for now.
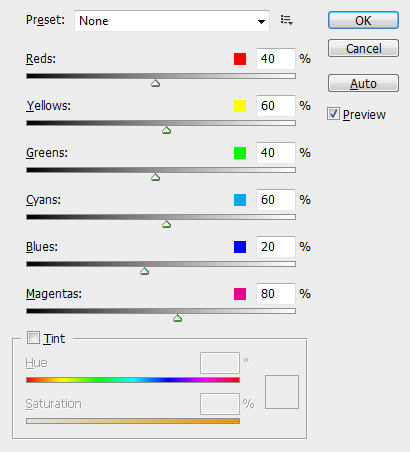
Go back to the original rock texture layer, apply the following Black and White adjustment options:
Change the blending option of this layer to "Screen".
Unhide the "rock texture copy" layer, change its blending option to "overlay". The effect now should look like this:

Step 5
Pfrom the previous step, we can see the white part of the text looks like snow, but it is not realistic enough in my opinion and we can add some more texture to make it look better!
To do this, download a copy of this snow image from cgtextures.com and load it into Photoshop. Then Go back to our text document and use the same method described in Step 3 to load the text selection. This time we go one step further with the text selection: select the Rectangular Marquee Tool (M), hold down the Alt key and at the same time draw a rectangular selection for the lower part of the text. (We would like to preserve this part of the rock texture and leave the upper part for the snowy effect)
The selection will now look like this:
Hit Alt + Ctrl + D and assign a 10px feather to the selection. Drag this selection onto the snow image we just loaded, copy and paste some snow back to our text document:
If you feel there isn't enough snow on the text, you can use the Clone Stamp Tool (S) with a small soft brush to clone some more: (Tip: load the selection of the text again, and clone inside the selection so the snow won't go beyond the text border)
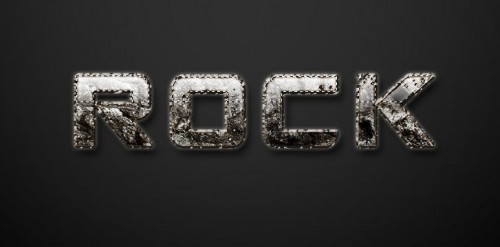
Name this layer as "snow texture" and apply the following Curves adjustment settings:
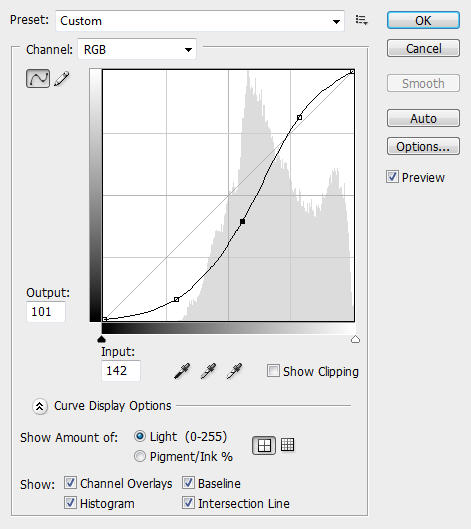
The effect so far will look like this:
Step 6
To add a bit more dynamic to the text effect, we can simply create a new layer called "falling snow", grab a 3px soft round brush with the following brush dynamics:
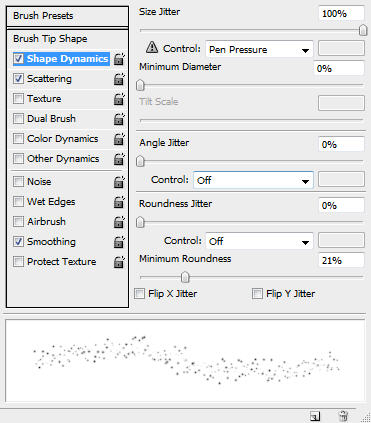
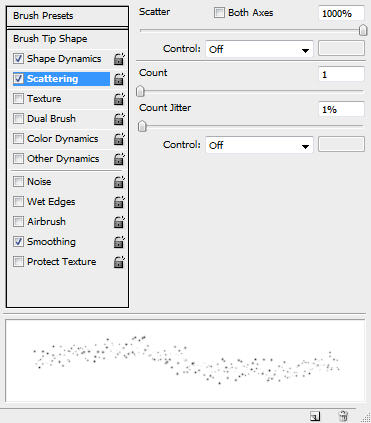
Also Tick the "Smoothing" option.
On the "falling snow", use this brush to paint around the text layer as shown below:
To add a bit of softness to the falling snow, we can duplicate the "falling snow" layer once and apply the following Gaussian Blur settings:
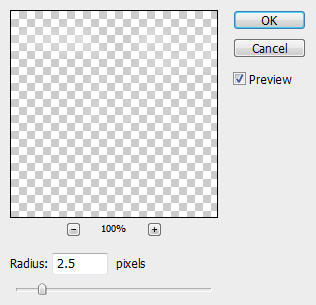
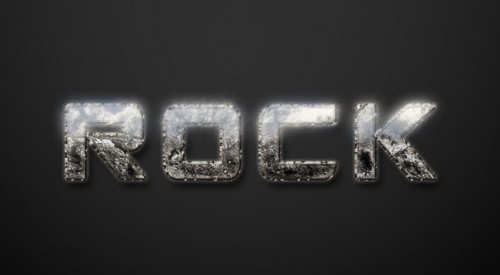
The effect will now look like this:

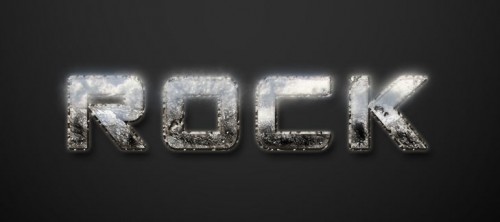
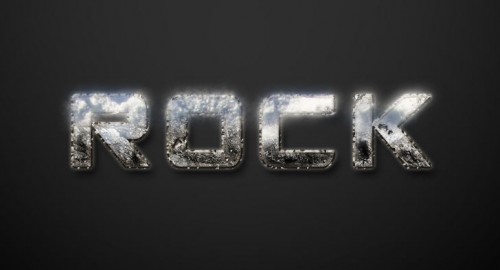
Ok that's pretty much it for this tutorial. I added some more rocky texture down the bottom, also did minor adjustment for hue and saturation and alter the angle of the text.
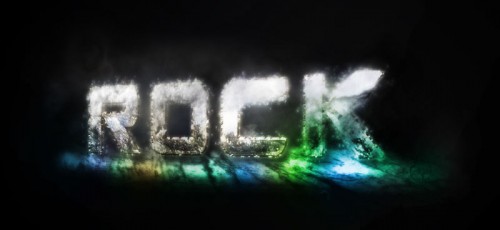
Here is my final image for this tutorial:

Here is alternative version which I added a bit of cloud and colour onto it:
You can of course further enhance this text effect by applying some more filter effects, or combining it with some background texture, that's totally up to you :)