

Step 1
Create a new document in Photoshop with a size of your choice. I chose 1200 x 800 px because that's size fit my monitor the best.
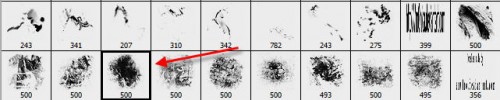
Firstly we tackle the bird's wing. We need a customized brush to draw the fundation of the wing. Donwload a copy of this brushset from qbrushes.com and load it into Photoshop. If you're a beginner in Photoshop and not sure how to do so, here is a handy tutorial showing how to load brushes into Photoshop.
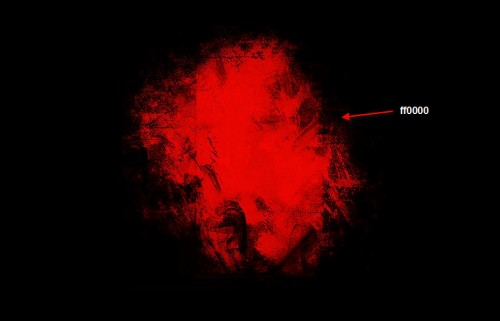
Fill the background layer with Black Colour and create a new layer called "wing". Use the following brush and make a single click on the "wing" layer:
Step 2
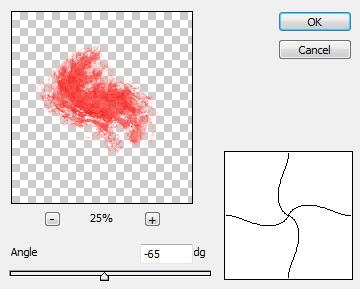
Still on "wing" layer, go to Filter > Distort > Twirl and apply the following settings:
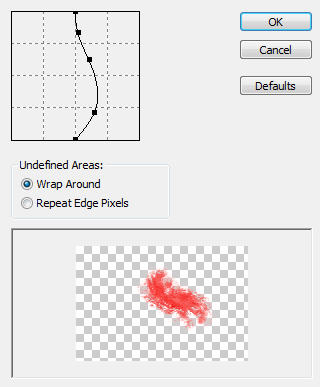
Then go to Filter > Distort > Shear and apply the following settings:
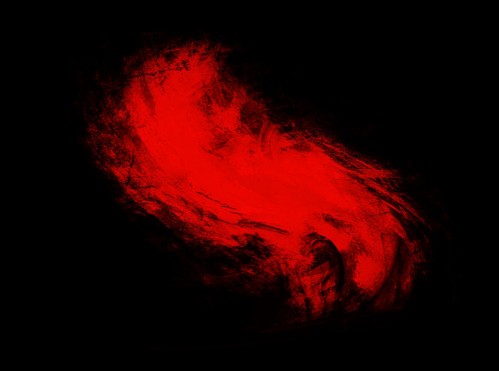
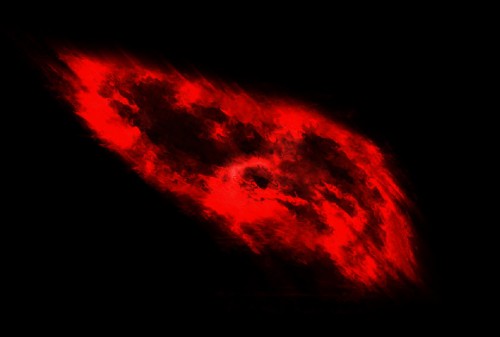
The image will now look like this:
Step 3
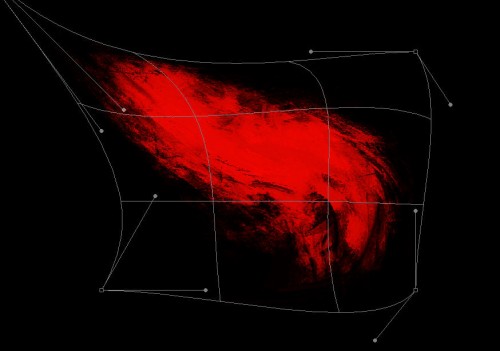
Still on "layer", hit Ctrl + T and bring the free transform tool, right-click and choose "Warp". Transform the image as shown below:
This step requires a bit of practice and patience if you're new to Photoshop. If you're not successful for the first time, don't give up :)
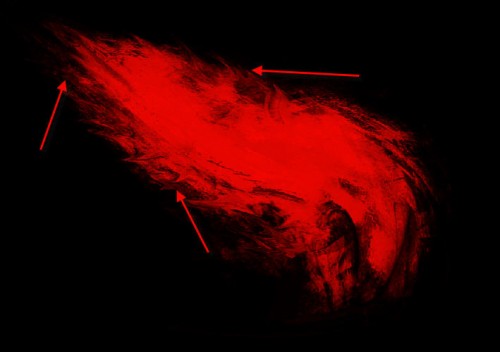
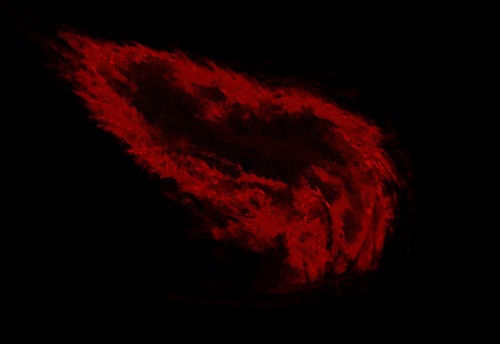
After warping the image, go to Filter > Liquidify and use a small brush to apply a few liquidify effect around the edge of the wing to make it more realistic:
Step 4
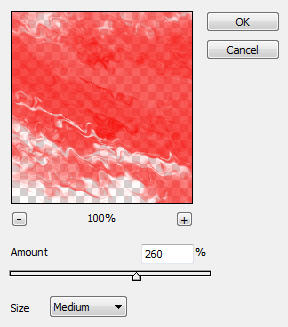
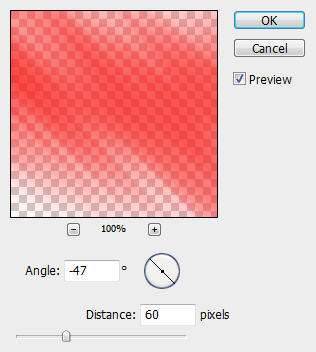
Duplicate the "wing" layer once. On the duplicate layer, go to Filter > Distort > Ripple and apply the following settings:
Apply this filter a couple of times, then change the layer blending option to "Exclusion". The effect so far will look like this:
Step 5
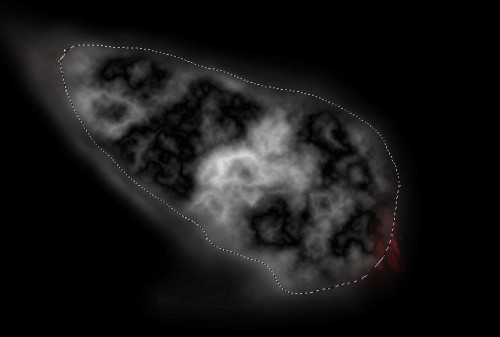
Create a new layer called "cloud" on top of all other layers. Go back to the original "wing" layer and load its selection by holding down your Ctrl key and left-click on the thumbnail of the text layer in the layer palette.
Expand the selection by 15px and set a 20px feather to it, your selection will now look like this:

Set the foreground colour to white and background colour to black, load the selection of the orginal "wing" layer, render some cloud inside it by going to Filter > Render > Cloud.
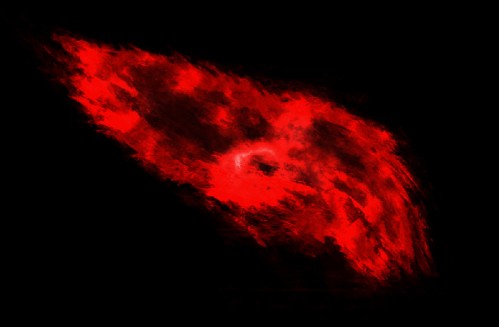
Then go to Filter > Render > Difference Cloud and render difference cloud. You image will look similar to this:
Change the layer blending option of this layer to "Color Dodge" and you will have the following effect:
Step 6
To add a bit of motion into the image, we can duplicate the original wing layer once more and put the duplicated layer just above it, go to Filter > Blur > Motion Blur and apply the following settings:
This is the effect after apply motion blur:
Step 7
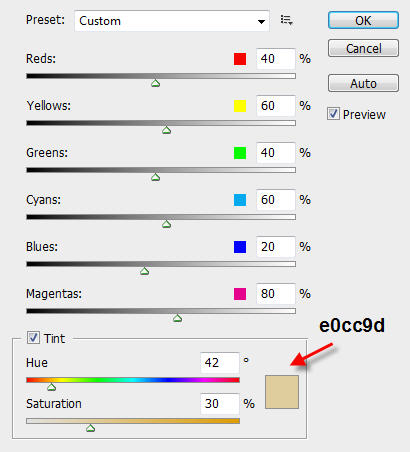
To add a bit colour and ligthing contrast to the image, we can again duplicate the original "wing" layer, and apply the following Black and White adjustments to the duplicated layer:
After apply the Black and White adjustments, hit Ctrl + J and duplicate this layer about 5 times (This will add more contrast to the image).
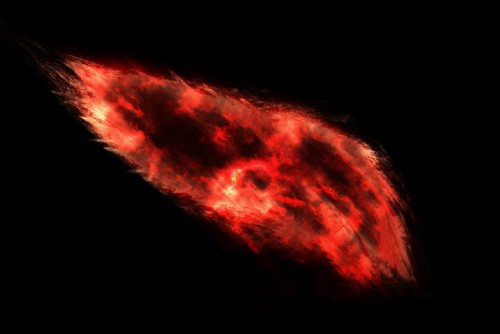
The effect will now look like this:
Step 8
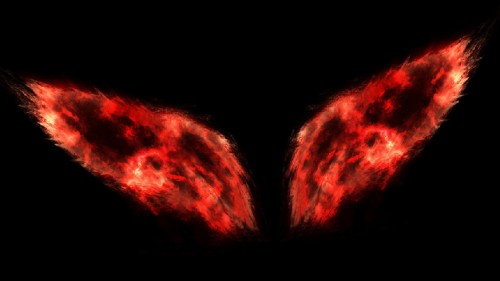
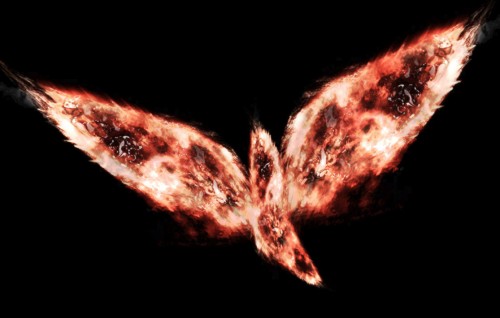
Now we can simply group all previous layers together, duplicate the group and flip the duplicated group honrizontally.
The effect is shown as below: (I also adjusted the angle a bit)
Then I again duplicate the group layer twice more, resize them in the middle and this formed the below image of the fire bird:
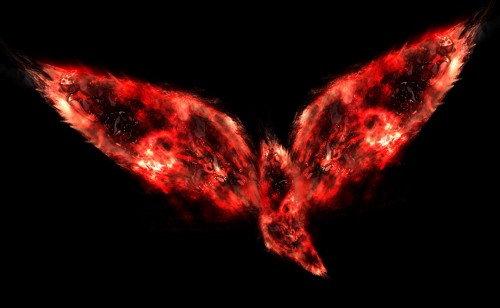
Ok that's it for this tutorial! I further adjusted a colour and curve of the image a bit and here is the final image:
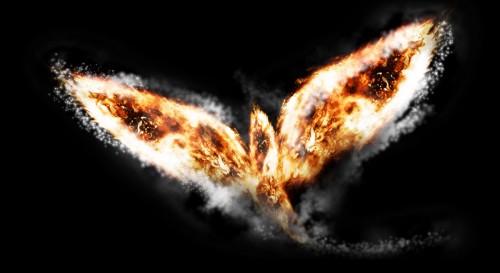
An alternative version with shining effect:
Hope you enjoy this tutorial.
Cheers and have a nice day!