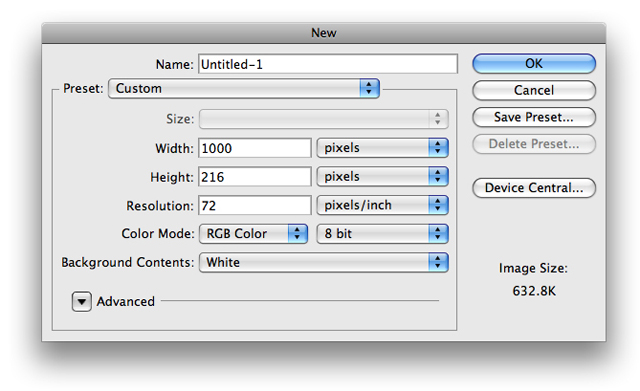
1. First thing we need to do is create a new document. I started with a size of 1000x216.
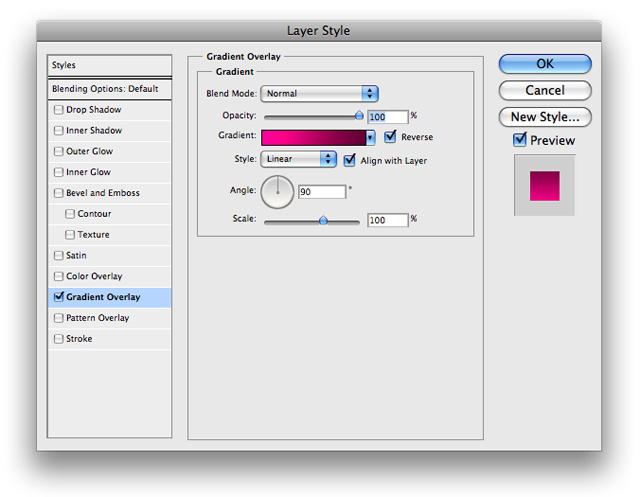
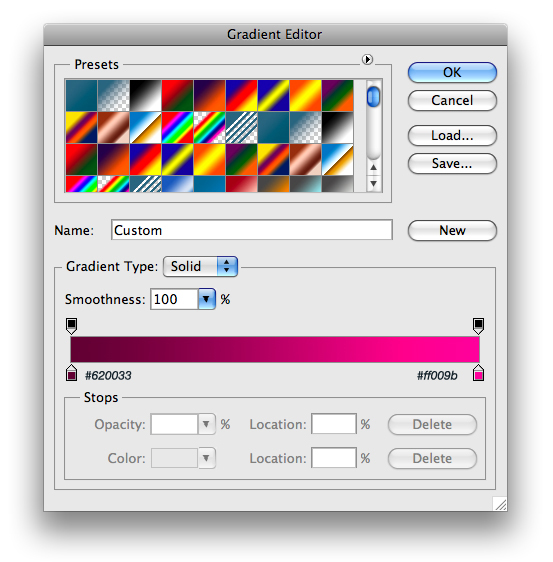
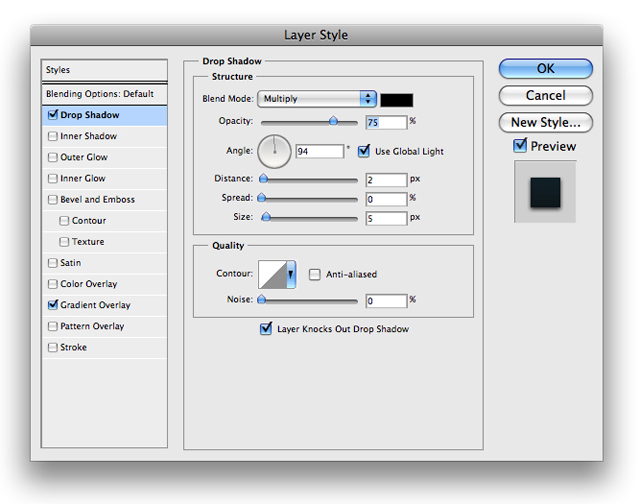
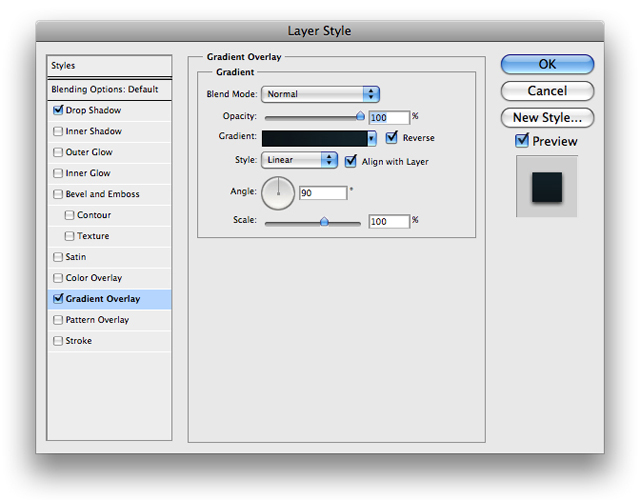
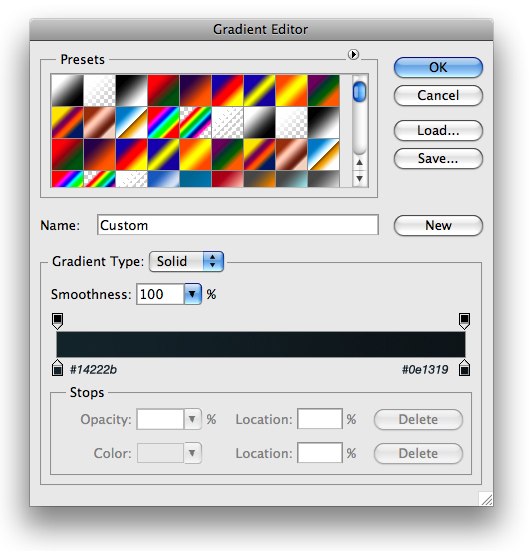
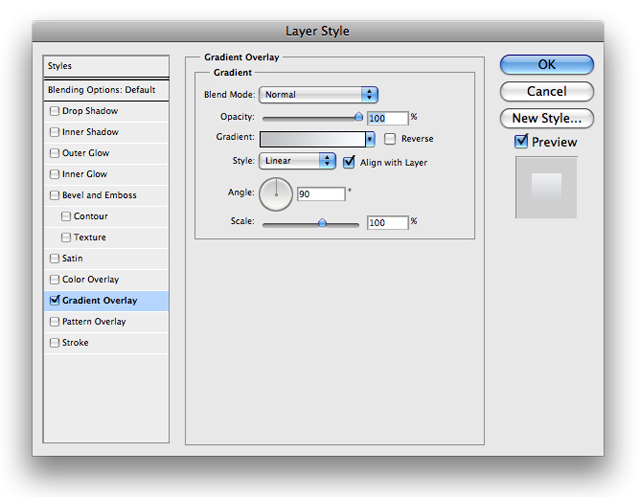
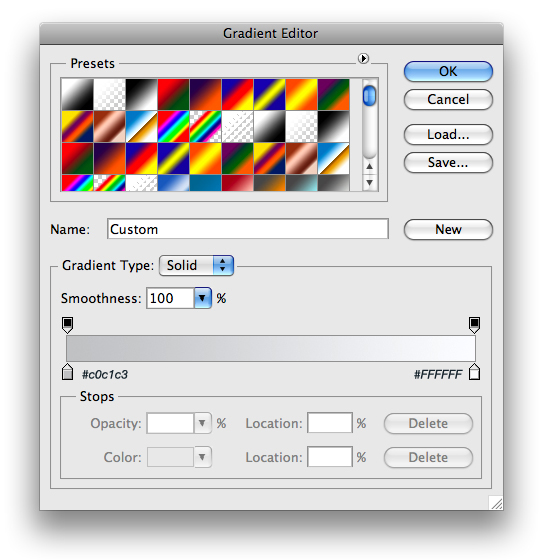
2. What we want to do next is to add a gradient to our background layer. To do so, right click your background layer and then input the following blending options
3. Next we want to use our rectangle marquee tool to make a selection similar to the following and fill it with #FFFFFF
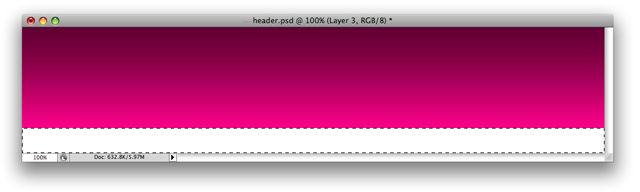
4. Now input the following blending options
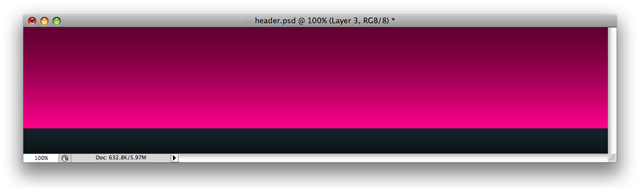
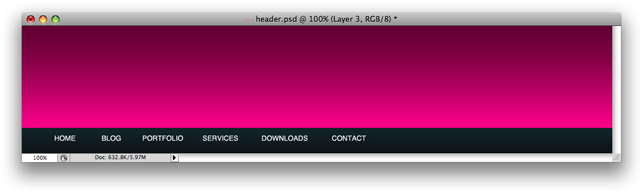
5. You should have something that looks similar to this
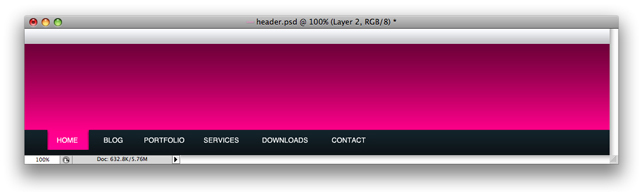
6. Next, we want to go ahead and add some text for our links. I used Helvetica with all caps
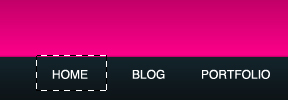
7. Now we want to show what our active link will look like. To do so use your rectangle marquee tool again to make a selection similar to the following:
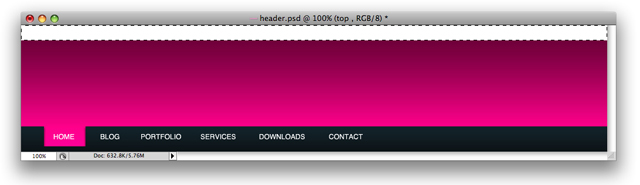
8. Choose Edit>Clear and you should have something that looks like this:

9. Next we want to add a little bar across the top. So use your rectangle marquee tool to make a selection similar to this and fill it with #FFFFFF
10. Now input the following blending options into this layer
11. It will look something like this
12. Now all I did was add some text and a simple logo with a custom shape from default photoshop shapes and this is what I came up with:
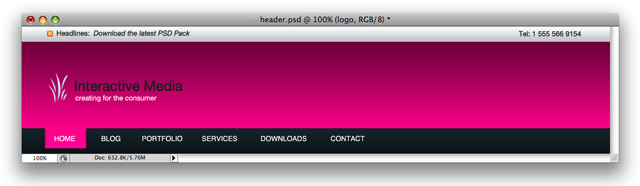
13. You can take it one more step and add some round vector shapes. I used some halftone patterns from one of the GoMedia Arsenal packs