


1. Open a new white document size 1024x768.
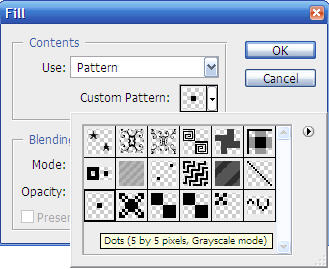
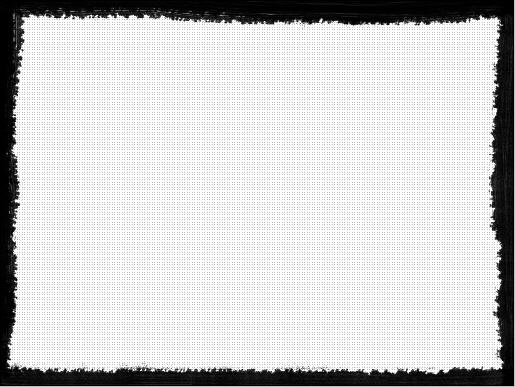
2. Create a new layer. Name it Pattern. Then fill the new layer with dot pattern. If you don't have this pattern, download this here. Set its Opacity to 20-30%

3. Create new layer. Name it Border. Then choose Thick Heavy Brush from brush list. Choose Rough Flat Bristle brush, size 111px. After, draw 2 horizontal lines like this. Draw them over again to make them darker if you want.
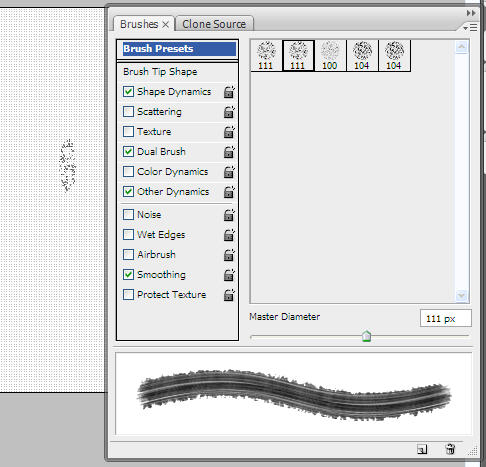
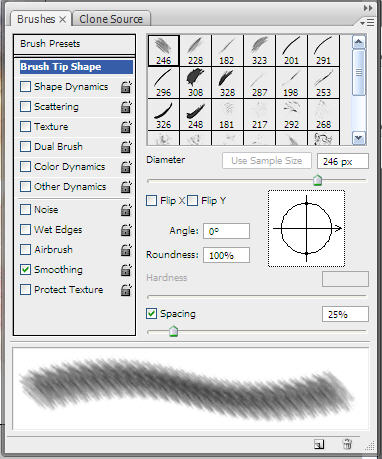
4. Open Brushes Palette. If you don't see it anywhere, go to Window/Brushes or push short key "F5". In Brushes palette, choose Brush Tip Shape and change Angel number to 90. You will have a horizontal brush.
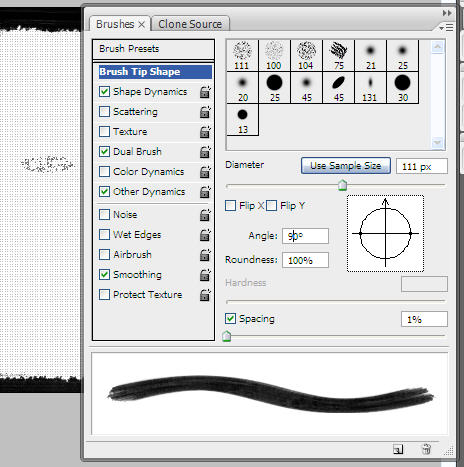
5. Draw 2 vertical lines like you did at step 3. Those lines don't have to be perfectly straight.
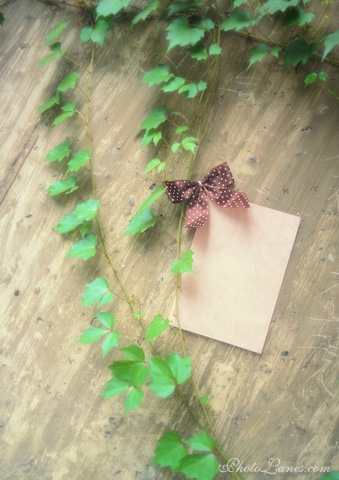
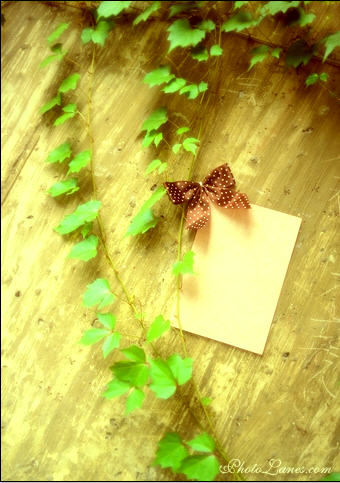
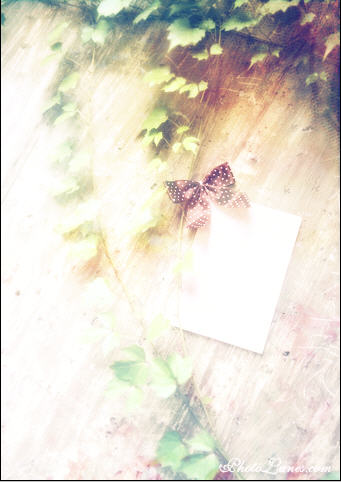
6. Leave that aside. Open an image you like. I choose this one from Photolanes.com
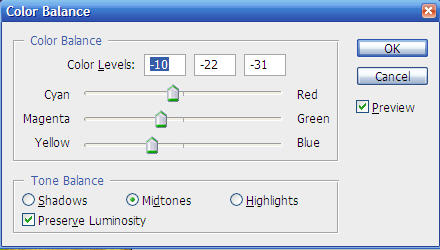
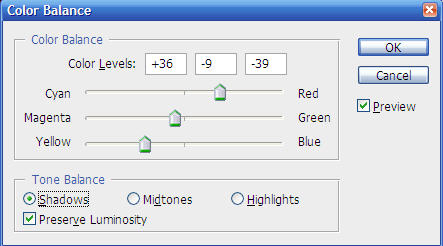
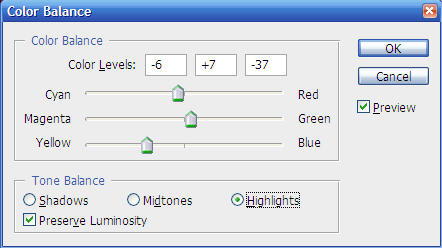
Go to Image/Adjustment/Color Balance or use combination keys Ctrl-B and apply numbers as below:
Now this is what we have:
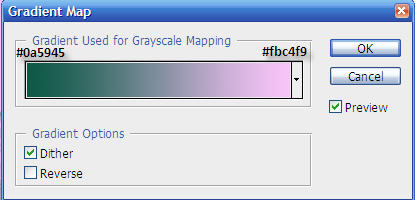
7. Duplicate (Ctrl-J) the background image. Now we're working on the copy layer. Go to Layer/New Adjustment Layer/Gradient Map and do as below:
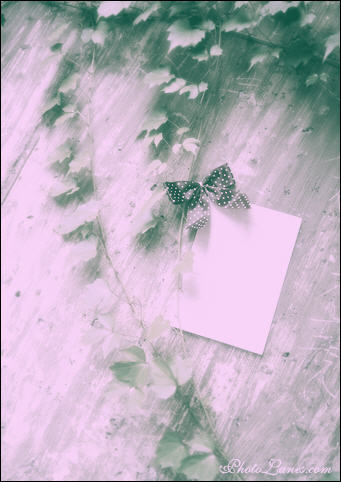
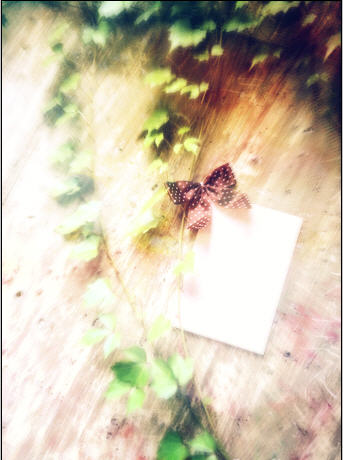
Then duplicate that copy layer. On first copy layer, change Blend Option to Overlay and on second copy layer; change Blend Option to Screen, Opacity 72%. Make sure Overlay layer is below Screen layer. This is what we have:

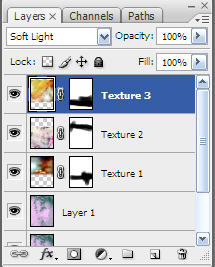
8. This is time to apply some texture (Download all texture). Apply them in order as shown:
9. This is how you apply those textures:
Texture 1
Texture 2
Texture 3: Rotate it 180 degree.
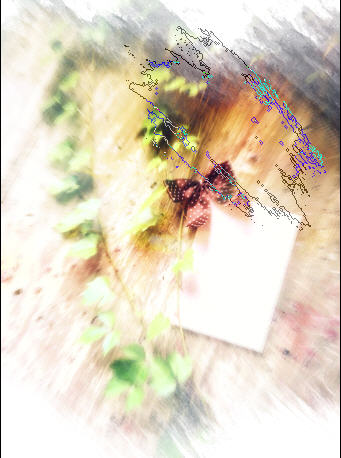
Use Eraser with small Flow number to erase the border of textures like above.
10. Change Blend Mode of 3 textures to Softlight.
11. Create new layer and fill it with #1e1c69. Then change its Blend Mode to Screen.
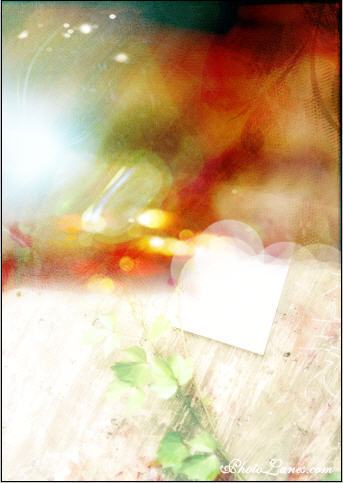
12. Ctrl-Shift-E or go to Layer/Merge Visible to merge all layers. Duplicate it. On copy layer, go to Filter/Blur/Radial Blur and set radius 10-20px. You can set whatever number you want. Then change Blend Mode of copy layer to Multiply. If you want a darker picture, you can duplicate it again or as many as you want. This is my result with one time duplicating.
13. You can pass this step if you want. Create a new layer, fill it with white. Add Layer Mask. Choose Water Color brush (you can download this brush at the end of the tutorial) and use this brush to erase the white. Like this.
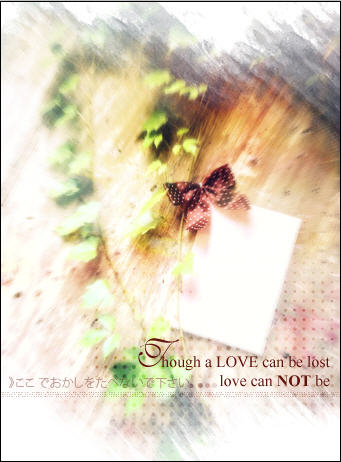
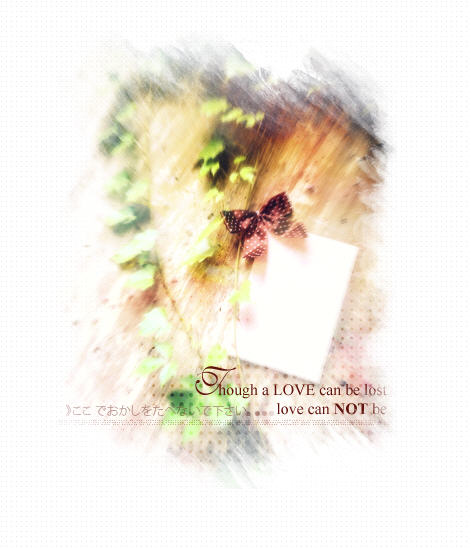
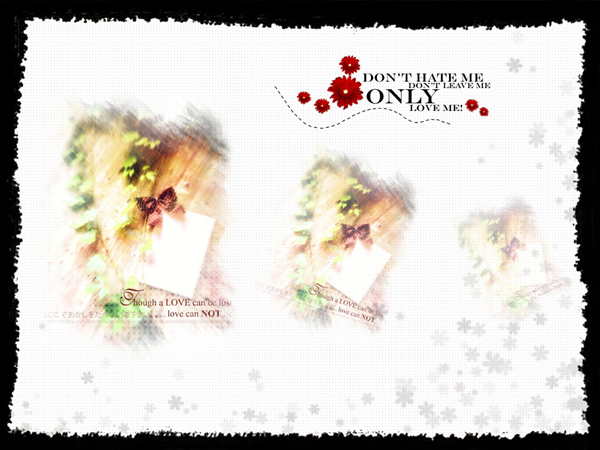
14. Add some brushes and text.
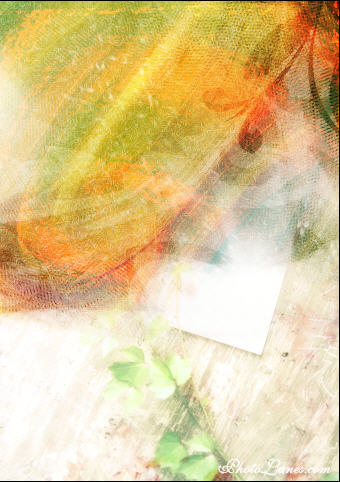
15. Merge visible again. Drag it to first document that we did at the beginning of this tutorial. Add Layer Mask and use Soft Brush (in Drop Shadow Brush set) and Water Color brush to erase the border. Make sure this layer is below Border Layer.
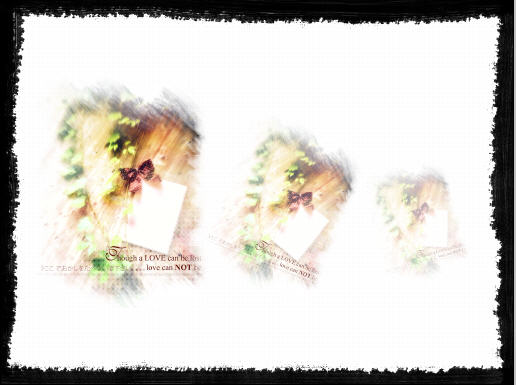
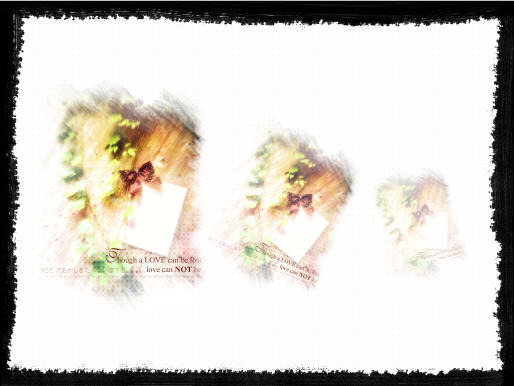
16. Duplicate it, minimize it, rotate it and set opacity about 60-75%. Duplicate it and do it again but with opacity about 20-35%. Like this
17. Apple Texture 4.
Blend Mode: Softlight
Opacity: 20-30%
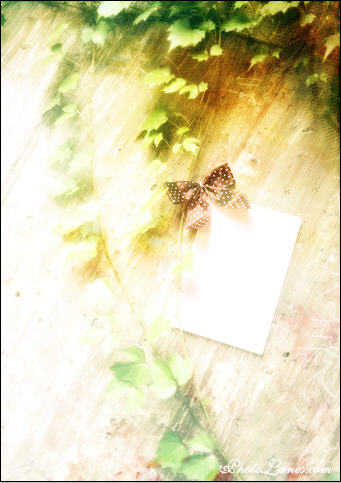
18. Add texts and brushes and flowers.
Here is final result:
Here is another result:
