1. The first thing we want to do is create a new document with the dimensions of 1024x768.
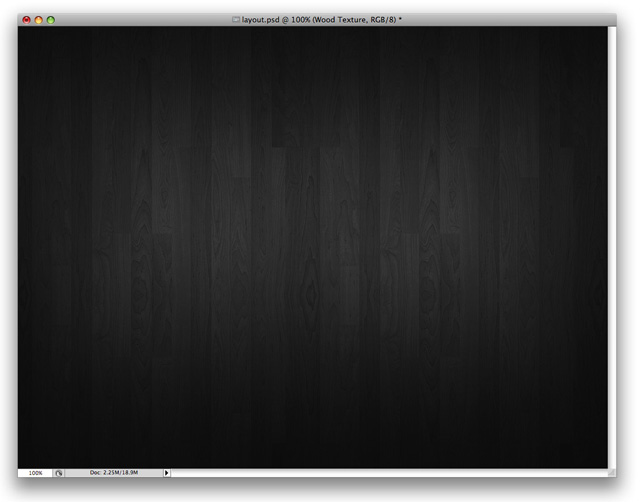
2. Next we want to go ahead and add a Wood Texture Background to our document. Go ahead and open it up in photoshop and move it onto your document and you'll have something that looks like this
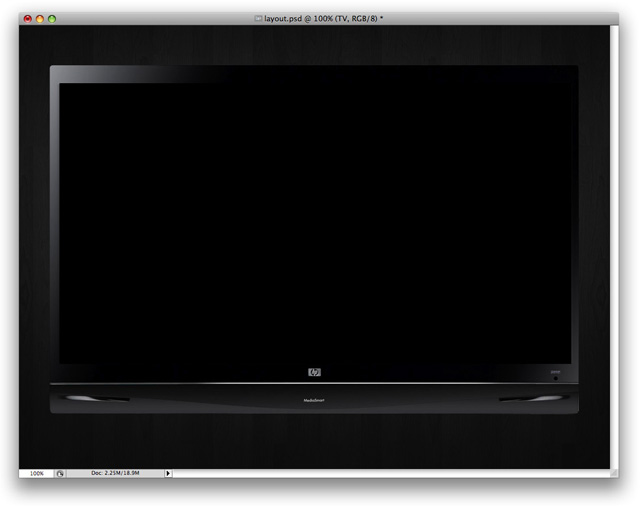
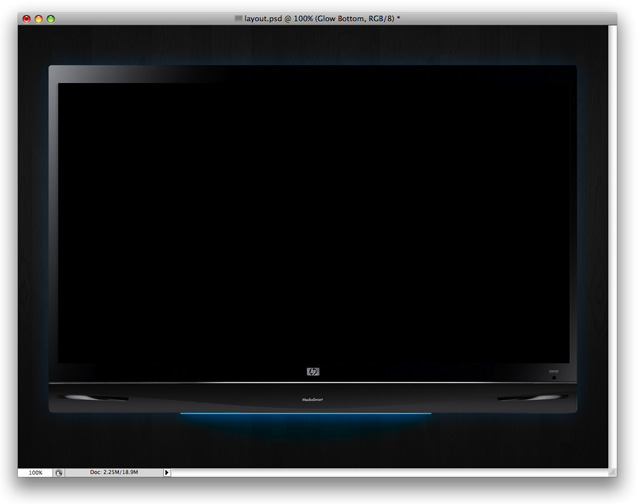
3. Now lets go ahead and put our TV which will house our portfolio content. You can either find a TV on your own, or you can use this one for this tutorial: HP TV. Once you have it move it onto your document and make sure its centered.
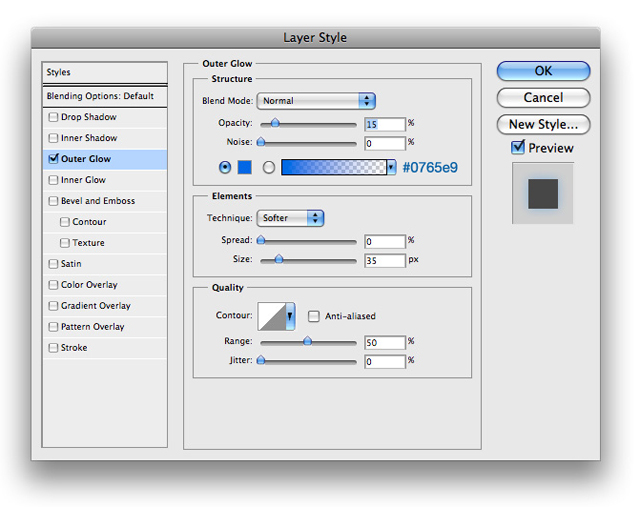
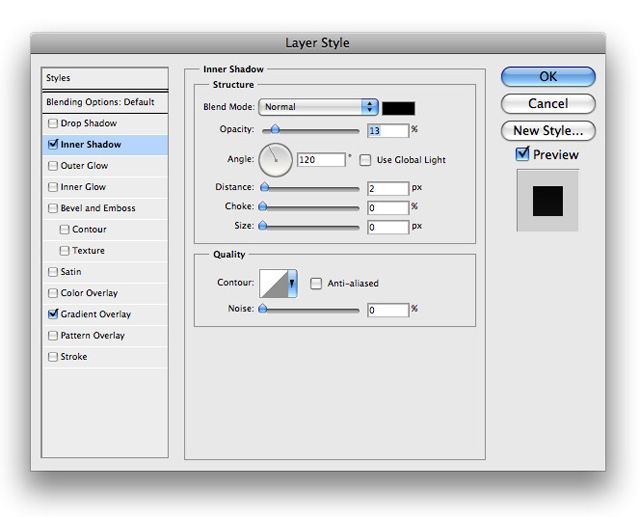
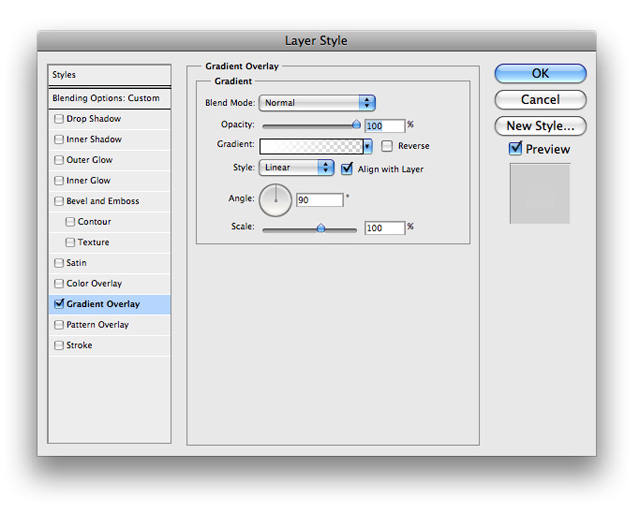
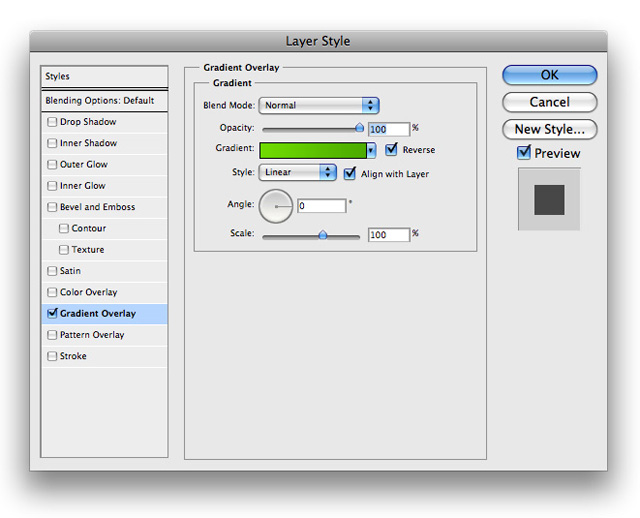
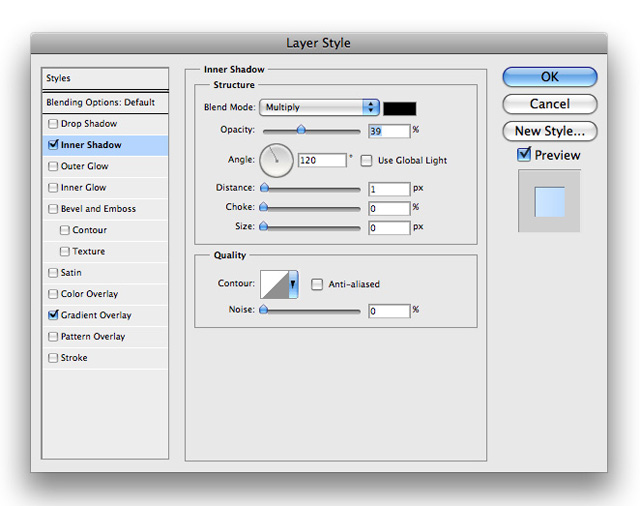
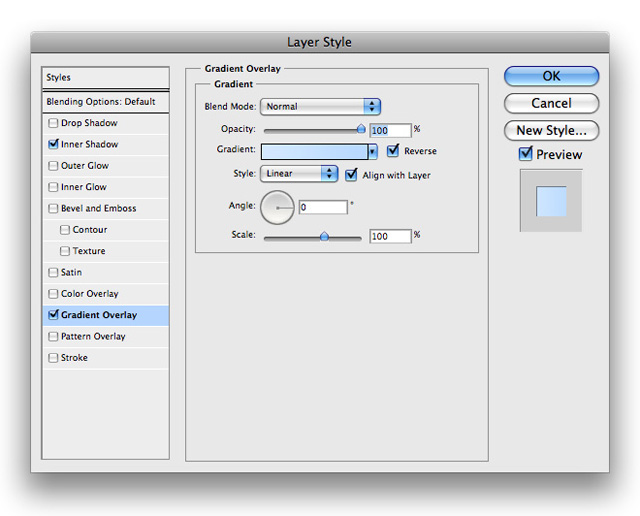
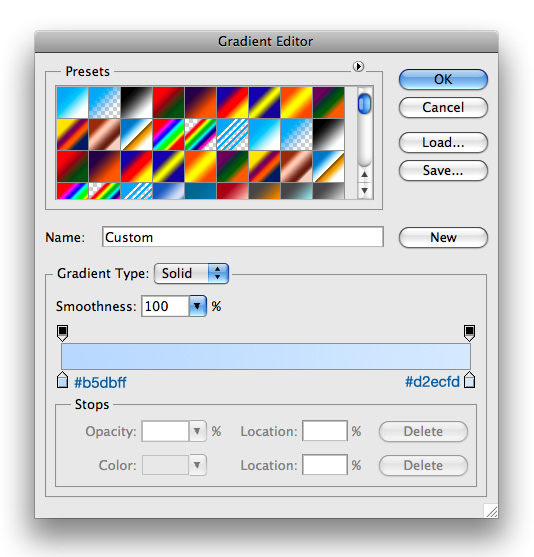
4. We want a little 'glow' behind our TV to give it a backlit effect, so go ahead and add the following blending options to your layer by right click its layer and choosing blending options
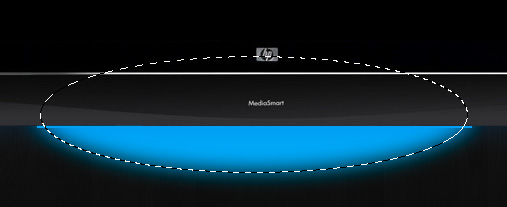
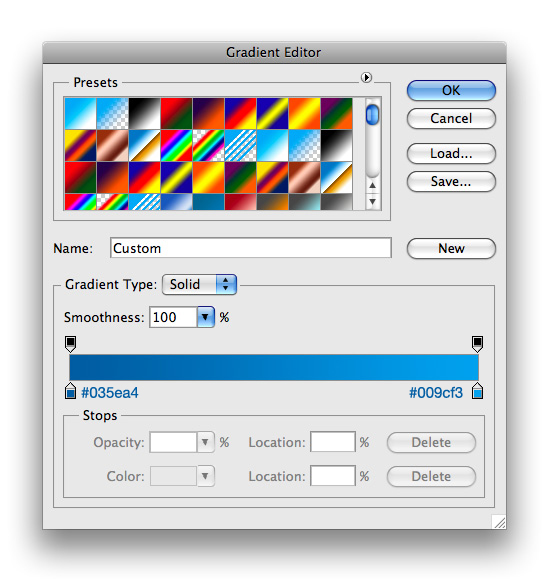
5. Using your Rectangle Marquee Tool to make a selection similar to the following and fill it with #09B5F5. Make sure this layer is under your TV Layer.
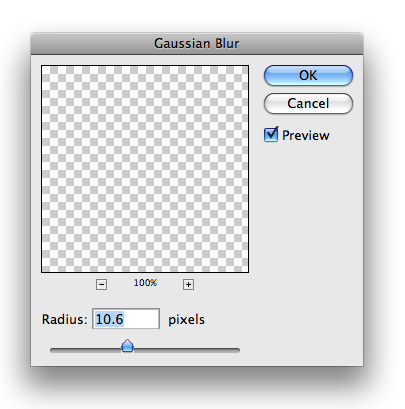
6. Next go ahead and duplicate your blue bars layer and choose Filter>Blur>GAUSSIAN BLUR and insert the following
7. You should have something that looks similar to this once your done with that
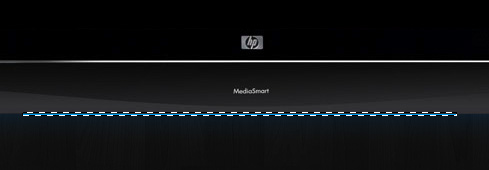
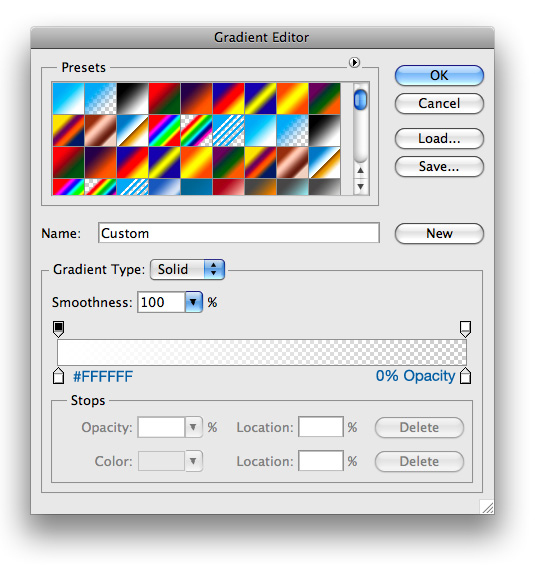
8. Now use your Marquee Tool with a feather of 10px to make a selection similar to the following and fill it with #09B5F5
9. Change the Blend Mode to Overlay and your document should look something like this
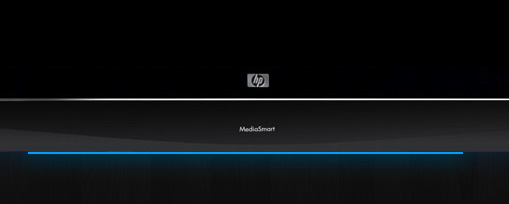
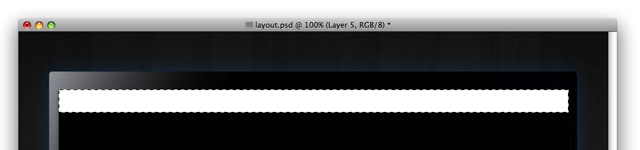
10. Its now time to work on our content area. Lets go ahead and start with a navigation bar. Using your Rectangle Marquee Tool make a selection similar to the following and fill it with #FFFFFF
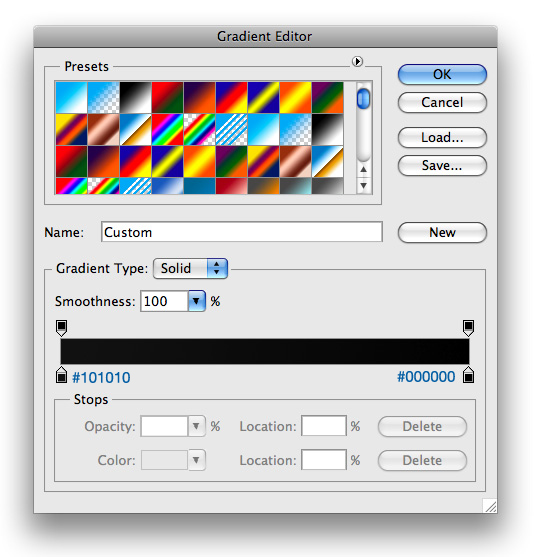
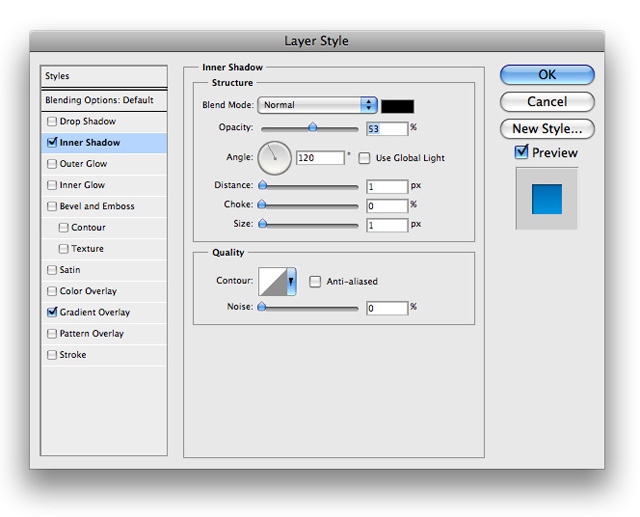
11. Now on this layer insert the following blending options

12. Then go ahead and add some text that will serve as links to the right side like the following
13. Using your Rectangle Marquee tool make a selection similar to the following behind one of your links and fill it with #FFFFFF
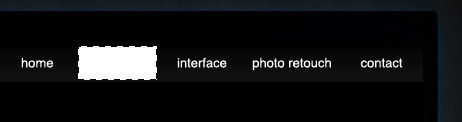
14. Insert the following blending options onto that layer

15. We want to go ahead and make a shine to our active link, so go ahead and make a selection similar to the following and fill it with #FFFFFF

16. Lower the Opacity to about 8%, and change the blend mode to Soft Light and insert the following blending options
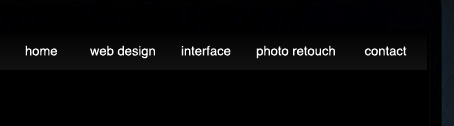
17. Your navigational menu will now look something like this

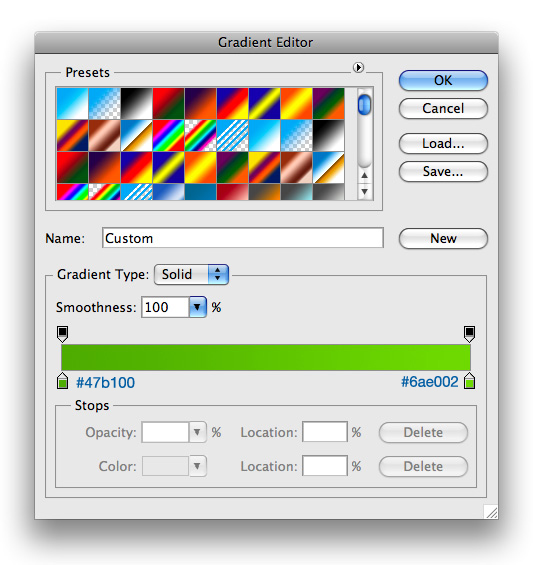
18. I did not want anything to fancy for a logo, so I went ahead and made a simple text logo with Helvetica Neu and made the first part #FFFFFF and the second part #0FE80F

19. For our content we will be using thumbnails similar to the following with a #CCCCCC 1px stroke. Lay them out something like this
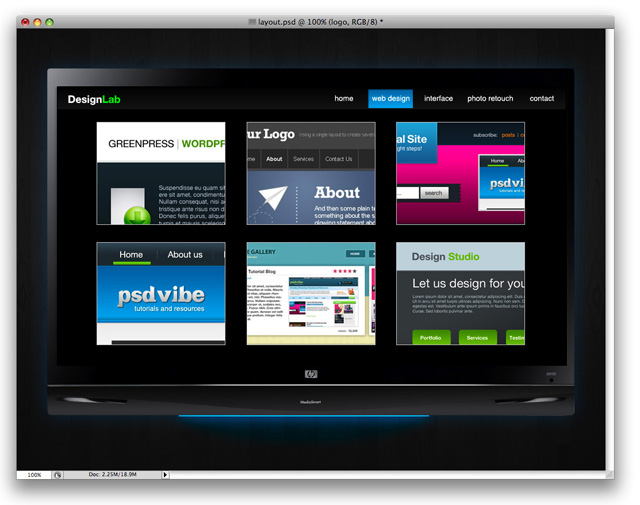
20. The final step is to add a next and back button to the mix. Using your Rectangle Marquee or Rectangle tool make a rectangle similar to the following
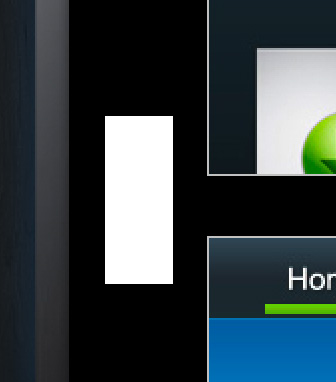
21. Insert the following blending options onto your rectangles layer
22. Next use your Marquee Tool to make a circle similar to the following and fill it with #FFFFFF

23. Now insert the following blending options onto your circles layer
24. Use your Polygonal Lasso Tool to make a triangle and fill it with #172229 and you'll have something that looks like this
25. Now go ahead and repeat those steps but for the right side and you'll have something that looks like this. Also chose to lower the opacity to 50% on the left side to show that you can't go back. This is the final result: