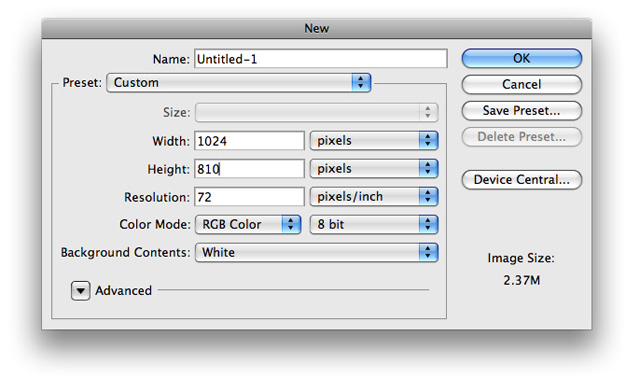
1. First thing we want to do is create a new document with the dimensions of 1024x810.
2. Using your Paint Bucket Tool fill your background with #15181C
3. Next use your Rectangle Marquee Tool to make a selection similar to the following and fill it with #121518. This will serve as the background to your navigational menu.

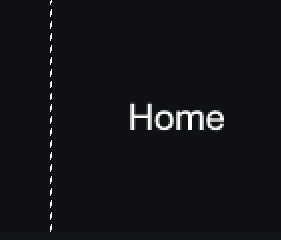
4. Now choose your Text Tool and make some links similar to the following

5. We want to go ahead and create our 'dividers' between each links. Make a 1px wide selection similar to the following and fill it with #1C2024.
6. Now create a new layer and make a selection similar to the following and fill it with #717070
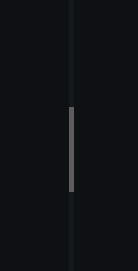
7. Go ahead and create those dividers in between all your links and you should have something that looks like this

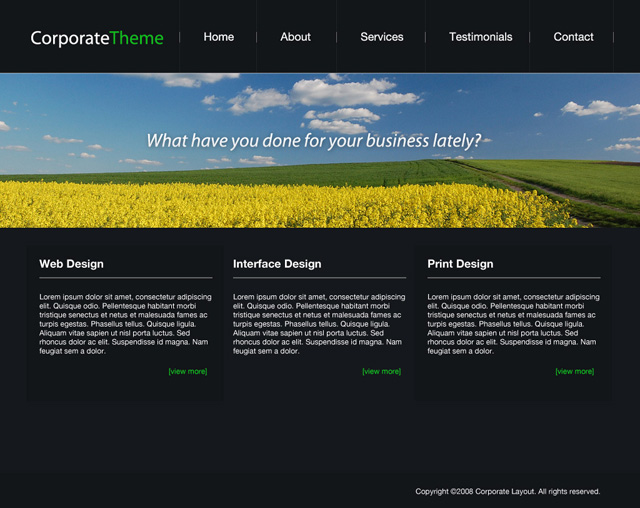
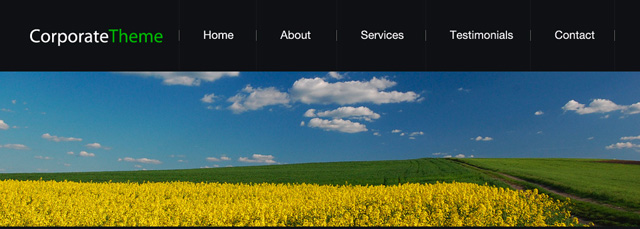
8. I went ahead and added in a simple text logo. The first part is #FFFFFF, and the second part is #13B71E

9. I searched sxc.hu and found a nice and simple stock photo to use for the purpose of this tutorial.
10. To split up the navigational menu and the stock photo, make a new layer above your stock photo and make a white bar across the top
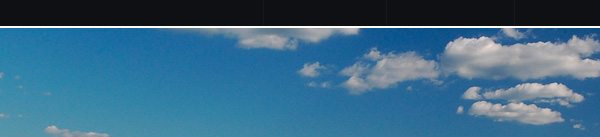
11. Depending on the picture, you'll want to lower the opacity to about 30%.
12. To add something to the stock photo I went ahead and added some text. It can be a slogan, or just any line of text you want.

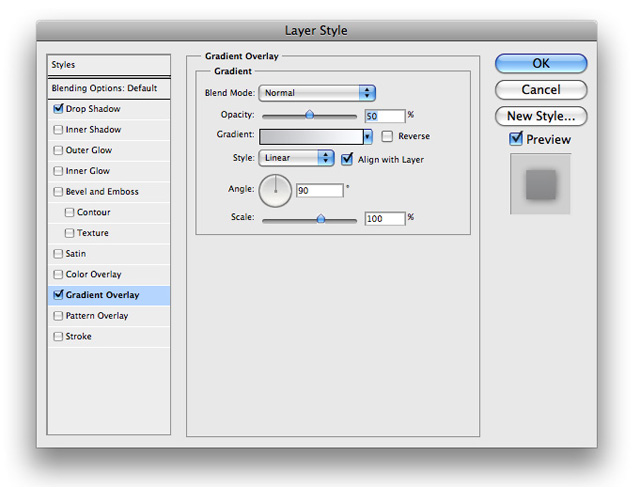
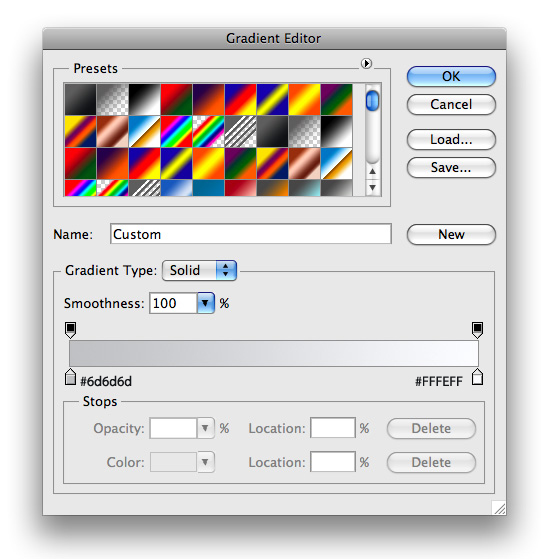
13. I used these blending options onto the fonts layer
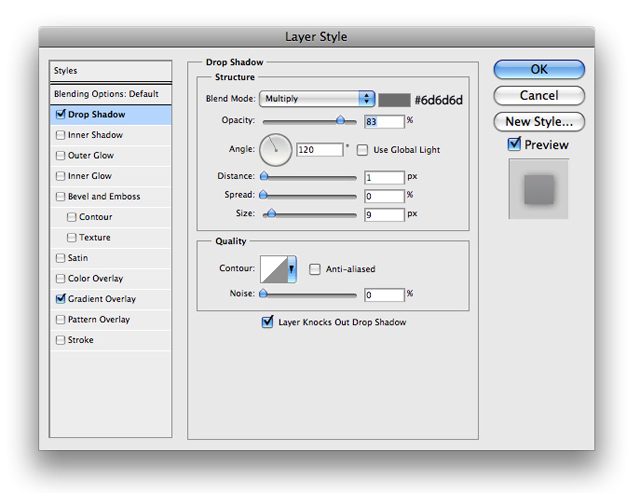
14. The content area and footer are pretty self explanatory for this simple layout. The background for the footer and the 'Web Design' and 'Print Design' box are #121518.
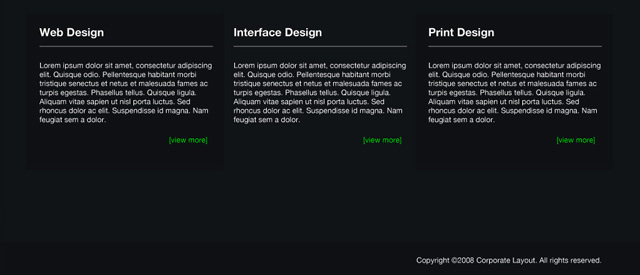
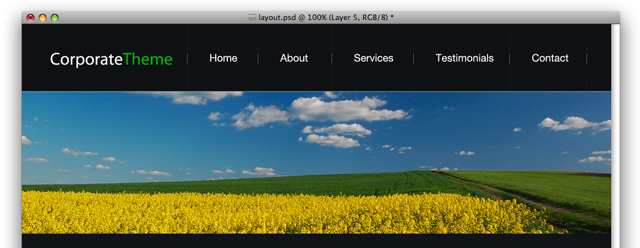
15. Your final result should look something like this