Step 1
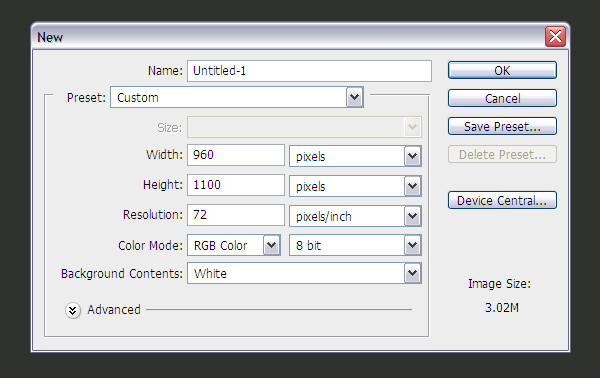
Create a new document with the size 960px by 1100px.
Step 2
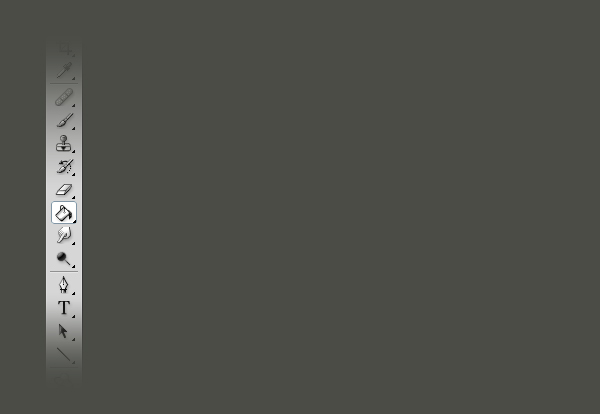
Use the Paint Bucket Tool (G) to fill the background with the color #30322e.
Step 3
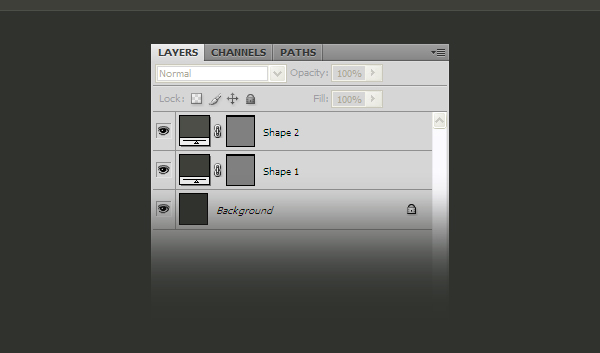
Select the Rectangle Tool (U), set the foreground color to #3d3f39, and create a rectangle with the size 960px by 10px.
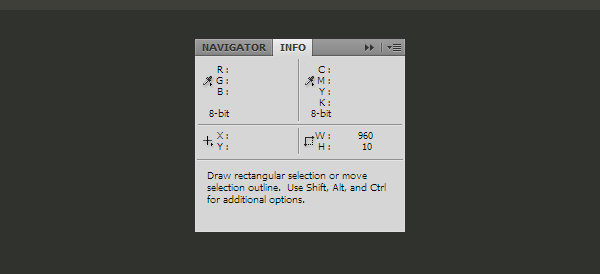
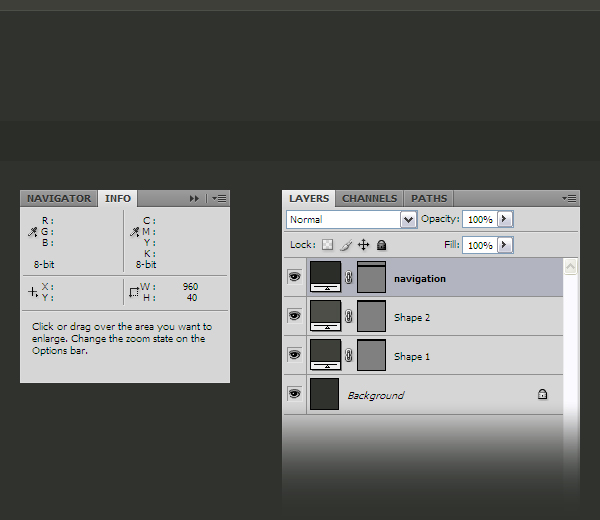
Note: Before you create the rectangle, go to Window > Info (F8) to open the Info palette. Then, select the Rectangle Tool (U), click and drag to create a rectangle and always take a look at the Info palette to see the width and height of your rectangle. When it has the right size, release the mouse button. You will have to do this many times in this tutorial, so leave the Info palette open.
Step 4
Select the Line Tool (U) and create a horizontal line with the weight of 1px at the bottom of the first rectangle, using the color #4c4e47.
Step 5
Create a new rectangle with the size 960px by 40px and the color #2b2d29. Leave between the rectangle from the top of your layout and this one a distance of 110px. Take a look at the next image for reference. Name this layer "navigation."
Step 6
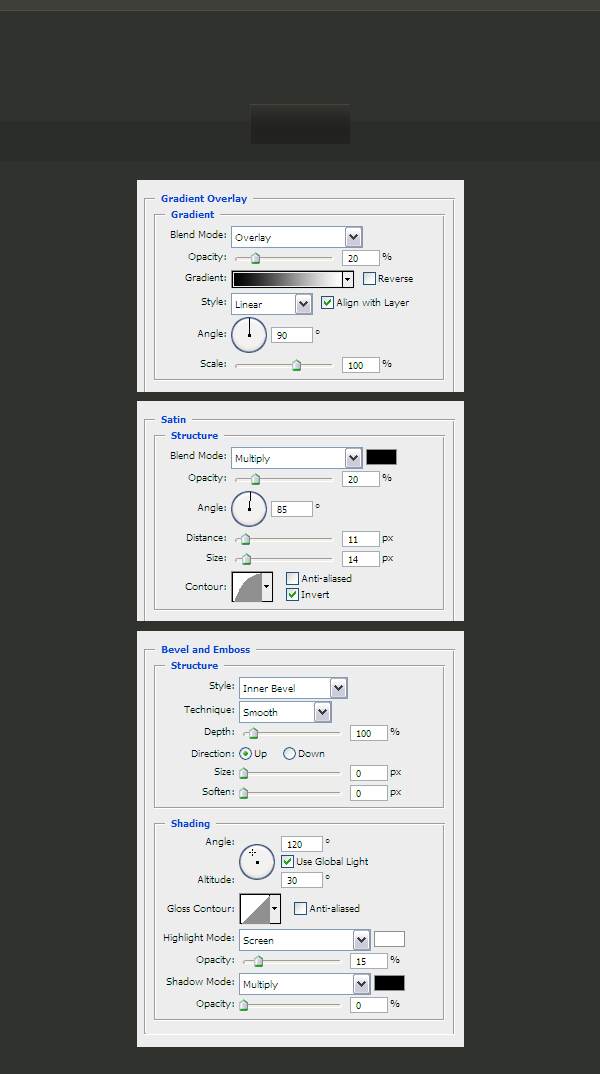
Now we are going to create the buttons. First select the Rectangle Tool (U) and create a rectangle with the size 100px by 40px and the color #2c2d29. Then double-click on this layer to open the Layer Style window and use the settings from the next image.
Step 7
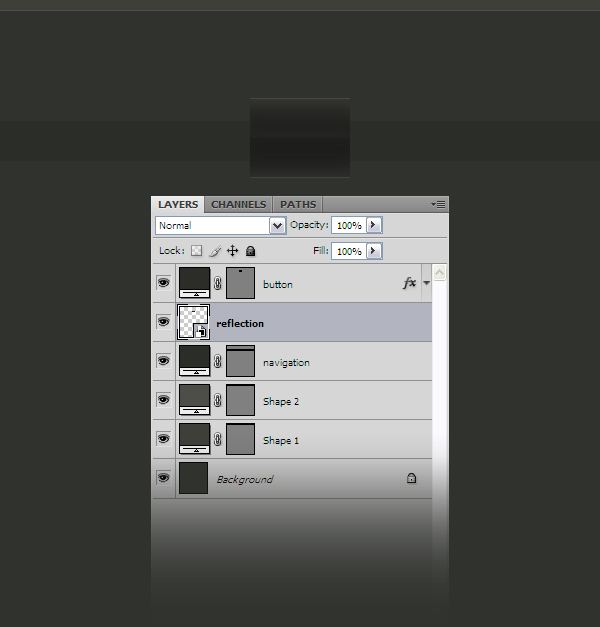
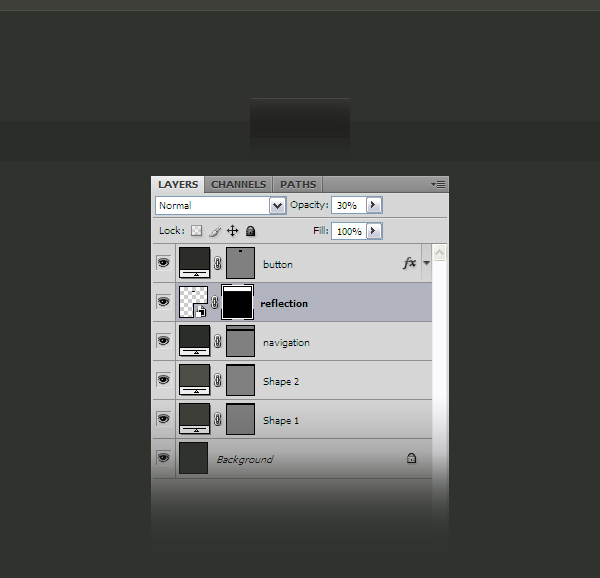
Duplicate the button layer using the shortcut Ctrl+J. Right-click on the duplicated layer and select Convert to Smart Object. Name this layer "reflection" and put it beneath the button layer. Then go to Edit > Transform > Flip Vertical and use the Move Tool (V) to move it at the bottom of the "button" layer.
Step 8
Go to Layer > Layer Mask > Reveal All to add a mask to this layer. Then select the Gradient Tool (G), select a gradient black to transparent, hold down the Shift key and drag a straight line over the reflection layer from bottom to top. Then set the opacity for this layer to 30%.
Step 9
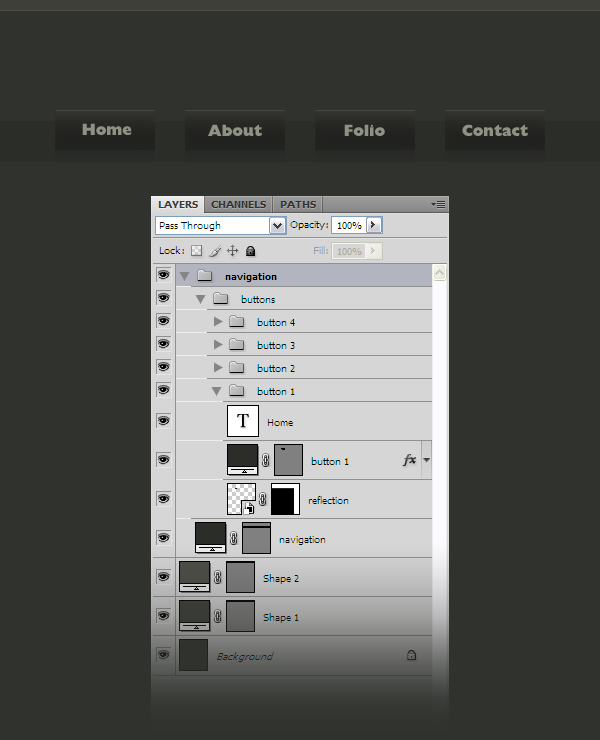
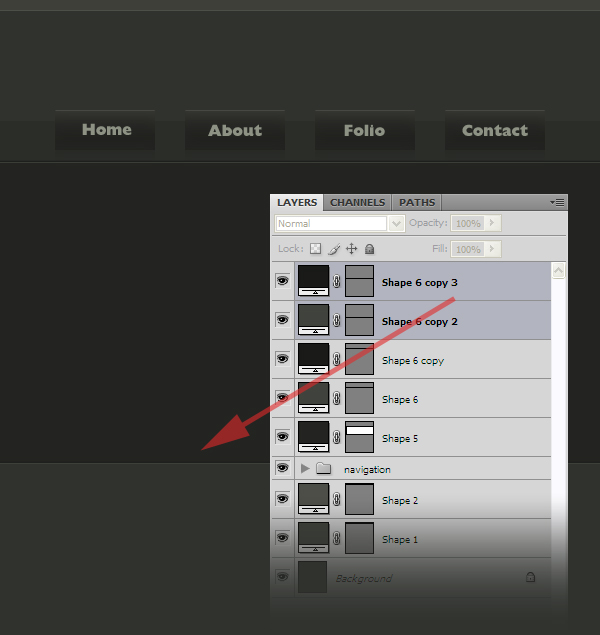
Select the button and reflection layers and use the shortcut Ctrl+G to group them. Then duplicate the group three times and use the Move Tool (V) to arrange all these buttons. Take a look at the following image for reference. Also, organize the layers like I did. I have also added text on the buttons using the Type Tool (T), the Gill Sans font and the color #8d9284.
Step 10
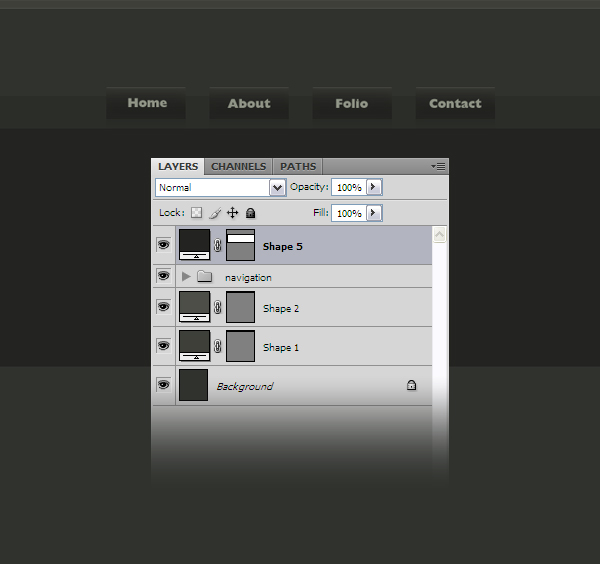
Create a new rectangle with the size 960px by 300px and the color #232421.
Step 11
Select the Line Tool (U) and create two horizontal lines with the weight of 1px at the top of the rectangle which you have created at the previous step. For the darker line use the color #191a18 and for the lighter one use the color #40433d.
Step 12
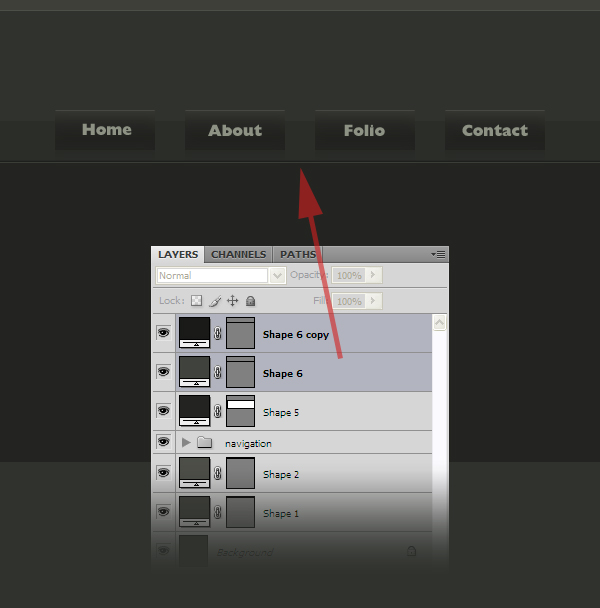
Create another two horizontal lines at the bottom of the rectangle using the color #191a18 for the darker line and #40433d for the lighter one.
Step 13
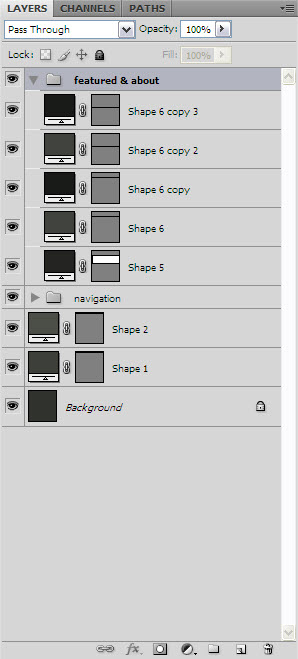
Group the layers which you have created at the previous three steps and name the group "featured & about."
Step 14
Select the Rectangle Tool (U) and create a new rectangle with the size 500px by 240px and the color #41433d.
Step 15
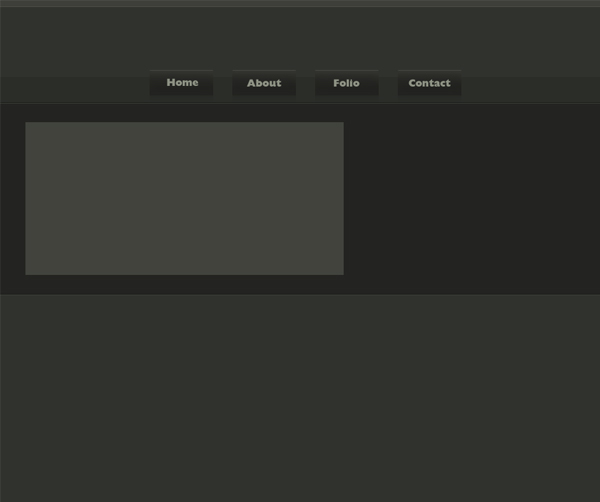
Create a new rectangle with the size 460px by 200px and the color #4a4c46 and put it inside the rectangle which you have created at the previous step. Then right-click on this layer and select Create Clipping Mask. Group the two rectangles and name the group "featured."

Step 16
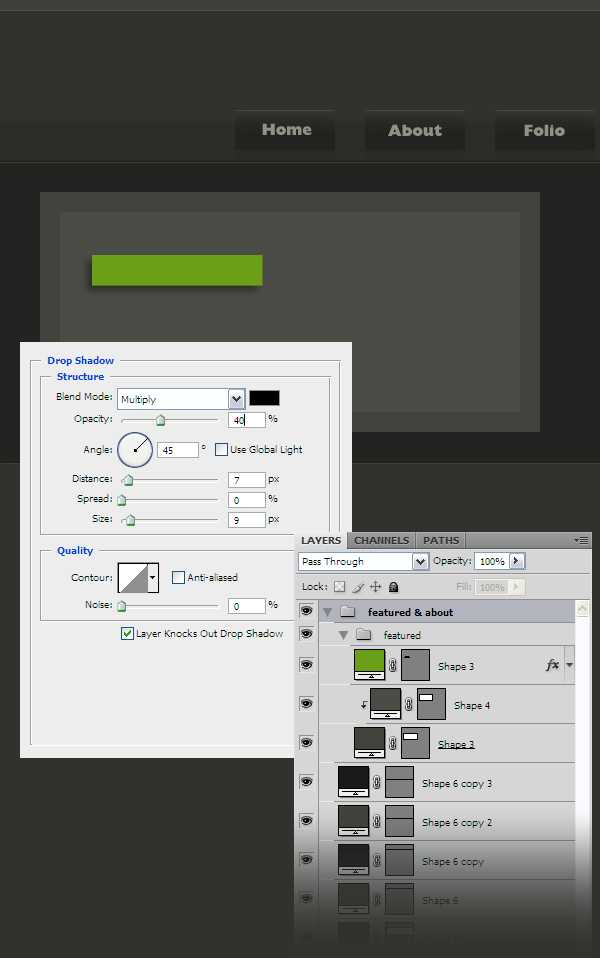
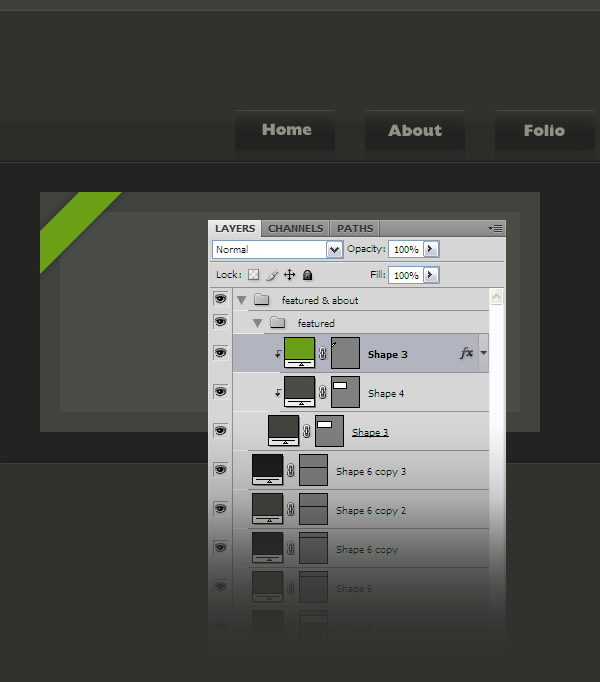
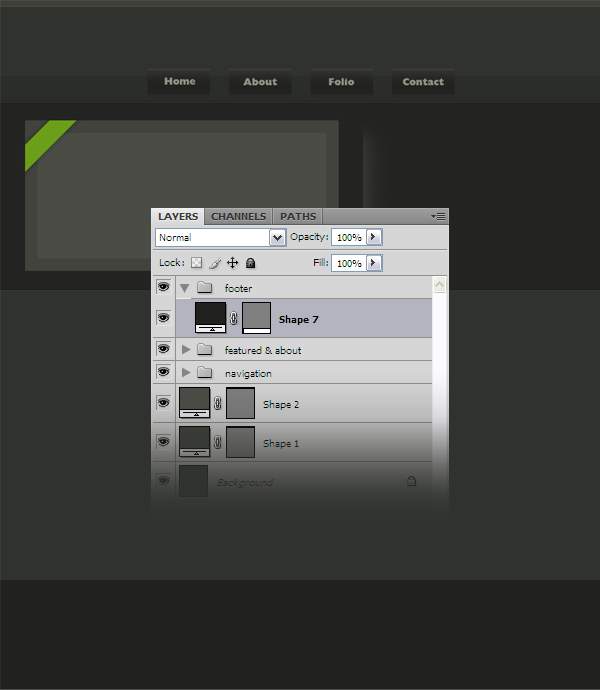
Create a new rectangle with the size 170px by 30px and the color #6b9f18. Then double-click on this layer to open the Layer Style window and use the settings from the following image.
Step 17
Now go to Edit > Free Transform, rotate the rectangle like I did and place it in the upper left corner of the bigger rectangle. Then right-click on this layer and select Create Clipping Mask.
Step 18
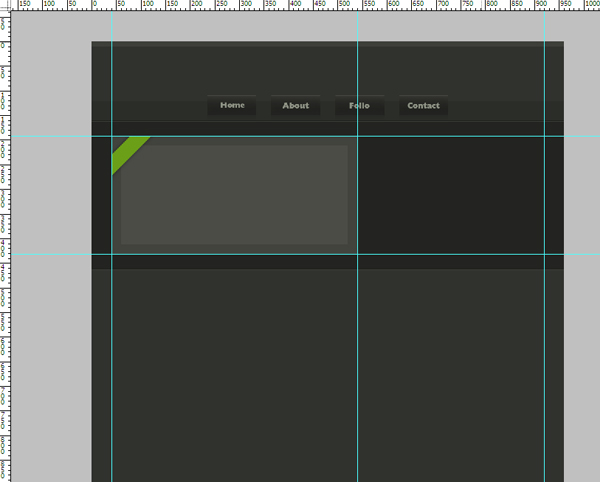
Now you can add some guides to make the following steps easier for you.
Step 19
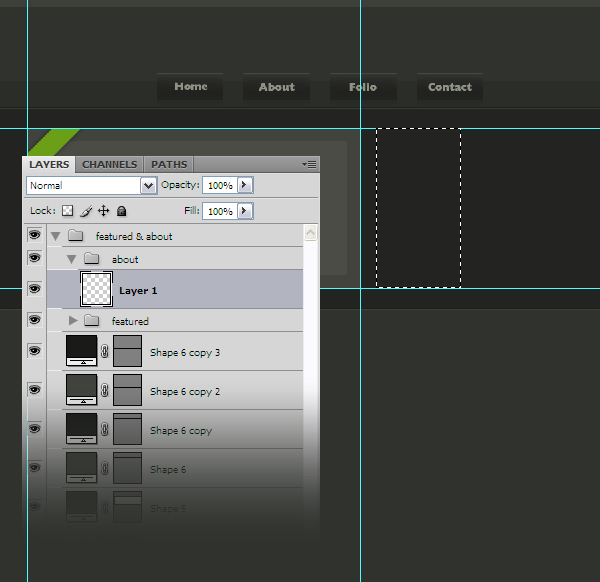
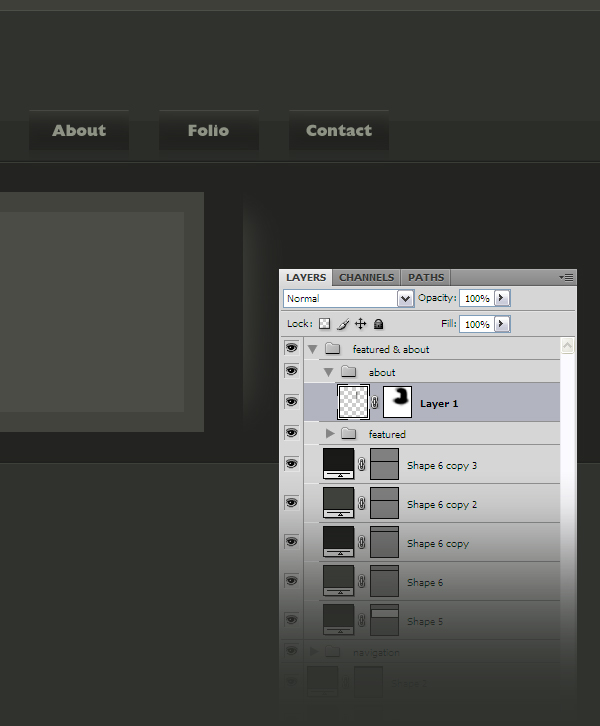
Create a new group (Layer > New > Group) and name this group "about". Create a new layer inside this group. Then select the Rectangular Marquee Tool (M) and create a selection with the size 130px by 240px like I did.
Step 20
Select the Gradient Tool (G), select a gradient #4a4c46 to transparent and drag a horizontal line from left to right. Then go to Select > Deselect (Ctrl+D).
Step 21
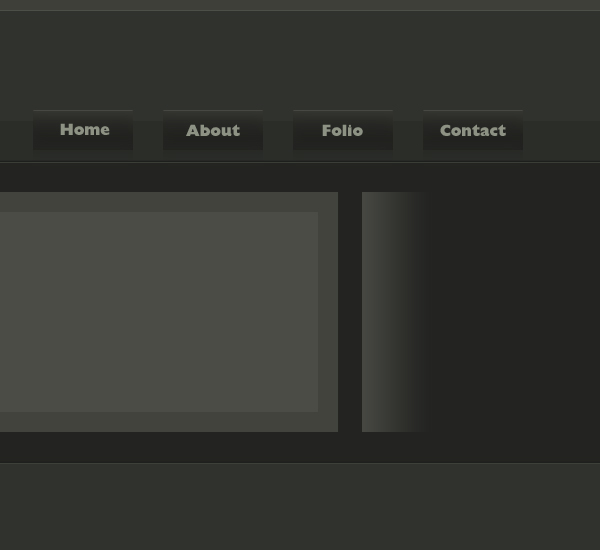
Go to Layer > Layer Mask > Reveal All, select a black soft brush with the diameter of 200px and the opacity 40% and mask the top and the bottom part of this layer.
Step 22
Now we are going to create the footer. Select the Rectangle Tool (U) and create a rectangle with the size 960px by 175px and the color #21221f. Put this layer inside a group and name the group "footer."
Step 23
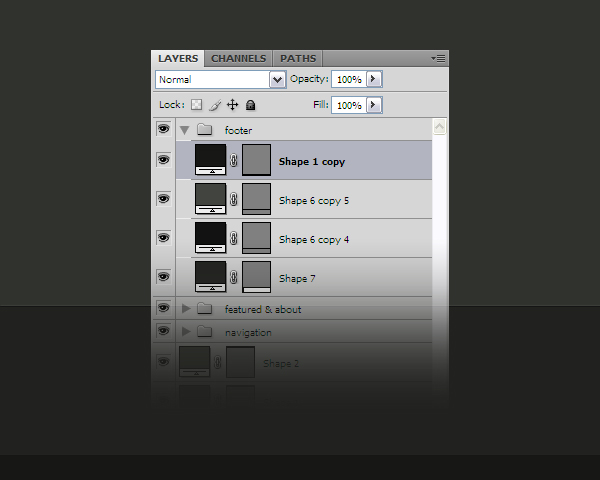
Create two horizontal lines using the Line Tool (U). Use the color #111211 for the darker line and #42453f for the lighter one.

Step 24
Create a new rectangle with the size 960px by 25px and the color #161715. Put this layer at the bottom of your layout.
Step 25
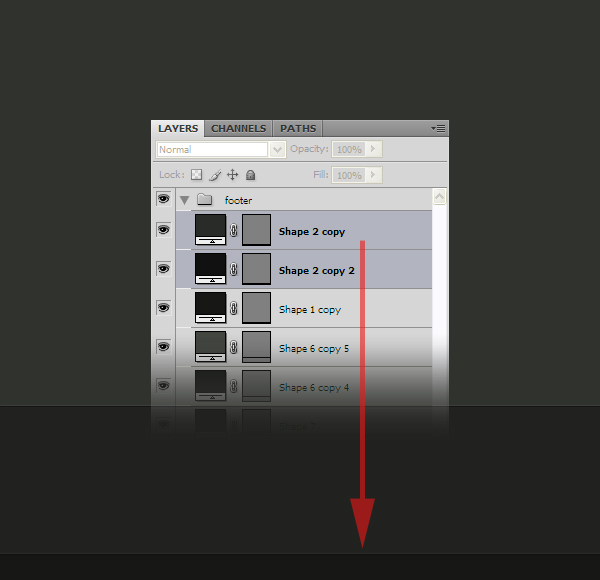
Create two new horizontal lines using the Line Tool (U). Use the color #101110 for the darker line and #292b28 for the lighter one. Place this lines at the top of the rectangle which you have created at the previous step.
Step 26
Create a rectangle with the size 260px by 100px and the color #2e302b. Duplicate this rectangle two times and put all three rectangles in the footer. Take a look at the following image for reference. Group the three rectangles together and name the group "images."
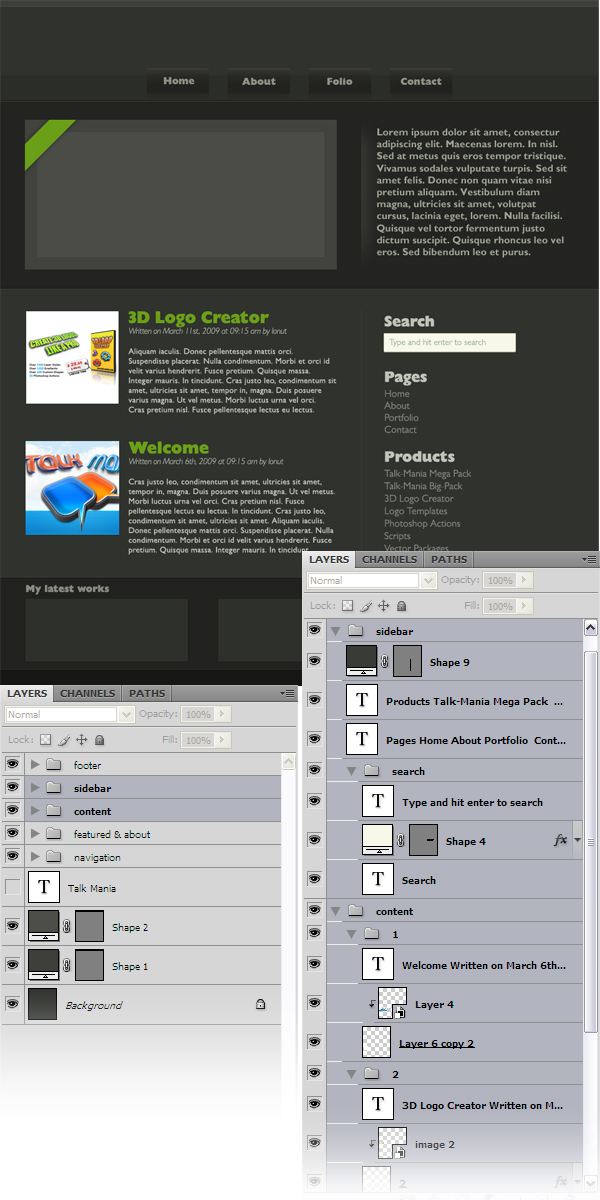
Step 27
Now select the Type Tool (T) and add some text in your layout. Feel free to add images too and whatever else you like. Take a look at the following image for reference.
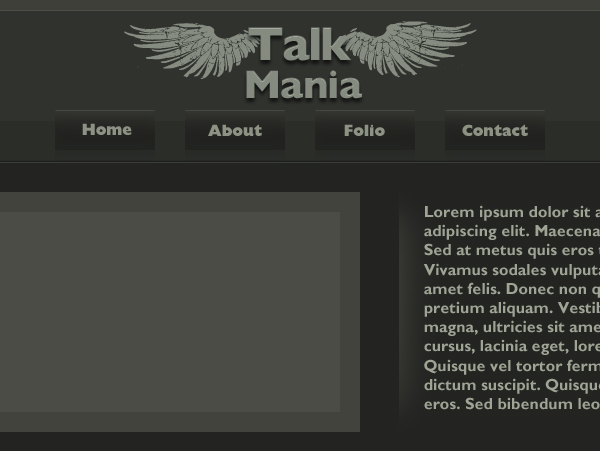
Step 28
Now create a logo for your layout. I have used a vector from the Vector Wings pack which you can purchase from here (or if you want all the vectors from the Talk Mania Shop and save some money in the same time, take a look at the big vector pack). The font which I have used is Gill Sans MT Pro Heavy. The logo is very easy to create. Just type the text and copy and paste the wings from Illustrator into your Photoshop document.
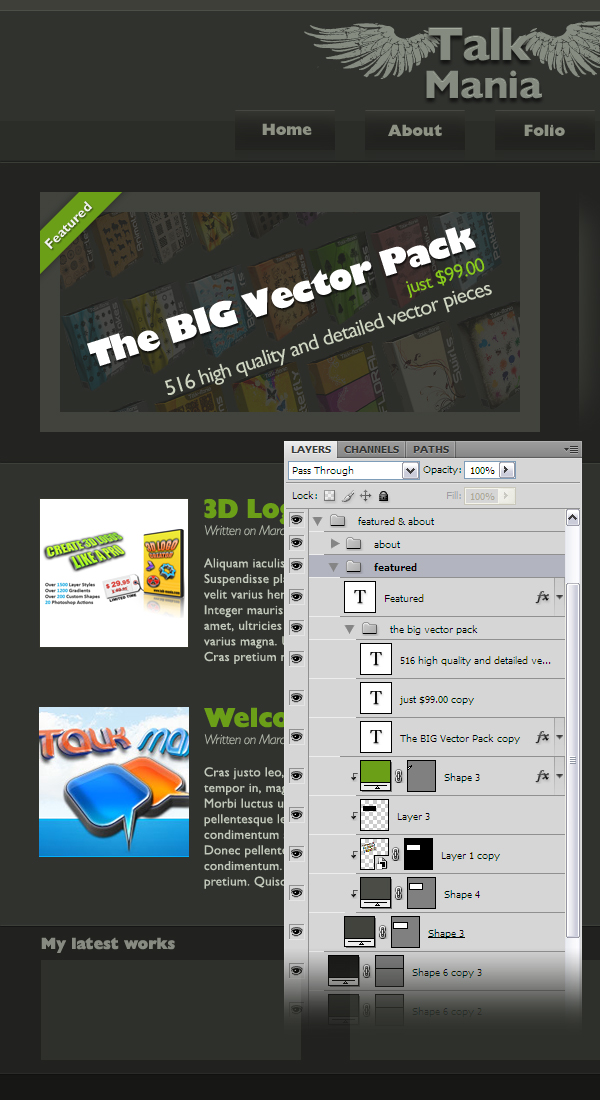
Step 29
Add an image in the featured section and write the "featured" word on the green badge.
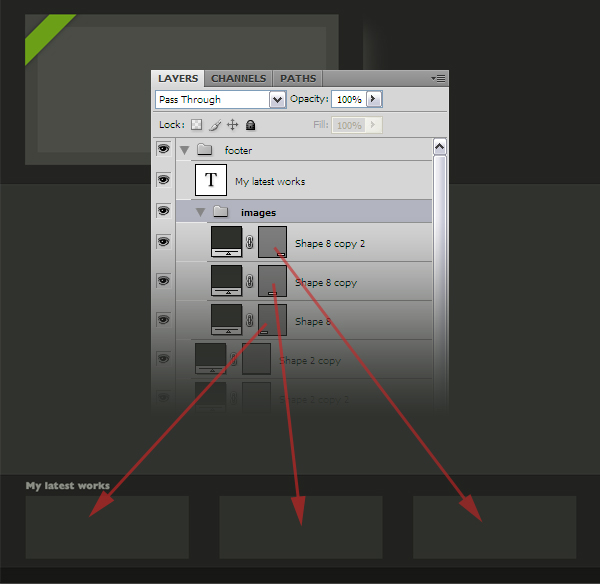
Step 30
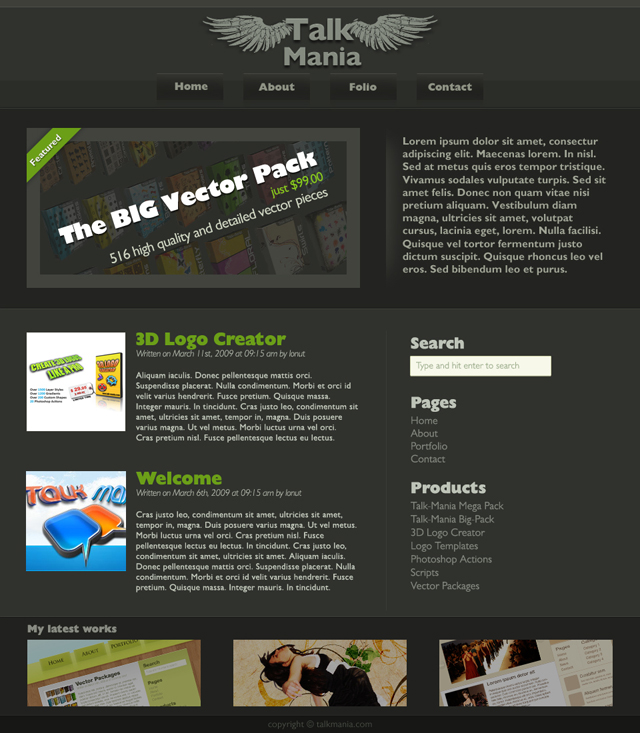
Add three images in the "my latest works" section, at the bottom of the layout and that's it. You have just created a dark portfolio layout.

Final Result