Step 1:
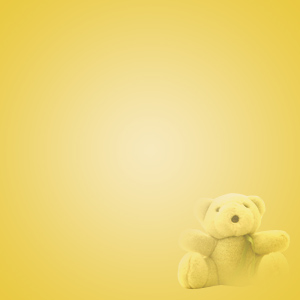
First start by making a new document, for this tutorial I used a size of 300 x 300 pixels. Now fill the background with a nice, light-yellow gradient, the colors I used for my gradient were #f7e8b9 and #eacb45.

Lastly for the background you might want to add in a nice touch, such as a cutout teddy bear. You can download the teddy bar that I used from here.
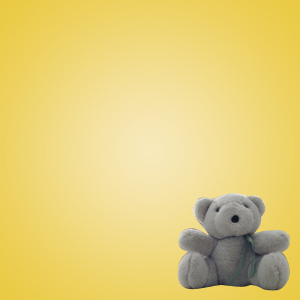
After putting the teddy on the canvas, use a soft brush to erase away some of the bad edges, then change the layer mode to Linear Light and lastly lower the opacity to about 40-50%.
Step 2:
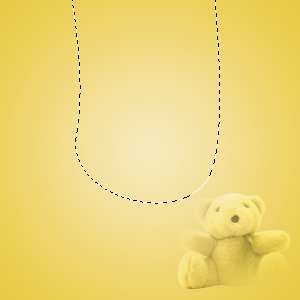
Next thing to do is make the shape of the logo. First, find the Pen Tool in the Tools Pallette.
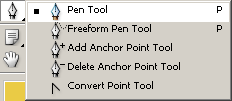
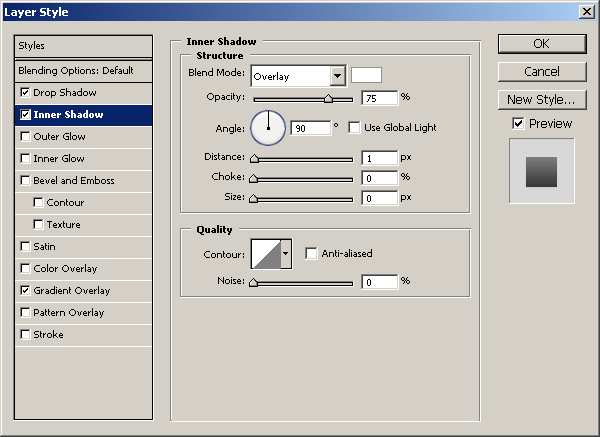
After you've gotten the Pen Tool out, be sure you're using the following settings:
![]()
Now you'll need to draw out your shape on the canvas. You can view the shape path I made below.
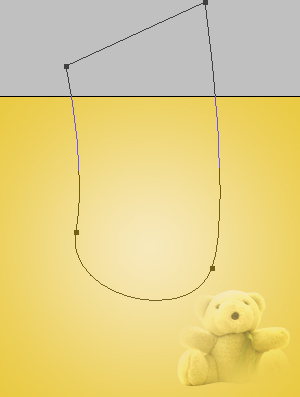
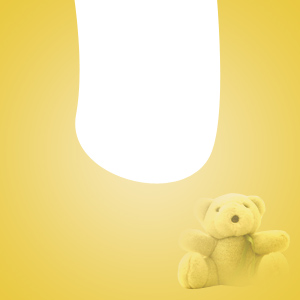
Turn your path into a selection by right-clicking the path and going to Make Selection, use default settings.
Be sure you're on a new layer then fill the selection with any color, lastly move the filled shape up about 20 pixels, (hold shift and press the up arrow twice.)
Step 3:
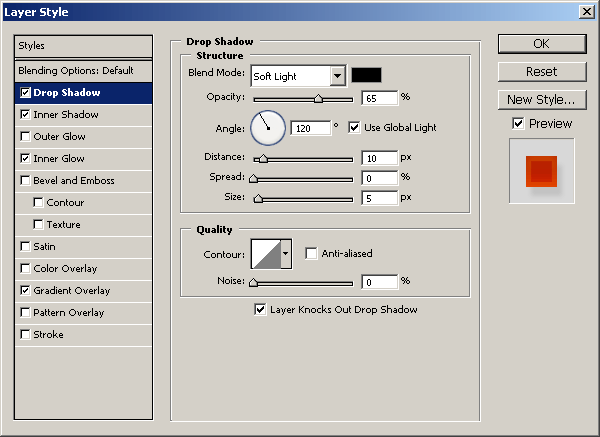
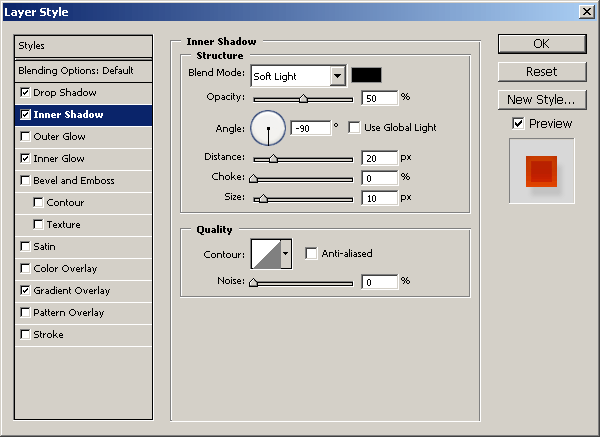
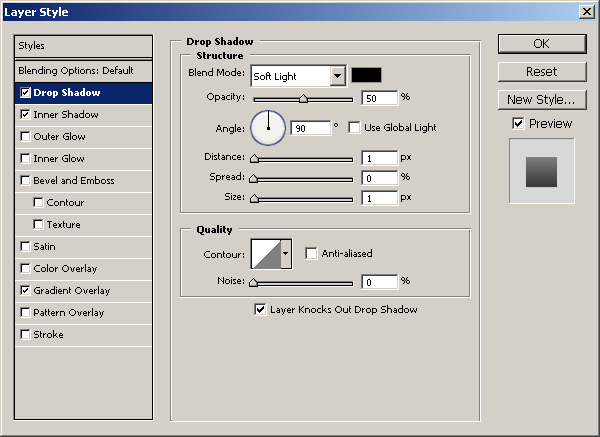
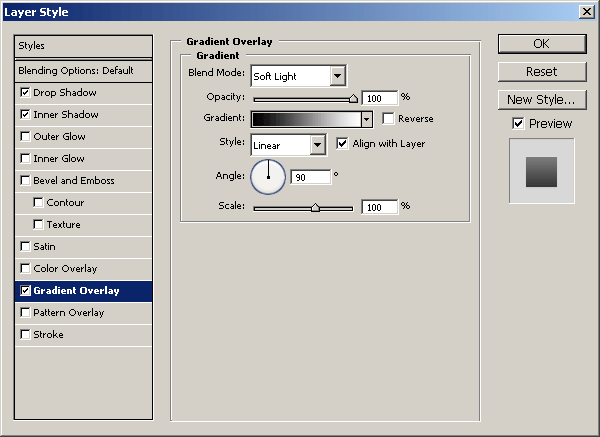
Apply the following layer styles to your filled shape layer:
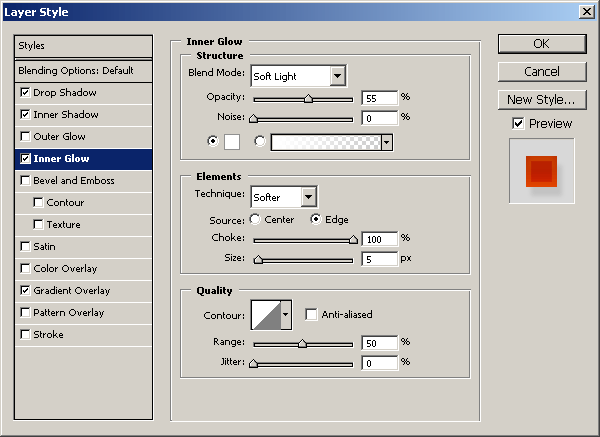
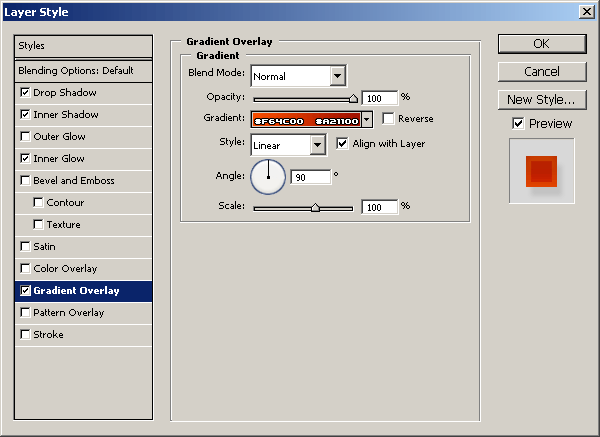
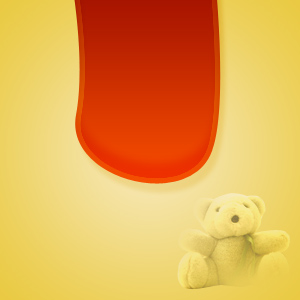
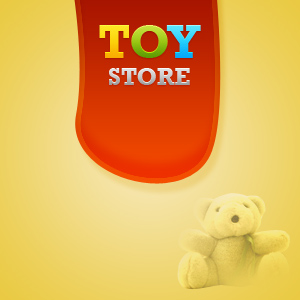
You should now have a nice result like this:
Step 4:
Now we'll add in some nice text. First start by writing out your text in one of your favorite fonts.

The font I used above is called Rockwell if you want to look it up and download it.
The color I used for the letter "T" is #fcd10a, the color I used for the letter "O" is #99c613, the color I used for the letter "Y" is #22cefc.
After writing out your text you can apply the following layer styles:
Your text should now look like this:

That looks really nice. Write out some more text underneath the "TOY" text, but this time with a greyish color.

The color I used for the text in the above image was #c7c7c7.
Copy and paste the layer styles from the last text layer to the new one.
Step 5:
For a finishing touch I added a little yellow start below the text, since it was a bit empty down there.
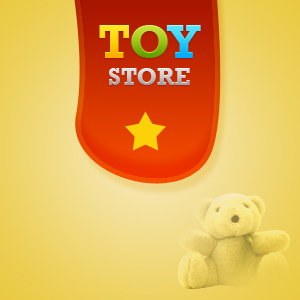
After you made your ornament you can simply copy the layer styles from one of your text layers to the star layer.

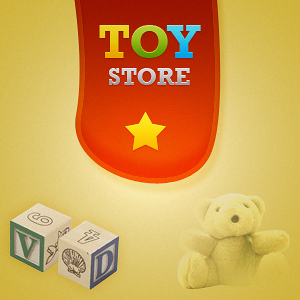
And that, is pretty much it! You might want to add in another cutout of something toy-related, such as some building blocks.
Thanks for reading, we hope you enjoyed the tutorial.