Step 1:
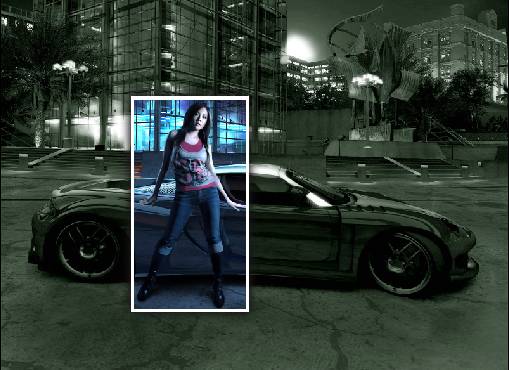
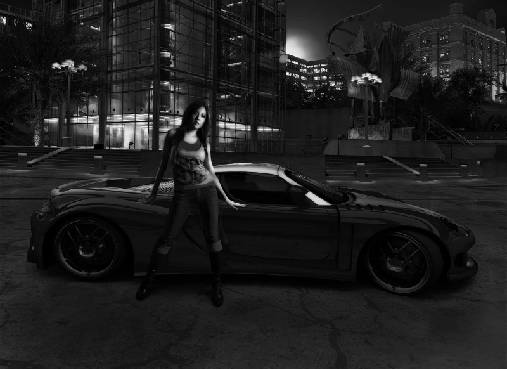
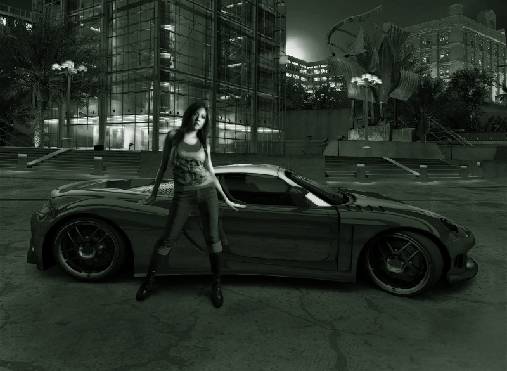
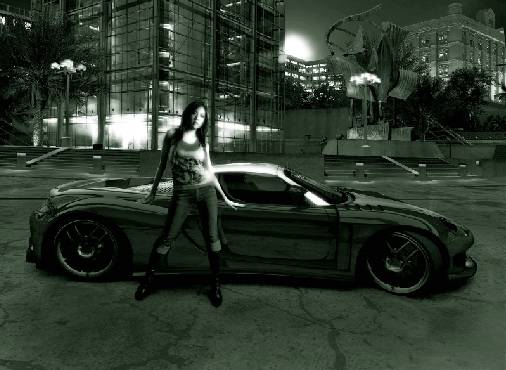
Open any high quality but appropriate photograph in PhotoShop. Such as this one below:
Step 2:
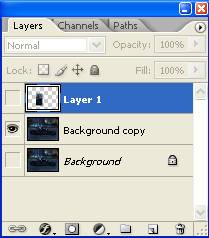
First duplicate the background layer so that it can be edited, currently it's locked. To duplicate the background layer select it in the layer palette, then right click on it and select the duplicate layer option.


Step 3:
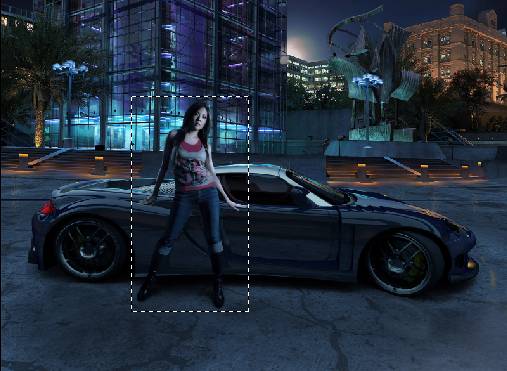
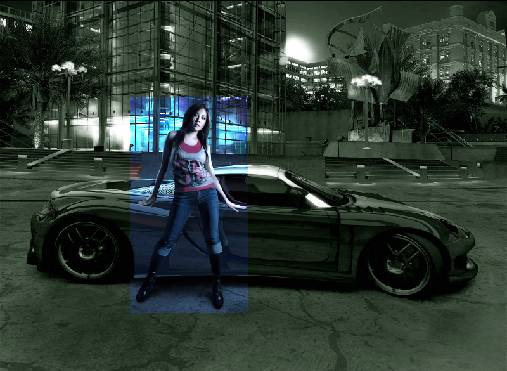
Select the rectangular marquee tool from the tool box as shown below and select the part of the image you want to emphasize.

Step 4:
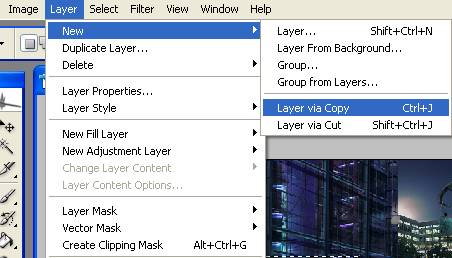
Select the layer via copy option from the layer menu and make a copy of the selection. Mark it invisible by clicking on the eye in front of the layer.
Step 5:
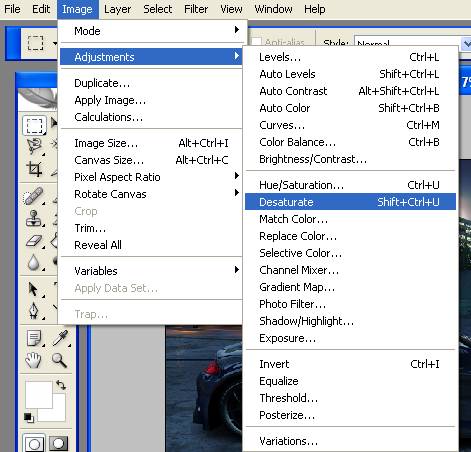
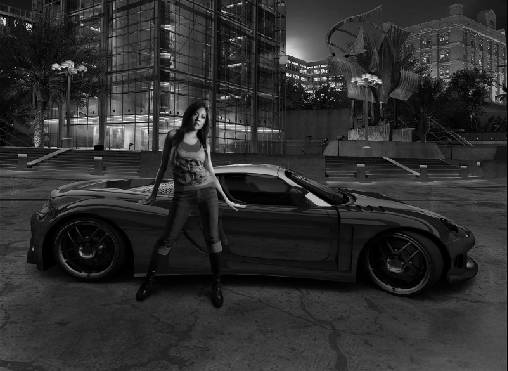
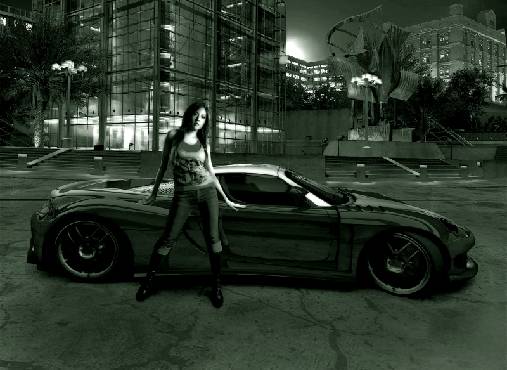
Convert the photograph into black and white by selecting the desaturate option from the image menu. Again make a copy of this black and white image by selecting the layer via copy option.
Step 6:
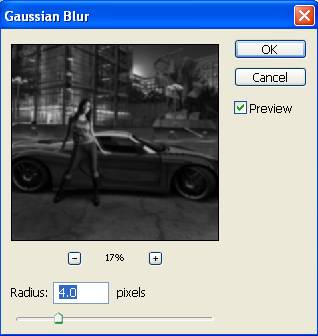
Select the gaussian blur option from the filter menu.
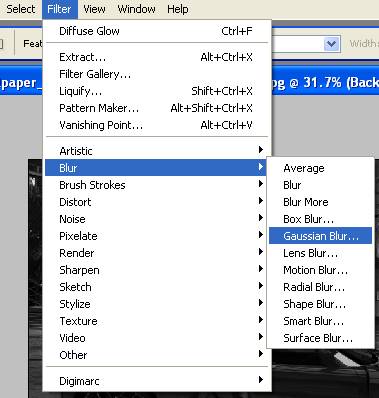
In the gaussian blur dialog box set the blur radius to 4.0 pixels.
Step 7:
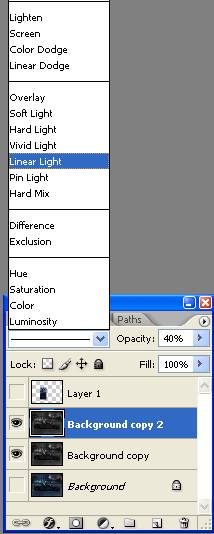
Set the blending mode of this layer to Linear light. This will enhance the quality of our black and white photograph. Set the opacity of this layer to 40%.
Step 8:
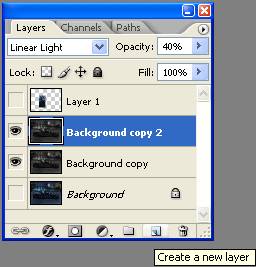
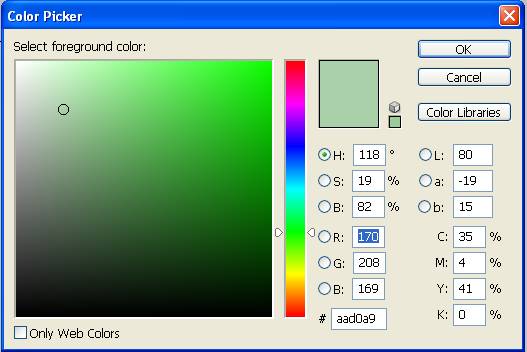
Create a new layer by selecting its option from the layer palette. Now fill the new blank layer with any color you like, i have used pale green.
Step 9:
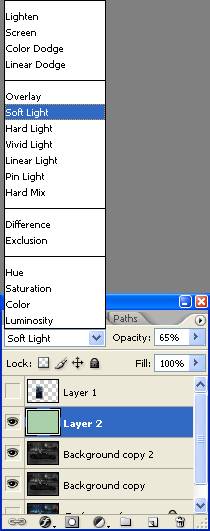
Change the blending layer mode of this layer to soft light and reduce its opacity to 65%.
Step 10:
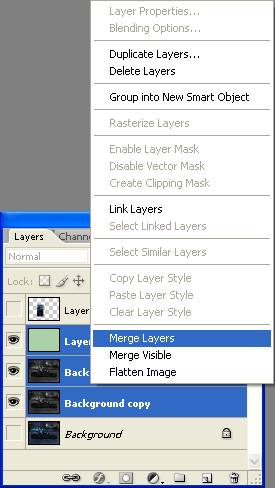
Now merge all the layer expect the one on which you copied the selection and the background layer which is locked. To merge all the layers select all the layers and right click to select the merge layer option.
Step 11:
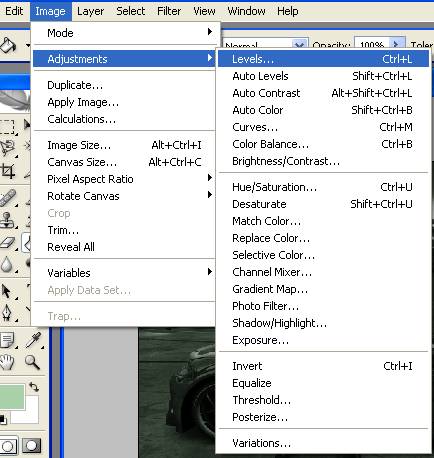
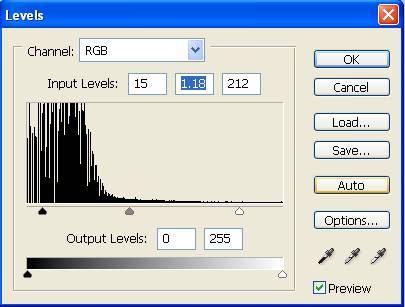
Select the levels option from the image menu. This we do to correct the brightness and contrast of the photograph till now.
Set the input levels to 15, 1.18 and 212.
Step 12:
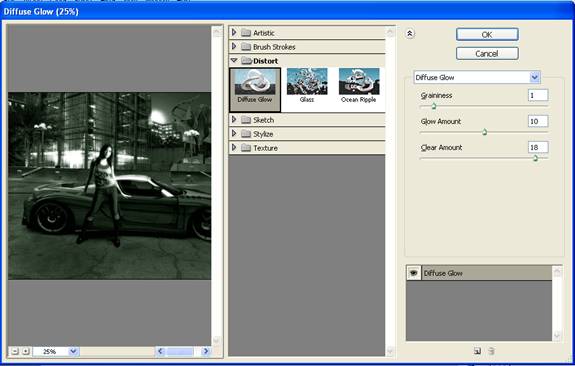
Now select diffuse glow option from the filter menu.
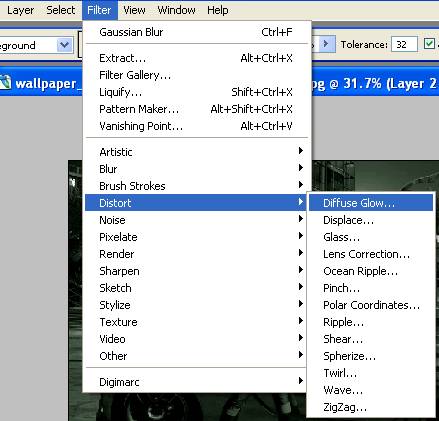
In the diffuse glow dialog box set different values as shown below.
Step 13:
Now make the selection layer visible. We will now correct its brightness and contrast. Select the levels option from the image menu.
Set the input levels to 0, 1.00 and 180.

Step 14:
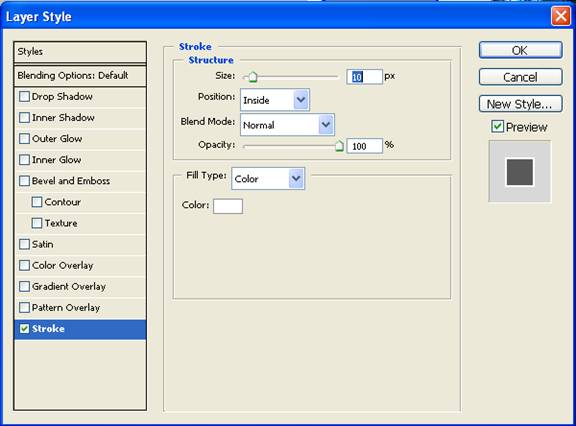
Now we will make a border around this selection. To do so select add a layer style option from the layer palette as shown below and select the blending options.
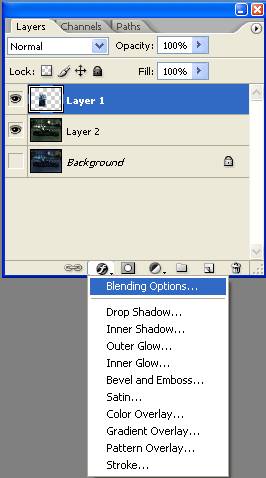
Under the blending option first select stroke, change the color to white and increase its size to 10 pixels. Change its position from outside to inside.
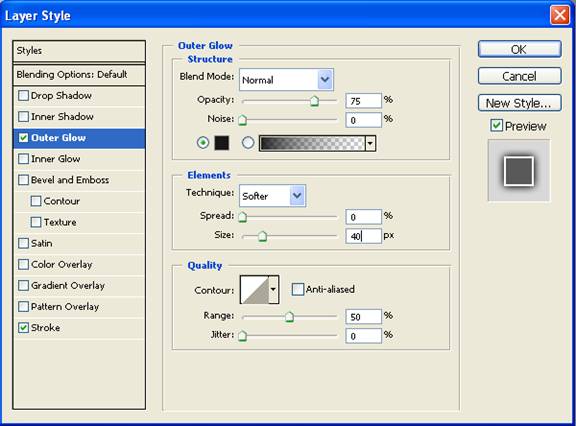
Secondly, make a few changes with outer glow layer style.
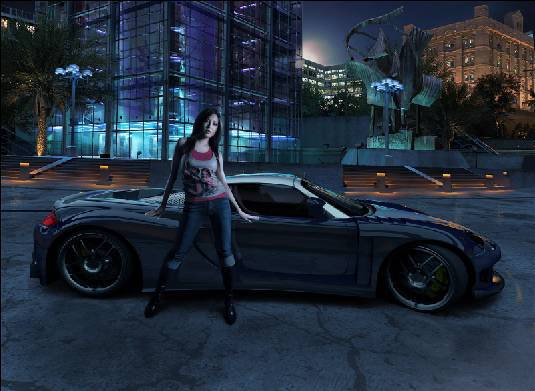
Here is my final image.