

Step 1
Create a new layer by going to File->New. I used a document of 1000x1000 px at 72 dpi (screen res), in RGB mode, you can enter whatever dimensions you like, it's your space.
Step 2
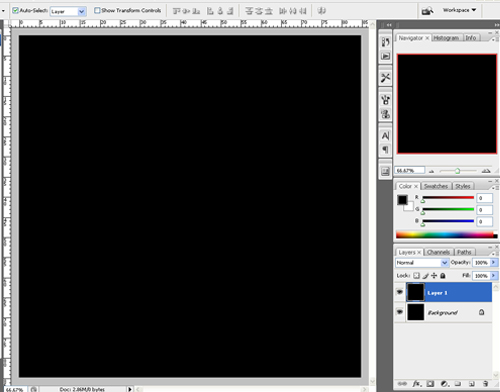
Fill the layer with black.
Step 3
Duplicate the background layer by pressing Ctrl+J when the background layer is selected.
Now it's time to create the stars
Step 4
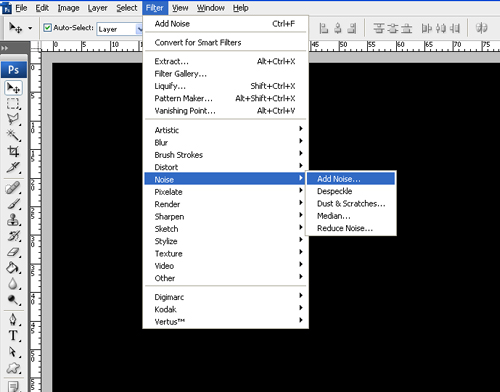
Having the background copy layer selected, go to Filter-> Noise -> Add Noise with the following settings: Amount 30%, Gaussian Distribution and with the Monochromatic box checked. Hit OK and you will get a noisy image. Don't worry, that's what we're looking for.
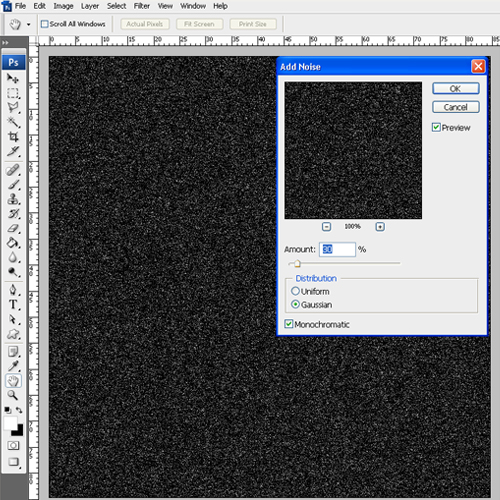
To get our image to look like a spacey star field, we have to bring in the blacks, to cover a big part of all the white dots.
Step 5
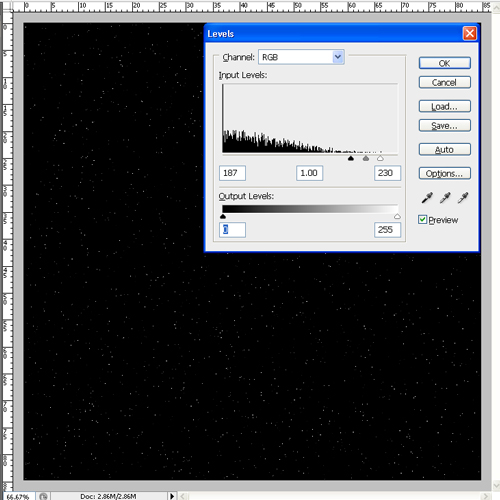
So, go to Image-> Adjustments->Levels. The leves dialogue will pop-up and there we'll have to push the blacks in, as i mentioned earlier. Depending on your image size and the amount of noise you have added, dial the blacks just as much as your eye likes.

Step 6
Soften the stars a bit by going to Filter->Blur->Blur More. The stars! There theyare!
Creating the nebulas
Download the stormy fractal brushes from brusheezy. Now load the brushes. To do this, select the brush tool (B) and go to the brush drop down menu, and select load brushes. Select the newly downloaded brush (stormy9.abr) and click Load.
Step 7
Create a new layer (Ctrl+Shift+N). In this layer we will paint in the nebulas, or something like that.
Note! Create a new layer for each shape!
Step 8
Having the brushes loaded, bring up the brushes window, (F5 or Window-Brushes) then select some stormy brushes and paint a circular form, or whatever form you like best for your final image.
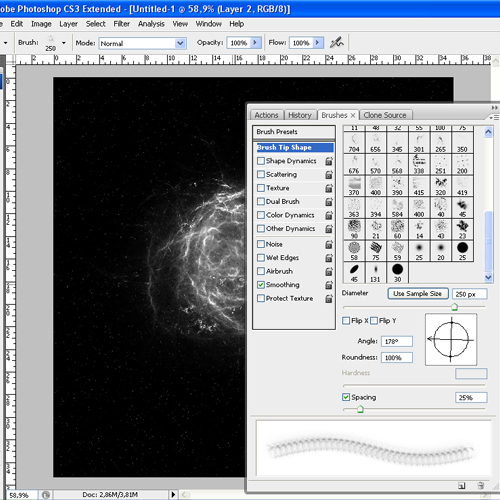
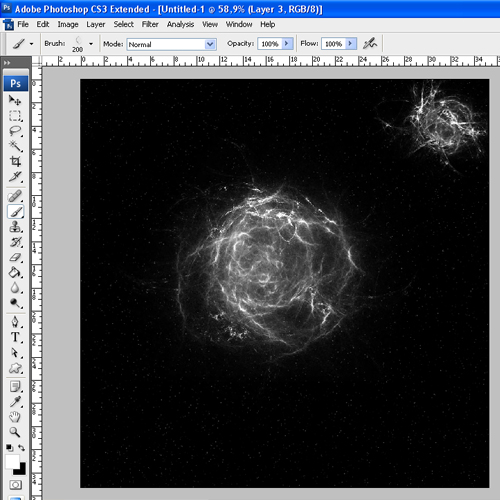
The color you're using while drawing the shapes is not important, because we we color them later with layer styles.
Step 9
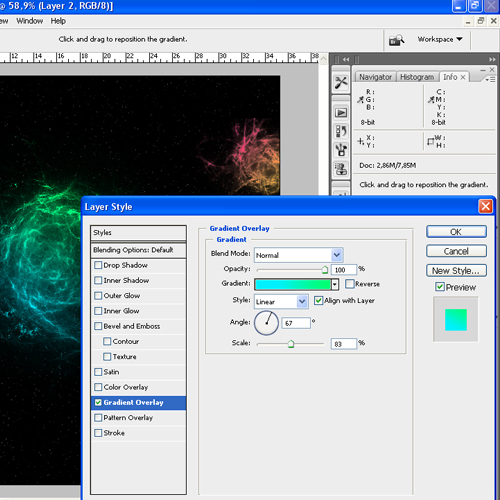
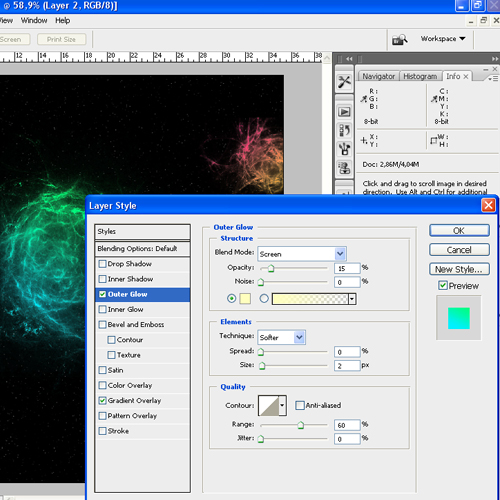
Now that you're finished with the nebula painting stuff, let's give them some color. I decided to use layer styles for this, so double click the nebulas layer and applygradient overlay using vibrant colors. Now apply an outer glow with low opacity and that's it for the coloring part.
Step 10
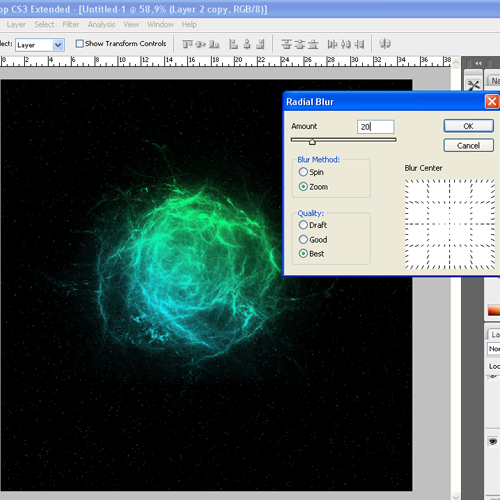
Select the shape with more interest in the composition of the image, duplicate it (Ctrl+J) and apply a radial blur. To do this go to Filter->Blur->Radial Blur
I used the Zoom blurring method, best quality and an amount of 20.
Shades of light
Step 11
Create a new layer for the lights. To do this press the create new layer icon on the bottom right of your layers palette, or press Ctrl+Shift+N. Now move the layer on top of the stars layer.
Step 12
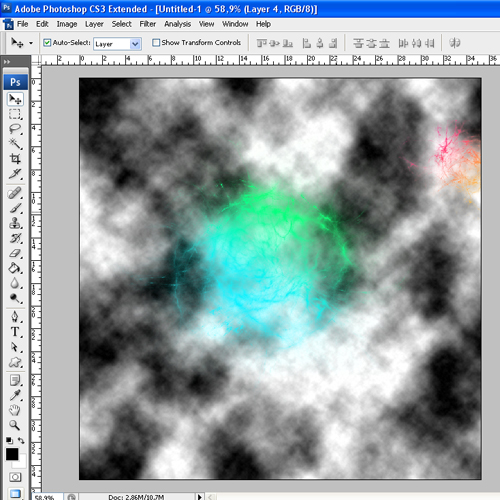
To create the shades, we need some clouds to blur, so hold ALT and Go to Filter->Render->Clouds with the default colors inverted (foreground black, background white). You're probably wondering why you had to hold ALT for this step. Well, by holding ALT the effect of the filter you apply is stronger than normal.
Step 13
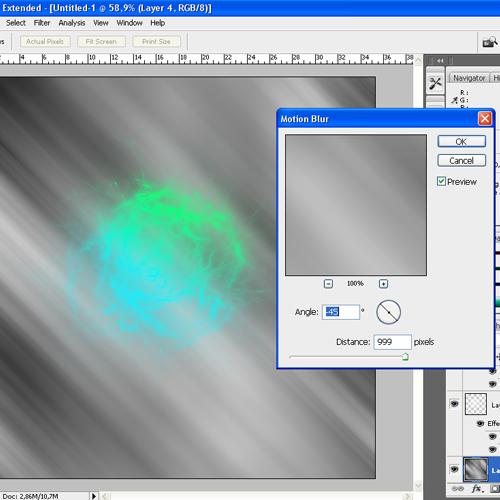
Now apply a strong motion blur. Go to Filter->Blur->Motion Blur and give it a big and strong motion blur.
I used an agle of -45 and a distance of 999 pixels (maximum)
Step 14
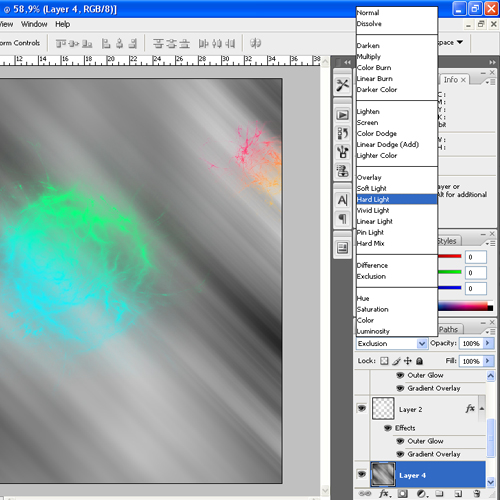
Having the light layer selected, change the blending mode from Normal to Hard Light.
Step 15
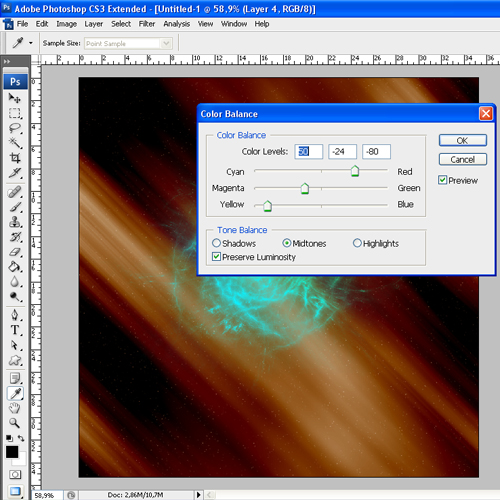
Giving color to the shades of light. There are numerous ways to do this, i chose Color Balance.
Go to Image->Adjustments->Color Balance, and dial in the settings as you preffer.
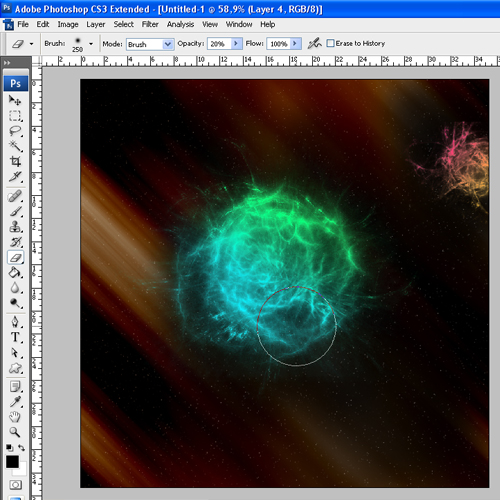
If you think there's too much light in there (definetly s), just go ahead and brush away the excess.
Step 16
Grab the eraser tool (E), set the hardness to 0% (right click on the image with the brush selected) and start erasing. You can use a lower opacity for better effects.
Adding text
Step 17
Create a new layer for the text. Ctrl+Shift+N or click the create new layer icon from the bottom right of the layers palette.
Step 18
Grab the type tool (T) and type in some text. I used the Abstract typeface, this is available at on www.designious.com along with other 12 good-looking typefaces.
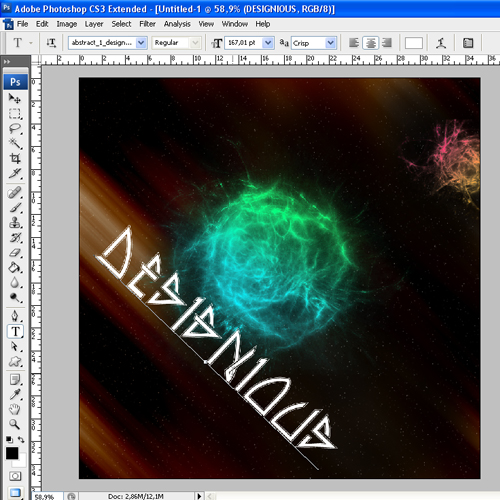
Step 19
Set the layer blending mode from Normal to Overlay
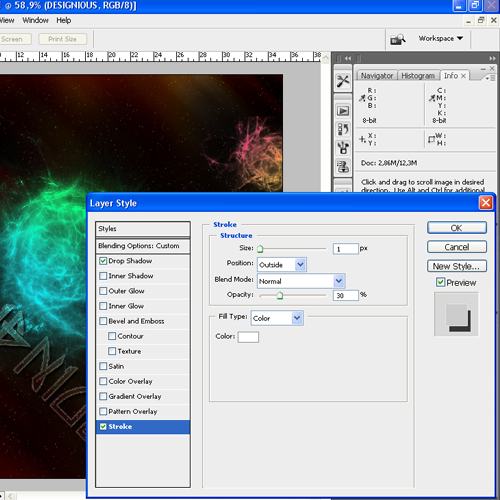
Step 20
Apply layer styles to the text. I used the following settings:

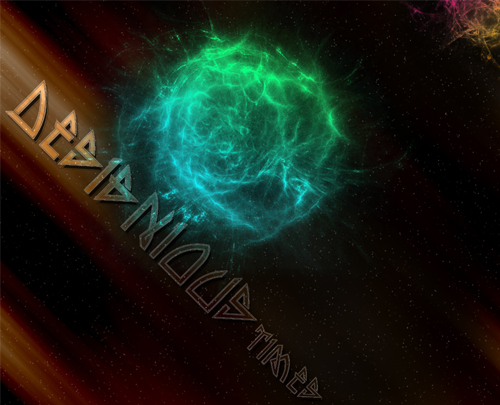
I cropped the image for final preview so it has a bit more consistency in the composition.
Final image preview:
One more thing, before we end this. I want to say that this tutorial is meant to get your hand and mouse to exercise, like every other tutorial for that matter. Probably you've heard or read this before, but: you can always improve your design by playing with the different settings. Do it! Don't just stand there! The most important part is to experiment and find new techniques that can improve your design and make it better for you, or the client… or both!
Cheers!