|
Create the Background
First start a new document. I started with a preset of 640 x 480. Next set the Foreground color to #F5840C (Shade of Orange) & Background color to #000000 (Black). (Ultimately, you choose your own varying color swatches, as this effect produces different results but the same effect.) Next, create a new empty Layer and apply a 'Clouds' Filter ('Filter/Render/Clouds') to produce a result similar to the below capture. 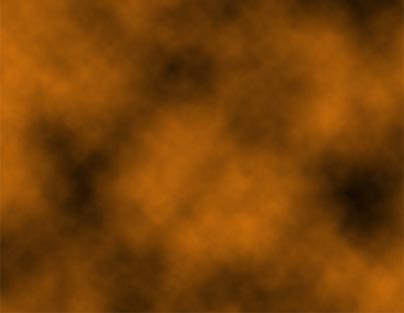 The color combination here is a little too dark, so to lighten it up, simply duplicate that Layer, and set the Layer Mode to 'Screen'. And reduce the 'Opacity' to a level your comfortable with. I used 61%. (As captured below)  This will generate the below result. 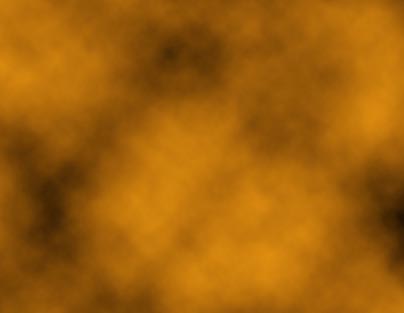 Set Smudge Tool Options & Brush Preset Size Preset Next, lets set a 'Brush Tool (B)' preset to be used later in the tutorial. So, simply select the 'Smudge Tool (R)' Then go up to the 'Options Bar', and select the 'Brush Preset Picker' and from the list choose a large brush. I selected tip hardness of 19, but adjusted the Diameter slider to 46. (As captured below)  While still with the 'Smudge Tool (R)' go back up to the Options bar and choose a 'Strength Value' and tick the 'Use all Layers' option, as I hae captured below. This step is important and is the main trick used in created the tentacle effect. Create A Path Next, lets create a simple curved path directly onto the document. Select the 'Pen Tool (P)' on the main Toolbar 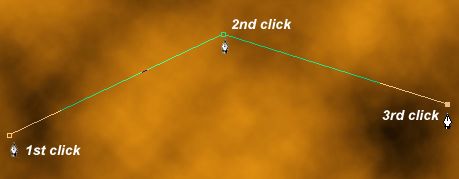 Next, select the 'Convert Anchor Point Tool' (hidden in the Pen Tool fly out menu), click on the 2nd Anchor Point and drag upper right-ward to form a curved path as I have captured below. 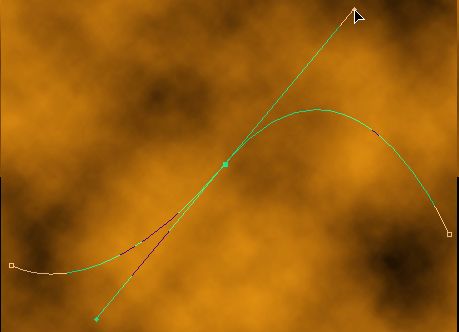 You can leave the path as it is, or to move or modify simply select 'Path Selection Tool (A)' I went ahead and used the 'Direct Selction Tool (A)' 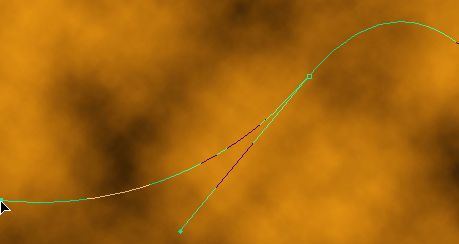 Create the Tentacles Now, everthing is in place. Background is ready, Smudge & Brush Tool options are set and a Path to use that will form the shape of the tentacles. Create a new empty layer just above your background layer, so that (if you followed to this point) theres a total of three layers, as I have captured below.  Next, select the 'Path' you created earlier with the 'Path Selection Tool (A)' The 'Stroke Path' option will prompt you to choose a Tool Preset. So from the dropdown list choose the 'Smudge Tool'. Tick 'Simulate Pressure' option, then 'OK'.  Hit 'Ctrl + H' key (Mac:Command + H key) to temporarily hide (repeat to reveal) the 'Path' to see the underlying effect. (As I have captured below)  Notice in the Layers Palette, that this tentacle effect appears separate from the background. This gives us some more control later when applying Blending Styles. Remember that Smudge Option earlier , 'Use All Layer'. Thats whats doing the trick here. It's dragging and pulling the pixel information it finds along this path to the brush preset diameter.  Thats the crust of the tutorial. The rest is a matter of adjusting the 'Path', create new Layer, then Stroke with 'Smudge Tool Preset'. Then repeating the proces for as many tentacles you want to appear in the graphic. So, I repeated the process 4 more times to achieve the below effect thus far. Again, simply create a new empty layer, adjust the path to a new position, and then stroke with smudge tool preset. 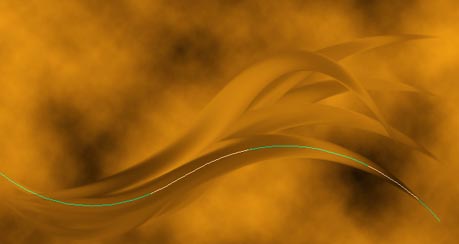 Here is a capture of the Layers Palette at this point.  Note the above stacking order. Though, optional, before applying the stroke process, move the layer to a new position so as to give the appearance of intertwining and depth to the individual tentacles. Optional: For reuse at another time save the Path that you have been using, by going to the 'Paths' tab, and double clicking that Path. Apply Blending Styles To add enhencement to the tentacles, and since they are on there own invidual Layers, there's plenty of room for flexibility. But for the moment I'll just jump into using 'Blending Styles'. Not to drag this tutorial on for each tentacle, follow the the three (3) below (or similar) blending styles that I used for the upper most tentacle in the Layer stck order, and apply varying degrees of style to the others..  Bevel & Emboss:  Contour:  Color: Blend Mode Color # D47D11 Gradient: Foreground to Background gradient/Reversed. (In my case I had it set to White to Black)  And here is the resulting Blending Style to that upper tentacle Layer. 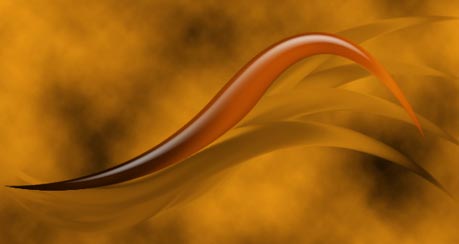 Now simply repeat a similar or copy the Layer Style to the other tentacle Layers for the full effect. To achieve the below effect.  |
Her
Tentacles Effect in Photoshop
Added:Nov 29, 2004 Rating:

 Level: Beginner Software:
Photoshop
Level: Beginner Software:
Photoshop
Level: Beginner Software:
Photoshop