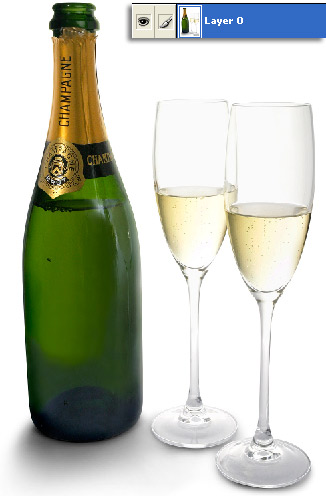
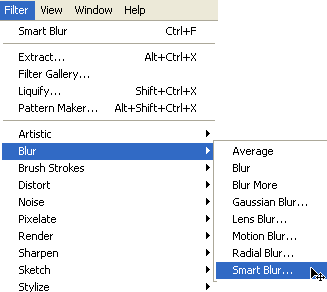
 To begin, have the target image layer selected, as I have captured above. Next, go 'Filter/Blur/Smart Bur' as I have captured below.
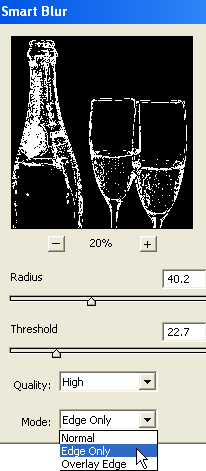
 From the 'Smart Bur' dialog, make sure the 'Edge Only' Mode is selected and toy with the 'Radius'/'Threshold' sliders. The objective is to ensure that an edge line covers the entire image with some overspill into the interior of the image as well.
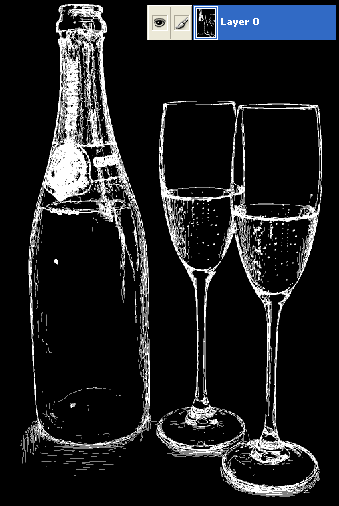
 This will produce a similar result as below.
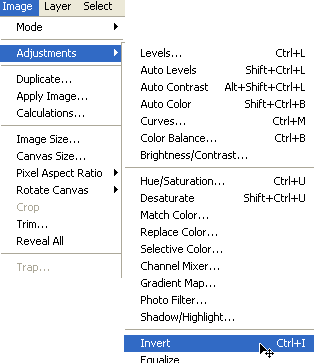
 Next, with the same image layer active, go 'Image/Adjustments/Invert', as I have captured below.
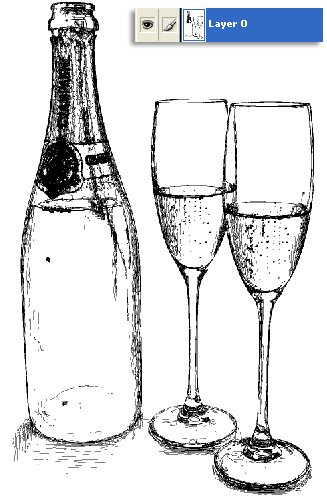
 Inverting produces the below resulting image.
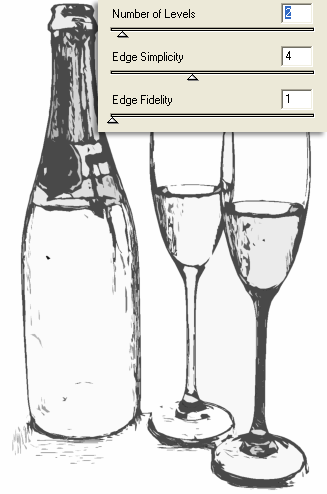
 The above result is quite satisfactory, but to add to the edge effects of the line art, go 'Filter/Artistic/Cutout' as I have captured below.
 Depending on how thick you want the lines, adjust the Cutout sliders for the desired effect.
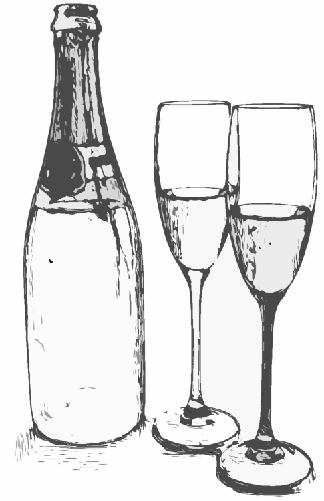
 Here is the final result.
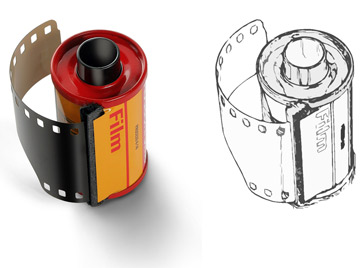
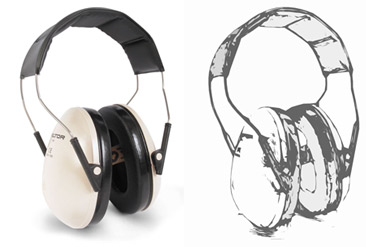
 Other samples below:
Summary:1. Smart Blur with Edges Only Mode2. 'Ctrl + I' to invert the result of the Smart Blur. 3. 'Filter/Artistic/Cutout' for smooth line definitions.
Click Here for an alternate version of creating Line Art from Photos. |
Her
Creating LineArt from Photos
Added:Dec 03, 2004 Rating:


 Level: Beginner Software:
Photoshop
Level: Beginner Software:
Photoshop
Level: Beginner Software:
Photoshop