
This is a quick and cool effect that in the end, archives an infra-red photo effect.(all images are scaled down to 25%)
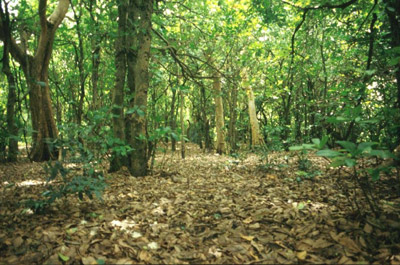
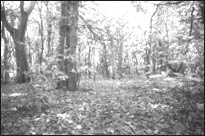
1. Start with your background, This can be of anything, we chose a picture of a forest.
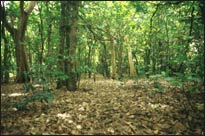
2. Go Image > Adjust > Hue/saturation + just up the saturation about +20
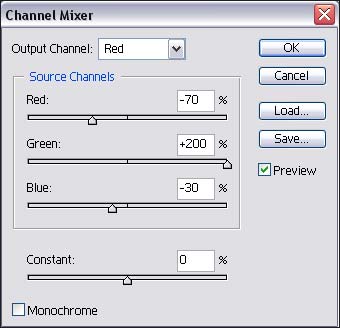
3. Click Layer > New Adjustment layer > Channel mixer (use the following settings)
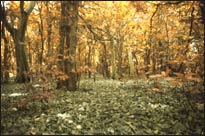
4. If you use the picture that we are using, you will notice you get an 'autumn' type picture... AWWWwww... Now, select the previous layer (the one underneath)
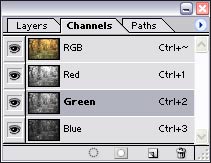
5. Now, click on the channels palate (usually on your layers palate along with paths) If not, bring it up by going to window > channels
6. click on the second one up, (green) now click on the eye on the channel named RGB to show all the channels
7. Next, filter > blur > guassian blur - and give it a setting of 4.5 pixels. NOW, straight after click Edit > fade and put it to a opacity to 25% with a mode of screen.

8. Now, on the layers palate. DOUBLE click the layer, 'channel mixer 1' (click on the circle with 1/2 white and 1/2 black) Now check 'monochrome' and hit ok.
9. Lastly, click Filter > Noise > add noise - with a setting of 5.0% - guassian - monochrome.
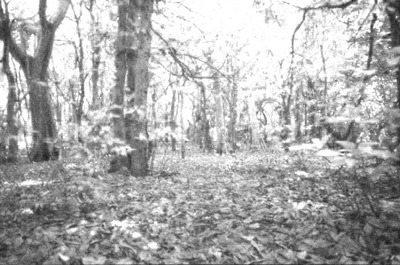
I suggest you enlarge the picture above to experience the full effect
of this picture!