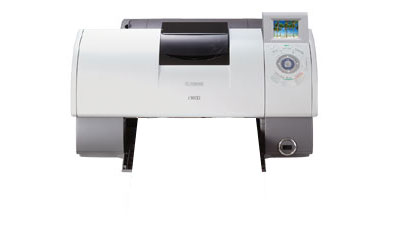
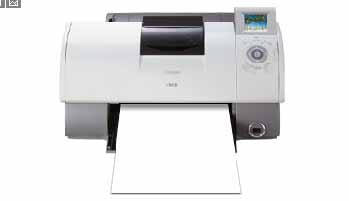
1) Ok first you want to browse around on
google trying to find a perfect image of a printer. Unfortunatly the
one I found already had paper coming out of it. So you can use this
below or try and find a picture without the paper.
2) Ok well we need to start off with a drop shadow. Select the
Single Row Marque Tool and make a selection just right where the paper will be coming out:
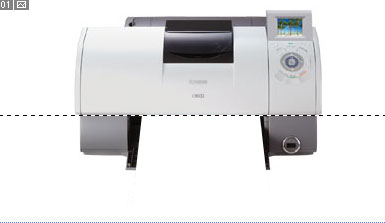
Now create a new layer. Fill the line in with any color. I used black for now.
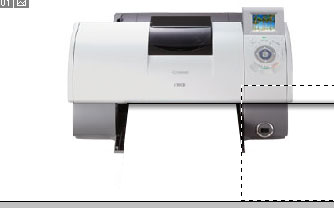
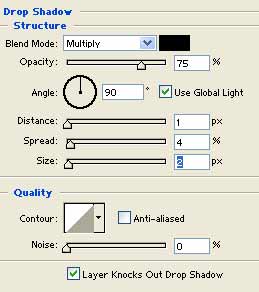
3) Right click the new layer and go to
Blending Options and set a drop shadow setting.
4) Select the
Rectangular Marque Tool and remove the drop shadow accordingly:
5) Make a new layer. Make a selection with the
Polygonal Lasso Tool:
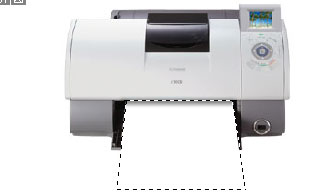
Grab your
Paint Bucket Tool and fill it in with a off white color.
Right click the layer and go to
Blending Options Apply these drop shadow settings:
6)
You want to make sure your paper layer is under the line with the drop
shadow layer. Or there will be no drop shadow on your paper like below:
6) Open up a graphic you already made. Size it to the size of the paper. Now your graphic onto the page of your printer:
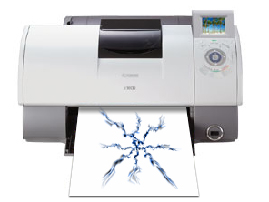
Also make sure your graphic layer is also below the drop shadow layer.

