

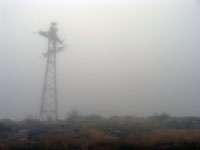
Make a photograph look like it was taken through a frosted window.
 |
1. Open the image for editing. |
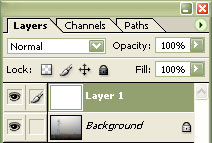 |
2. Create a new layer (Ctrl+Shift+N) and fill the layer with the colour white. |
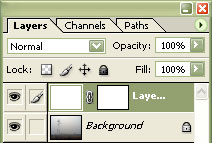 |
3. Add a layer mask to the new layer (Layer> Add Layer Mask> Reveal All). |
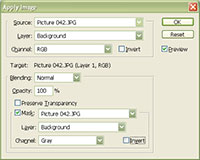 |
4. With the layer mask selected, use the "Apply Image" tool to apply the following properties:
Source: filename
Click OK. |
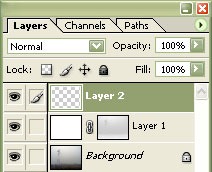 |
5. Create a new layer (Ctrl+Shift+N) as the top layer. |
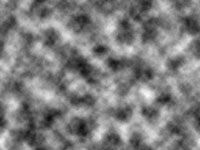 |
6. Apply a "Clouds" filter (Filter> Render> Clouds) to the current layer. |
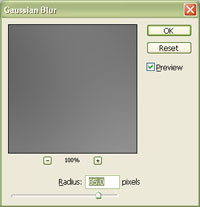 |
7. Apply a "Gaussian Blur" (Filter> Blur> Gaussian Blur) with a large "Radius" that will blur all edges to the current layer. |
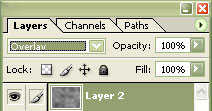 |
8. Set the current layer's blending mode to "Overlay". |
|
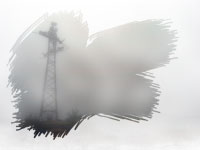
9. Select the middle layer and use the eraser tool to erase the areas you do not want the frost to be. Try using different brushes. Rollover the image in this step to see the original image before this technique was applied. |