
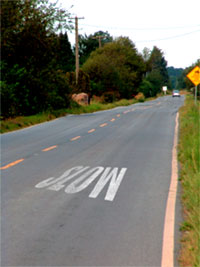
Learn how to add text to a road and make it look even more realistic by making the text worn out.
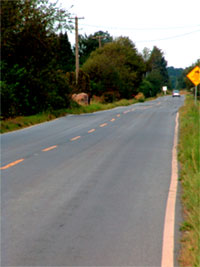 |
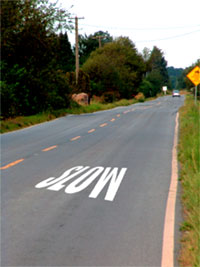
1. Open the image for editing. For this tutorial, select a photograph with a tarmac road. |
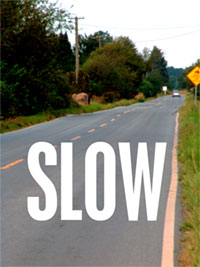 |
2. Enter the text you wish to have appear on the road and set the text colour to white. |
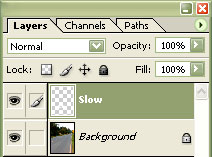 |
3. Rasterize the text layer (Layer> Rasterize> Type). |
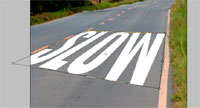 |
4. Using the "Distort Transform" tool (Image> Transform> Distort), distort each corner of the text so that the text looks like it is on the road. |
 |
5. Reduce the size to fit. Press "Return" to exit out of the transform editing mode. |
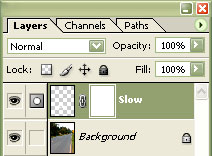 |
6. On the current layer, add a layer mask (Layer> Add Layer Mask> Reveal All). |
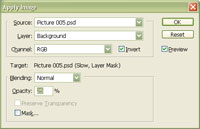 |
7. With the layer mask selected in the layers window, use the "Apply Image" tool (Image> Apply Image) to apply the following propeties:
Source: filename
Click OK. |
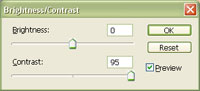 |
8. Use the "Brightness/Contrast" tool (Image> Adjustments> Brightness/Contrast) to increase the contrast. Select a contrast between 90 and 99; this will define how worn the text is. Click OK. |
 |
9. Use the "Levels" tool (Ctrl+L) to adjust the opacity and contrast of the text. |
|
10. If you are working on a high resolution image, apply a "Gaussian Blur" to reduce the sharpness by barely blurring the edges. Rollover the image in this step to see the original image before this technique was applied. |