


A web pattern over an aurora background.
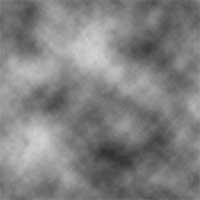 |
1. Create a new 500x500 pixels document and add a Clouds filter (Filter> Render> Clouds). |
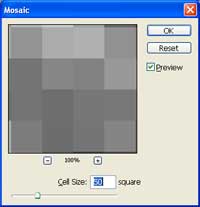 |
2. Add a Mosaic filter (Filter> Pixelate> Mosaic) and use a cell size of 50 square. |
 |
3. Add a Find Edges filter (Filter> Stylize> Find Edges). |
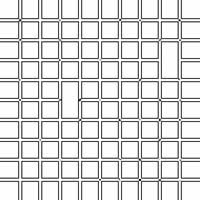 |
4. Repeat the previous filter (Ctrl+F) four times. |
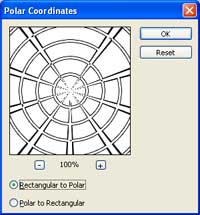 |
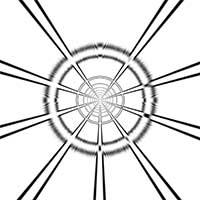
5. Distort the image using the Polar Coordinates filter (Filter> Distort> Polar Coordinates) using the Rectangular to Polar method. |
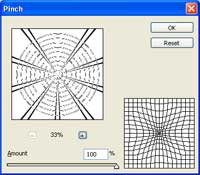 |
6. Distort the image using the Pinch filter (Filter> Distort> Pinch). |
 |
7. Repeat the previous filter (Ctrl+F) a few more times. |
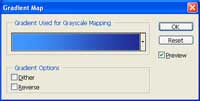 |
8. Add a Gradient Map adjustment layer (Layer> New Adjustment Layer> Gradient Map) and select a gradient you would like to use. |
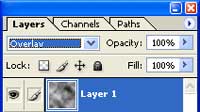 |
9. Create a new layer as the top layer, add a Clouds filter (Filter> Render> Clouds) and change the blending mode to Overlay. |
 |
10. Add a Motion Blur filter (Filter> Blur> Motion Blur) using these settings:
Angle: 90º
|
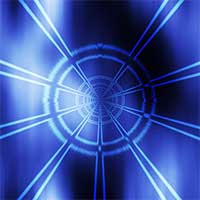 |
11. Duplicate the top layer (Ctrl+J) several times. |