1. Make a new picture (CTRL+N) i used the format 477x250 pixels.
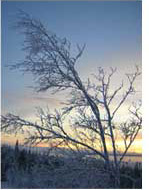
2. Copy a photo or a picture from another place and past it into your image.
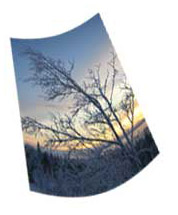
3. Press CTRL+T to transform it, get it in the same size as on the image below:
4. Click on Edit > Transform > Rotate 90 CCW.
5. Click on Filter > Distort > Shear, click on the box, at the right side of the line. (look at the image below)
6. Click on Edit > Transform > Rotate 90 CW.
7. Double-click on the layer, click on 'Stroke', set the color to white and Size to 2, OK.
8. Click on Edit > Transform > Perspective, make the image smaller at the top.
9. Press CTRL+T to transform, click at the upper center box and make the image lower. Click outside the box and rotate it abit to the left. Double-click inside the box to accept.
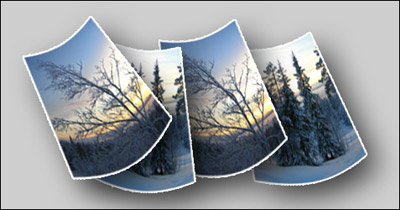
You should now have a image which looks something like this:
Double-click on the image layer to change blending options. Click on 'Drop Shadow', set Distance to 20 and Size to 40, OK.Here is my final result: