Start a new document 600x600.
Set the foreground and background to default by pressing "D".
![]()
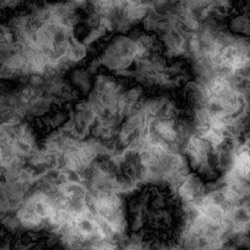
Create a new layer and fill it with BLACK
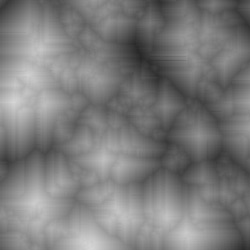
Then Filter->Render->Difference Clouds.
Reapply this filter 2 more times by pressing CTRL+F twice.
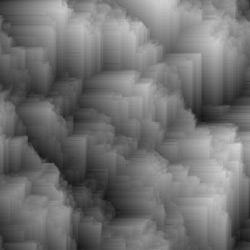
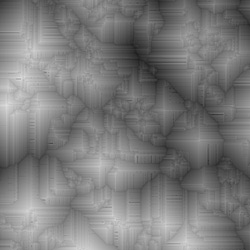
Now go to Filter->Stylize->Wind.
Method: Wind
Direction: From the Right.
Press CTRL+F 7 more times to reapply the wind filter.

Now go to Image->Rotate Canvas->90CCW.
Then press CTRL+F 8 times to reapply the previous filter, which is the Wind Filter.
Now go to Image->Rotate Canvas->90CCW.
Then press CTRL+F 8 times to reapply the previous filter, which is the Wind Filter.
Now go to Image->Rotate Canvas->90CCW.
Then press CTRL+F 8 times to reapply the previous filter, which is the Wind Filter.
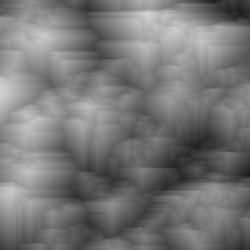
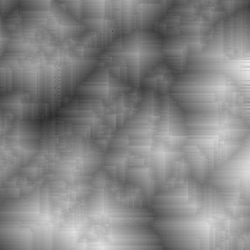
Then Filter->Sharpen->Unsharp Mask.
Amount: 500%
Radius: 2.0
Threshold: 0
Now go to Filter->Stylize->Wind.
Method: Wind
Direction: From the Right.
Press CTRL+F 8 more times to reapply the wind filter.

Now go to Image->Rotate Canvas->90CCW.
Then press CTRL+F 8 times to reapply the previous filter, which is the Wind Filter.
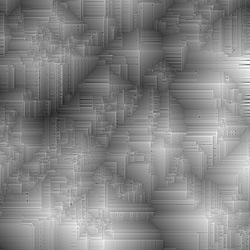
Then Filter->Sharpen->Unsharp Mask.
Amount: 500%
Radius:
1.5
Threshold: 0
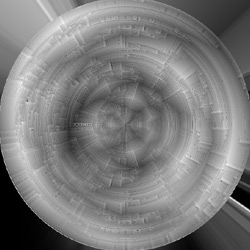
Then Filter->Distort->Polar Coordinates.
Options: Rectangular to Polar

Now we need to get rid of that ugly vertical line.
Duplicate this layer, then Edit->Transform->Flip Vertical.
Then use the Eraser tool, with brush size 300px Soft Brush and erase the vertical line of the new duplicated layer.
![]()
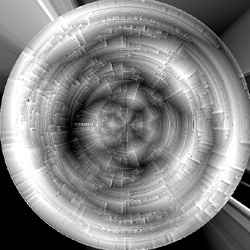
Then Layer->Flatten Image.
Then Filter->Sharpen->Unsharp Mask.
Amount: 100%
Radius:
70
Threshold: 0
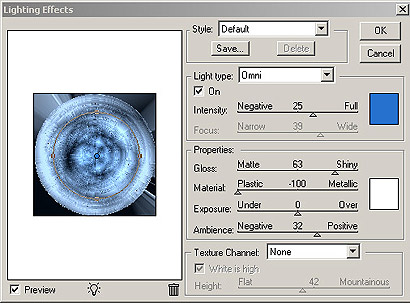
Then go to Filter->Render->Lighting Effects.
Then apply this settings:
Then use the Circular Marquee tool
![]() and
while holding shift, make a selection as big as you
can to the edges.
and
while holding shift, make a selection as big as you
can to the edges.
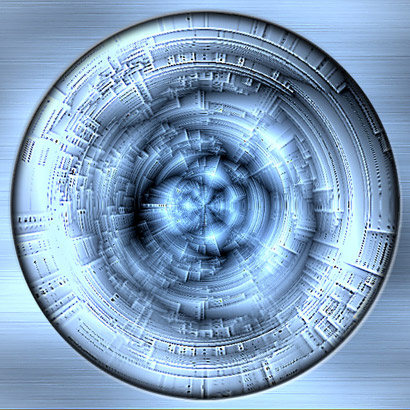
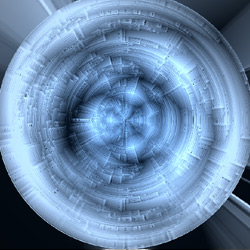
Then go to Filter->Distort->Spherize
Amount: -60%
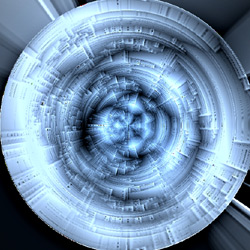
Here is mine: