Start a new document 600x600.
Set your colors to default black and white by pressing "D".
![]()
Fill your background with black.

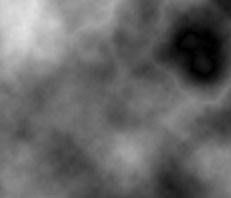
Now go to Filter->Render-> Difference Clouds.
Press CTRL+F 2 more times to apply it 2 more times.
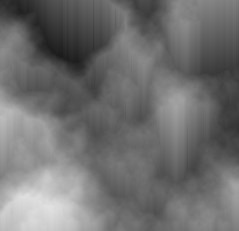
Now go to Filter->Stylize->Wind
Method: Wind
Direction: From the Right
Press CTRL+F five times to reapply the wind filter 5 more times.

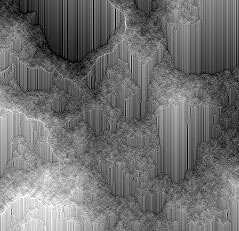
Now go to Image->Rotate Canvas->90CCW.
Now go to Filter->Sharpen->Unsharp Mask.
Amount: 500%
Radius: 2.0
Threshold: 0
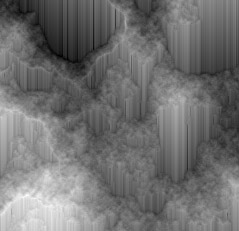
Then Filter->Sharpen->Sharpen. do this twice.
Then Duplicate this layer, and hide the top layer. We'll work with the bottom layer now.
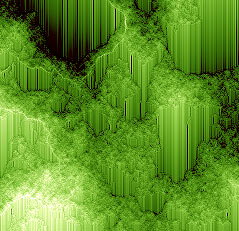
With the bottom layer selected, go to Image->Adjustments->Color Balance.
For each of the tone balance, set the following color levels.
Midtones: [-49] [+100] [-100]
Shadows: [-53] [-100] [-100]
Highlights: [-48] [-36] [-69]
Of course, you can play around with these tone balance settings, you can get really nice colors playing with these values.
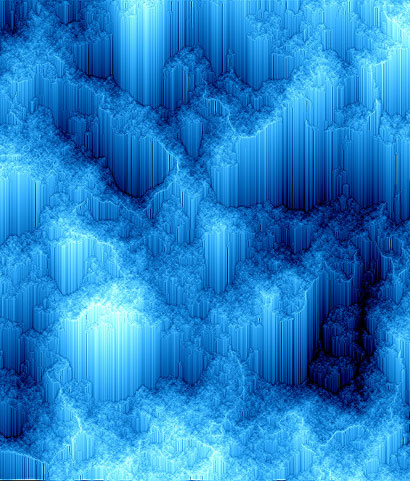
Below is what I got in my final using the above settings.
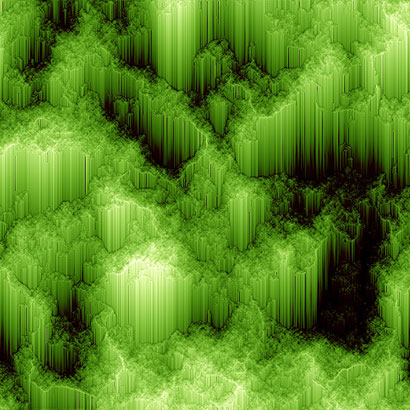
Here is one using another tone balance setting.