
I used Photoshop 6.0 to create this explosion effect. But I am sure you can do it with Photoshop 4.0 and higher versions.
Start with a new document , 500 pixels width and 375 pixels height and white background.
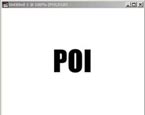
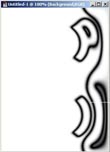
I used my nickname to illustrate. Font size 100 and font name Impact. Place the text on the center of the document. Duplicate the text layer. Hide the original text layer and select duplicated text layer.
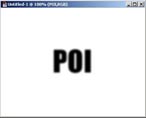
Apply Filter > Blur > Gaussian Blur to the text. I used 2.5 for radius value.
Apply Filter > Stylize > Solarize
Now we will auto level to make it brighter.
Shortcut : Ctrl + Shift + L
Deep Note for users other than Photoshop 6
If gauissan blur does not work on your text , Merge it to the background than apply Gauissan Blur.
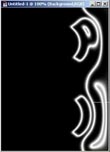
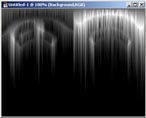
Now turn image 90 degree clockwise.
Edit > Rotate Canvas > 90 CW
Invert the image. Image > Adjust > Invert
Shortcut : Ctrl + I

Direction: From the right
//After applying once , you can repeat the effect by pressing Ctrl+F//
Auto Level the layer. Shortcut: Ctrl + Shift + L

Invert the layer. Shortcut: Ctrl + I
Apply wind effect again three times.
Direction: From the right
Shortcut: Ctrl + F , 3 times.
Now turn image 90 degree counter clockwise.
Image > Rotate Canvas > 90 CCW
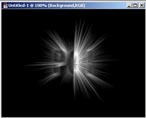
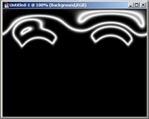
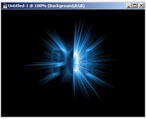
Apply Filter > Distort > Polar Coordinates with the option Rectangular to Polar.
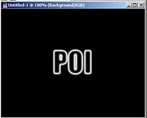
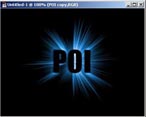
Explosion effect is now pretty visible. Let's add color.
Shortcut: Ctrl + U
Click on the Colorize button which is at the lower right part of the window.
I used the values Hue: 205 Saturation: 75 and Lightness: 0
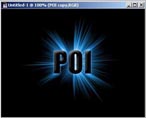
From the layer style //Photoshop 5.5 and above// add inner bevel, outer glow with the color light blue. You can get different effect playing with blending options on Layer window.
If you have done everything
right, but the final image doesn't look like
this then you are missing something.