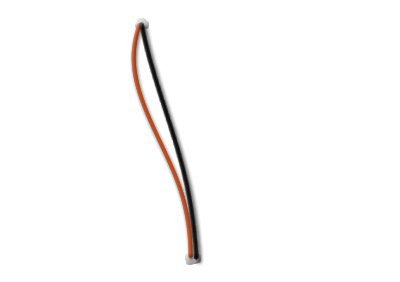
| What you'll start with: | What you'll end up with: | |
 |
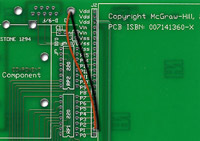 |
This tutorial shows you how to create realistically-looking wires. The picture above is courtesy of McGraw Hill.
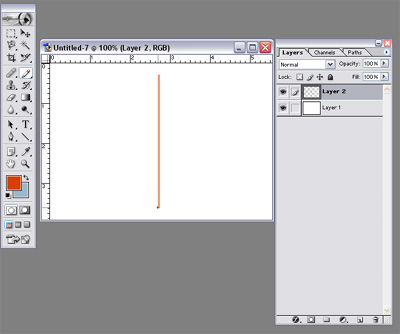
1. Create a blank document of size 400x300 and a white background. Press 'Ctrl+Shift+N' and click on OK to create a new layer. Choose the pencil tool and a foreground color of your choice and, with the 'Shift' button pressed, draw a vertical line.
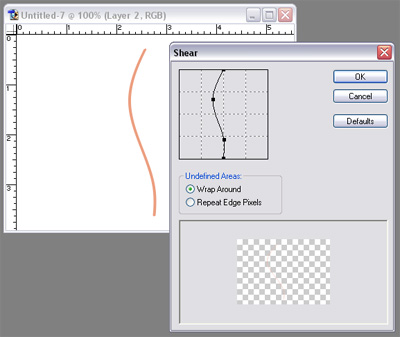
2. Go to Filter, Distort, Shear. Click the vertical line at different positions and drag it right or left to get the desired curvature for the wire.
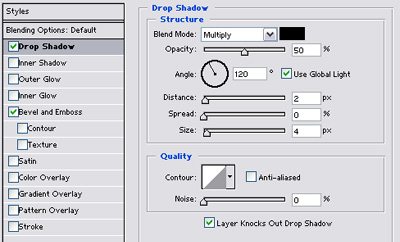
3. Right click on the layer containing the wire and select Blending Options. Tick Bevel and Emboss and then tick and select Drop Shadow. Change the shadow's opacity to 50%, its distance to 2 and its size to 4. Click on OK.
4. You can now add multiple wires with different curvatures to create a more realistic look. In the example shown below, a gray brush with an opacity of 50% and a bevel and emboss effect is used to paint solder marks at the the wires' ends.