


1 | 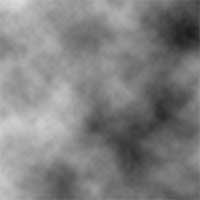 | Create a new document and apply a Clouds filter (Filter> Render> Clouds). For this step, I've created a 400x400 pixels document. |
2 | 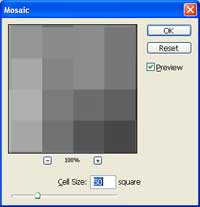 | Add a Mosaic filter (Filter> Pixelate> Mosaic) with a cell size of 50 square. |
3 | 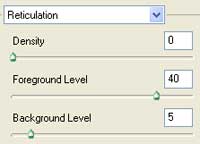 | Apply a Reticulation filter (Filter> Sketch> Reticulation) with the following properties: Density: 0 Foreground Level: 40 Background Level: 5 |
4 | 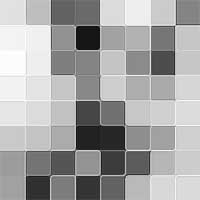 | Create three more layers and repeat the previous steps for those layers too. |
5 | 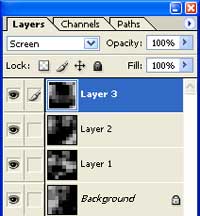 | After you've applied the previous steps to a total of four layers, change the blending mode of all the layers to Screen. |
6 | 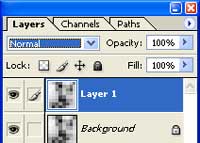 | Flatten the image (Layer> Flatten Image) and duplicate the flattened layer (Ctrl+J). |
7 | 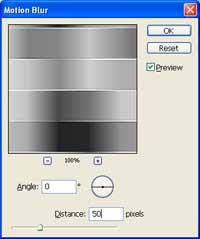 | With the top layer selected, apply a Motion Blur filter (Filter> Blur> Motion Blur) with the following properties: Angle: 0º Distance: 50 pixels |
8 | 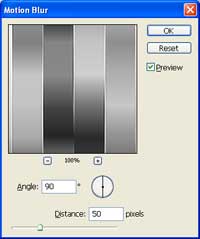 | Select the bottom layer and apply the Motion Blur filter again but with these settings: Angle: 90º Distance: 50 pixels |
9 |  | Change the blending mode of the top layer to Difference. |
10 | 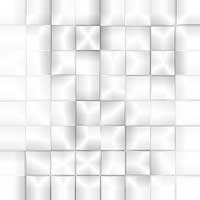 | Flatten the image again (Layer> Flatten Image). |
11 | 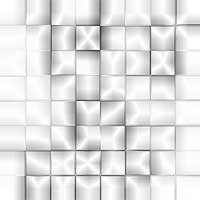 | To increase the contrast, apply an Auto Levels (Ctrl+L). |
12 | 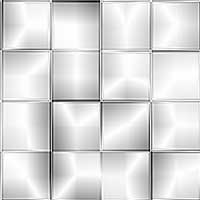 | Here is a cropped area of a high resolution version. |