This tutorial shows you how to make a beautiful Christmas tree with Adobe Illustrator.

1. Create the tree foundation
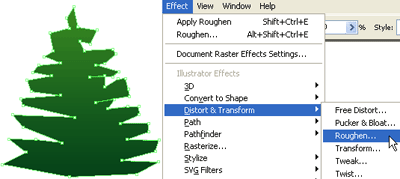
First, roughly create the tree path with Pen Tool and fill it with (green-darker green) gradient. Go to Effect > Distort & Transform > Roughen
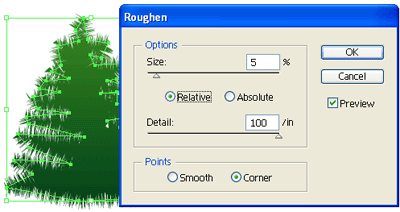
Roughen Options
When the Roughen options window popup, enter the following values: Size: 5%, Detail: 100/in and select Points=Corner, then click OK.
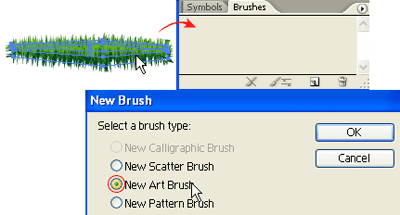
2. Create the art brush
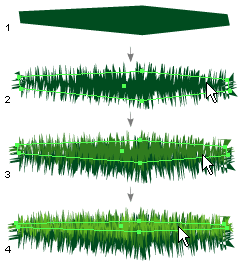
Now we need to make a New Art Brush for the tree branches. With the Pen Tool, make a path as shown below(1), fill with dark green, and apply the same Roughen effect as the previous step. Your path now should look like path(2). Duplicate path(2) by ALT+Drag or Copy & Paste, vertically scale it down a bit, and change it to lighter tone of green(3). Repeat this step, duplicate one more path and fill it with a even lighter tone of green(4).
New Art Brush
Select these 3 paths and drag it to the Brushes Library to make a New Art Brush.
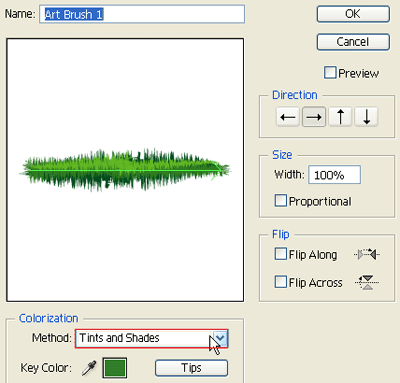
Art Brush Options
Leave everything as default, but select Tints and Shades from the Colorization Method drop down menu.