1. Make a new document, 500 by 500.
2. Color the background with the color F8C2D9.
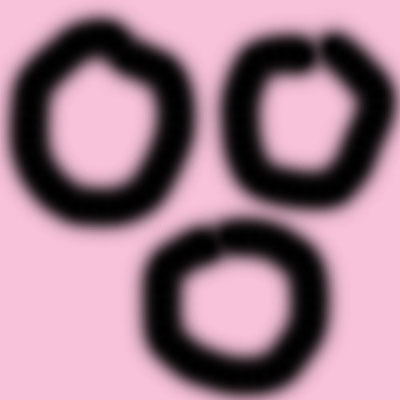
3. Using a 65 black airbrush, make three circles as shown below.
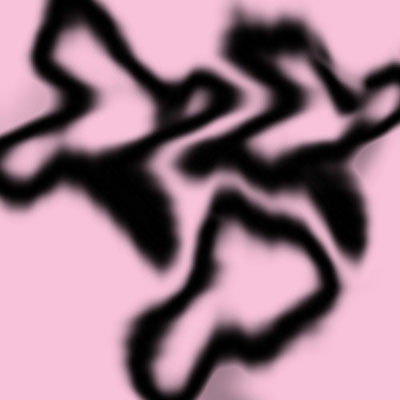
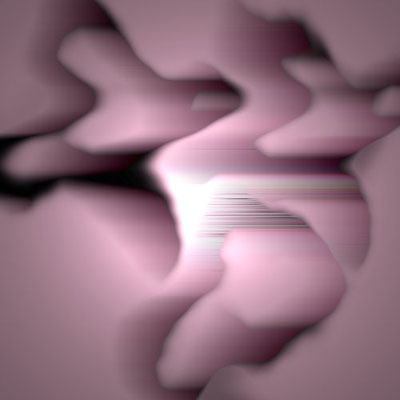
4. Go to Filter> Distort> Wave, and use the default settings. Press randomize until you get three nice wavy circles.
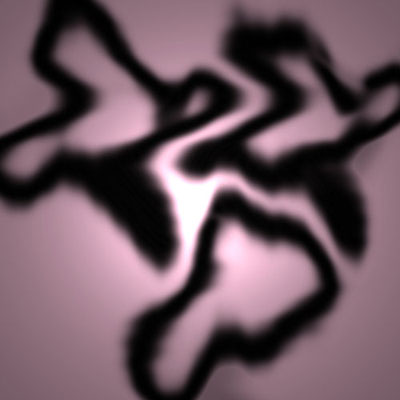
5. Go to Filter> Render> Lighting Effects, and change the lighting style to Omni.
6. Go to Filter> Stylize> Wind, and set it to From the Left.
7. Press Ctrl+F two times.
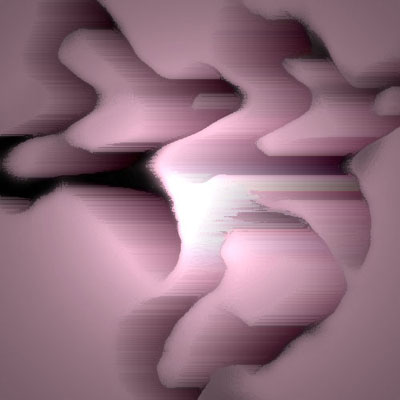
8. Go to Filter> Artistic> Dry Brush, and change the settings to this: Brush Size: 2, Brush Detail: 8, Texture: 1
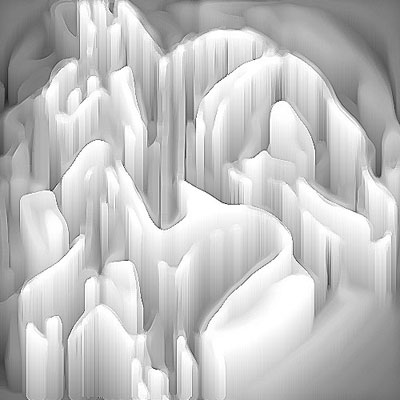
9. Go to Filter> Sketch> Chrome, and change the settings to this: Detail: 10, Smoothness: 10
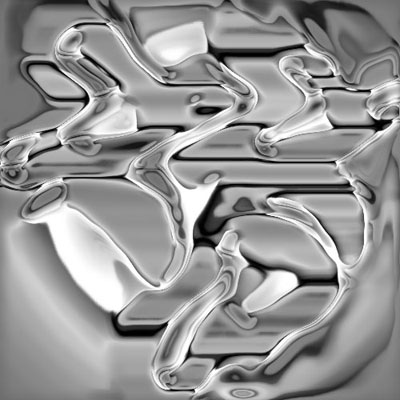
10. Go to Filter> Stylize> Wind, and set it to From the Right.
11. Press Ctrl+F three times.
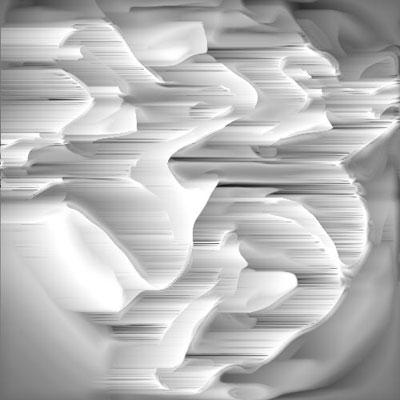
12. Go to Filter> Artistic> Paint Daubs, and change the settings to this: Brush Size: 8, Sharpness: 7.
13. Press Ctrl+T to free transform. Rotate the picture 90 CCW.
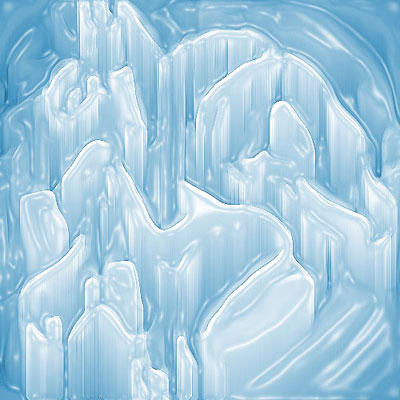
14. Go to Filter> Artistic> Plastic Wrap, and use these settings: Highlight Strength: 15, Detail: 9, Smoothness: 7.
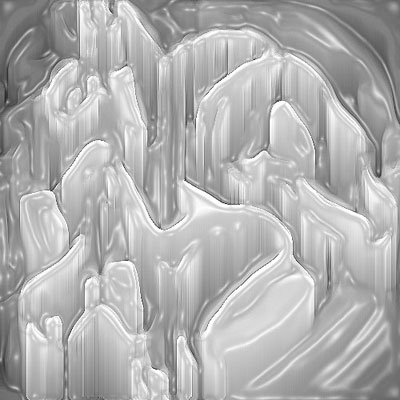
15. Press Ctrl+U to open up the Hue/Saturation menu. Check Colorize. Change the Hue to 200, Saturation to 50, and Lightness to 25.