1. Open a document - any size, (I picked 200x200) set the background color to something dark (e.g. #9B9B9B).
2. Now create a new layer, then make a rectangle and color fill it white.

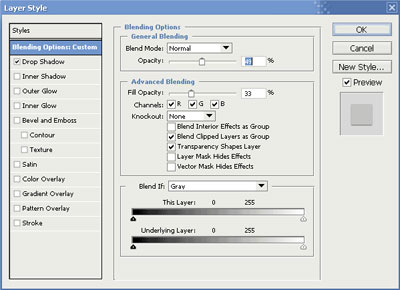
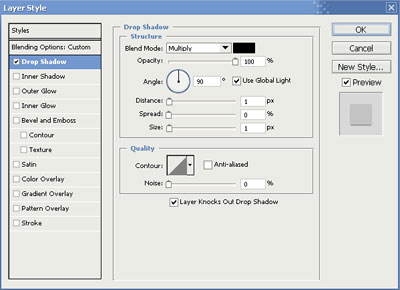
3. Now we select 'layer' > 'layer style' > 'Blending Options' change the settings to these:
4. To get a better 'celetape' effect, we use the 'brush tool' - so select the 'brush tool' and change it's setting values to:
5. Now create a new layer and dot the brush effect over it (use same colors as used for the background) once done click 'Filter' > 'Blur' > 'Gaussian Blur' and set the value to: 1.6 (this will blur the brush strokes) - merge this layer 'ctrl and e' (you should be left with 2 layers). Lastly set the layer mode to: 'Color Dodge'.
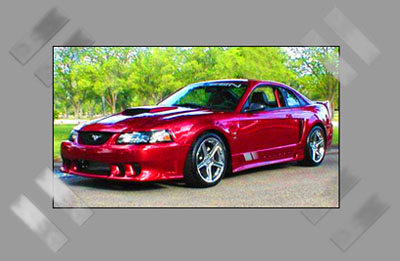
6. Depending on what 'layer mode' you use, you're able to get different effects - examples below: