1. Open up a 600x150 white document and create a new layer.
2. Select the "Rectangular Marquee Tool" and make a selection and once your rectangle is complete, go to Select -> Modify -> Smooth for *10* Pixels - Now your selection should look like this.
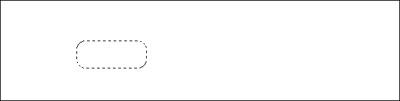
3. Fill the selection with the color WHITE and right click on the layer and go to Blending Options and use these settings
4. Now you have something like this

Move the rectangular button around to a place where you feel it looks the best.

Now duplicate the layer a couple of times to make a navigation bar like mine.

5. Now create a new layer and select the "Rectangular Marquee Tool" again and make a selection like this - Select -> Modify -> Smooth for *10* pixels

Color it any color you want ( I chose #002AFF ) and move it into one of the buttons and don't forget to RE-SIZE it so it fits on to your button. Once you have the rectangle in place, use the same blending options you used before to make the buttons. I lowered the opacity by 20% to give it a more lighter effect.
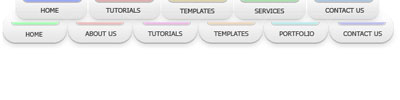
6. Now duplicate the layers and add them all on the buttons like below.
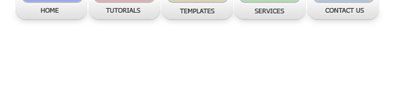
7. Now you can adjust the sizes, colors and opacity and maybe some text and you're done :]
I changed the smoothing pixels around, changed some opacity in the dark shadowing option and made another picture from this tutorial.