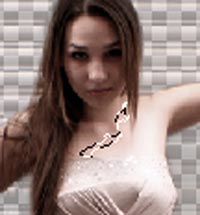
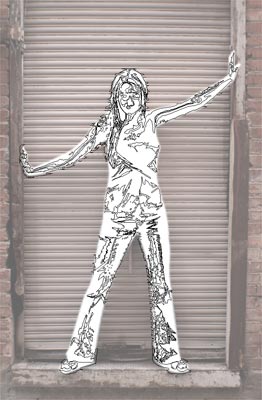
In this tutorial you are going to learn how to create a "stroked" picture from a photo, for this you will need to know how to use the magic wand, stroke & pen tool/lasso tool. We start of by finding a large picture with interesting lines, i used a picture from http://www.sxc.hu

1. First you will need to cut your subject out from the photo using the pen or lasso tool. copy and paste her onto a new layer (layer 2) and lower the opacity of layer 1 to around 50%

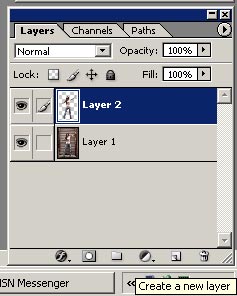
2. Control and click Layer 2 - this selects the girl/subject.

Press the new layer icon at the bottom of the layers pallet
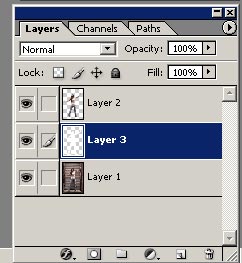
Go to Edit --> Fill --> white to make a white filled copy of the girl

Then drag layer 3 bellow Layer 2
3. Now the fun bit begins, first press D on they keyboard to set the default colours. then select the magic wand tool, use the following settings for the magic wand.
![]()
4. Press control + D to make sure nothing is selected. select Layer 2, click on the subject in a random place with the magic wand tool
Press the new layer icon on the layers pallet - make sure the new layer is selected and the stroke the selection by going to Edit --> stroke use these settings

Repeat step 4 until you build up a number of strokes- increase or decrease the magic wand tolerance to change how the selections look.
Do this until the picture look something like this
5. You can then hide layer 2 and change the colour of layer 3 (the white girl).
Control + click layer 3 to select the white girl.
Choose the gradient tool and pic an interesting gradient.
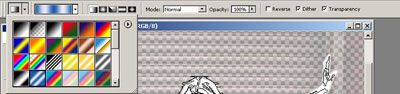
Then Fill the girl with the gradient
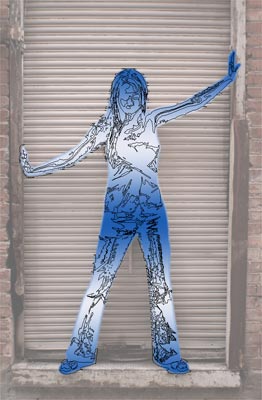
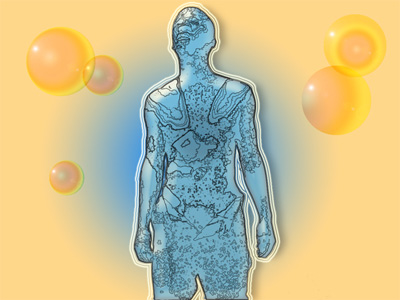
6. Finally make a new layer below Layer 3 and make an interesting Background

This works on some pictures better than others, I used this technique to make this