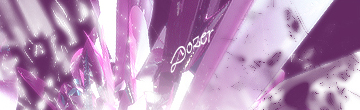
Bring the 3D you want and put it as you want in the background. I picked one I made and here we go:
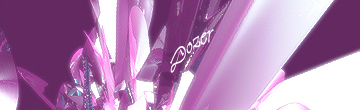
Now make a new layer and bring a soft brush. Pick the color white, and put it where it look best. It mostly best in the middle:
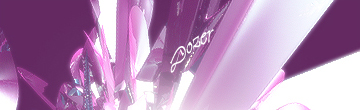
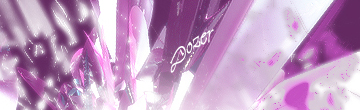
Now get a nice abstract brush set *cough*my brush set*cough* ^_^. Pick a nice brush and then pick a cool color that will go with the background, and make a new layer above everything and then brush somewhere. I brushed here: (I hope you can see where
Make a new layer as always. For each step so you can easily edit it. Now pick another brush and pick a color. I picked white again. Remember you can do your own colors and your own style of brushin'. I brush here:
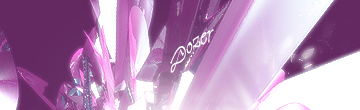
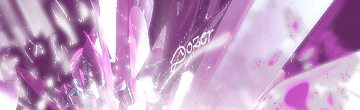
Again make a new layer. Pick another brush and pick some place that still doesn't have any brushin'. I picked this color and brushed here:
On here I duplicated the last layer I made and then change the color to white. Then I picked the blendin' mode as Overlay. Here's what I got:
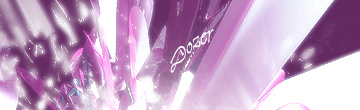
Make a new layer again. Pick a new brush and pick another color. I pick white also, and brush some place. I brushed in the middle under my name:
Make another layer if you want. Pick another brush and brush where there is space. I brushed in the corner:
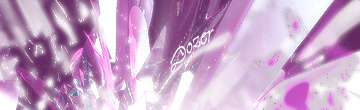
We are done brushin'. Now you can add a text and type what ever you want. You also can add couple of layer effects that will spice up your tag or signature if it looked washed out. I hope this tutorial was useful.