


This tutorial will teach you how to use the liquify filter to make an awesome abstract plasma ball effect. Great for signatures and banners!
1.Create a new document (500x500), and fill the background with black:
2.Create a new layer, and fill it with black. Create a lens flare (Filter > Render > Lens Flare) in the top left corner with the default settings:
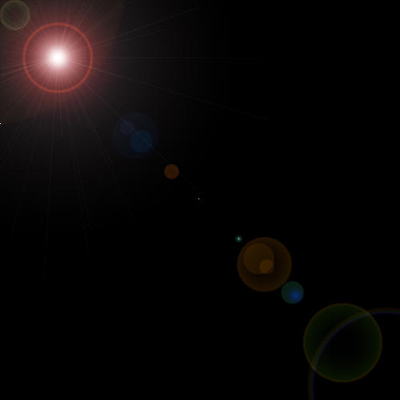
3.Create another lens flare in the top right, bottom right, and bottom left. Then create a final lens flare in the center with a brightness of 130%:
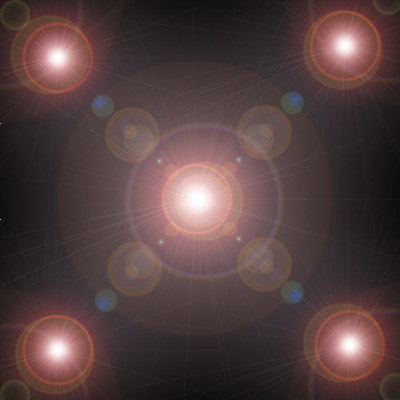
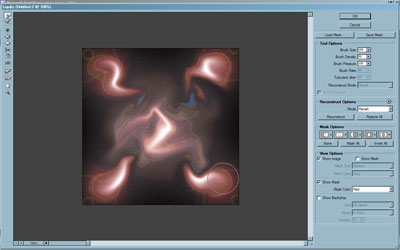
4.Set this layers blending mode to Screen. This will make it so that the black will not show up. Go to Filter > Liquify:
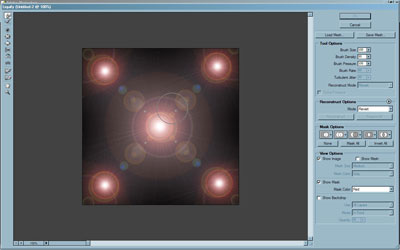
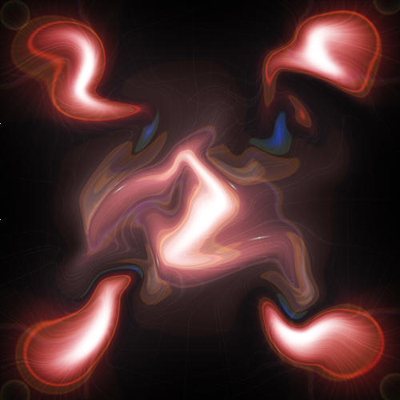
5.Using the default settings, brush from left to right, and up to down the image:
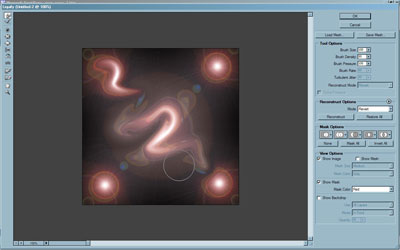
6.Repeat from the right to left:
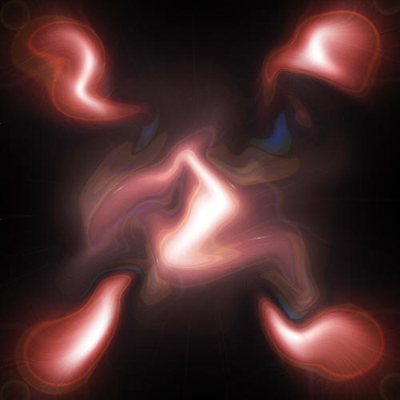
7.Click OK. Duplicate this layer, and set it to overlay:
8.Go to the layer under your overlay layer, and apply a radial blur (Filter > Blur > Radial Blur) with a zoom of 100%:
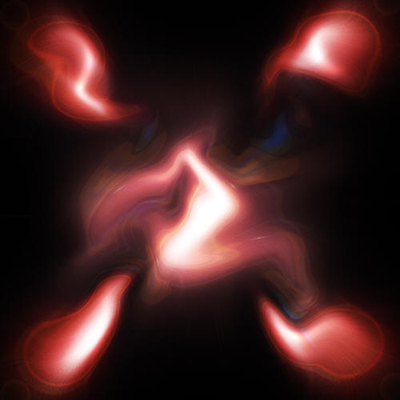
9.Duplicate the top layer again. Now Apply a radial blur to the middle layer, and set the top layer to overlay:
10.Go t the top layer, and press ctrl+e to merge all the layers but the background layer. Apply a polar coordinates to this layer (Filter > Distort > Polar coordinates), from rectangular to Polar:
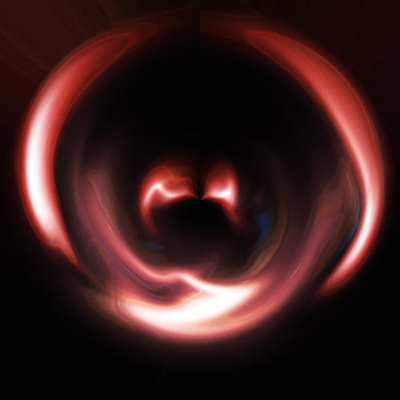
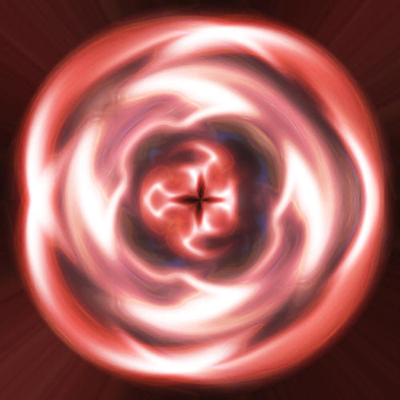
11.Set this layer to screen, and duplicate it until you have 4 copies. Click Edit > Transform, and rotate each layer so that it goes in separate directions:
12.Create a new layer at the top, and fill it with a dull blue color. Set this layer to hue:

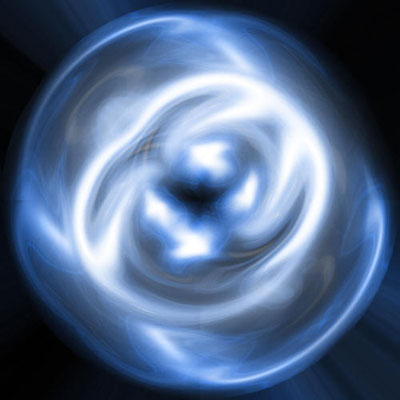
Good Luck!