

1. First select your Bezier Spline Tool:
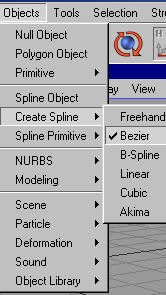
2. If you have ever worked with the pen tool in photoshop, this is basically the same tool except with 3 dimensions. Switch to your 4 port view by clicking F5:

3. Click anywhere in one of the 4 ports to create a point. Click again in a different port to make another point. Continue clicking in different view ports until you have a jumbled structure like so:
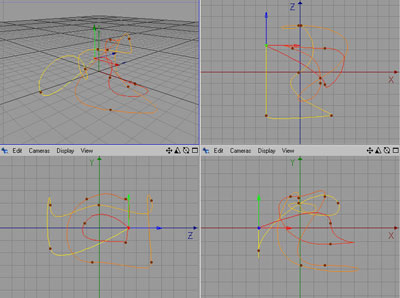
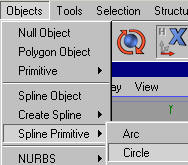
4. This Spline is the basic structure that our wire/pipe will lie on. Now we need to define what the outline of the structure is going to look like. To do this, we need to create a circle Spline Primitive:
5. In the attributes, change the size to around 15. This will affect the radius of our pipe/wire to 15:
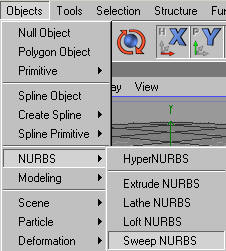
6. Now we need a way of connecting these two splines. To go about this, we will use a type of nurbs known as Sweep Nurbs, which is a kind of hybrid of Extrude nurbs and Lathe nurbs. Add a Sweep NURBS Object to your scene (Objects > NURBS > Sweep NURBS):
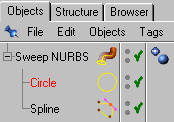
7. Now time for connecting the two Splines using the Sweep Nurbs. To do this, drag both of the objects underneath the Sweep Nurbs so that the Circle lies on top:
And your done! Here is my scene after a few modifications with materials and lighting:

Good Luck!