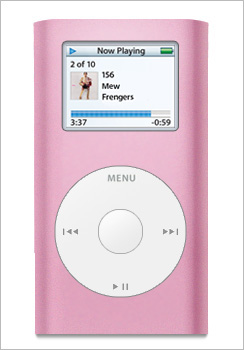
iMeye are trying to be modern so let's start with a iPod-tutorial. Pink is a great colour so why not make a Pink one?
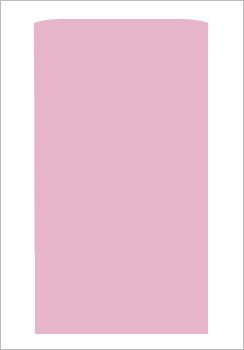
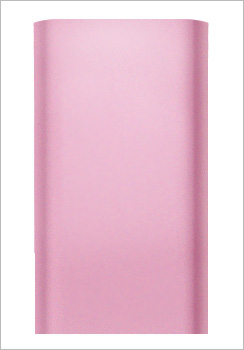
As always we start with a new document (approximately 250x350 px). Set the foregroundcolour to #E6B5CA, create a new layer and pick Rectangular Marquee Tool. We start with the construction of the iPod. Mine is about 175x300 px. Fill the selection with the foregoundcolour, pink.
The rounded upper corners are the next step and let's use Elliptical Marquee Tool and select a wide cirkel. Place the selection in the upper right corner of the iPod.
Go to Select > Inverse (Ctrl + Shift + I) and delete the small corner with Brush Tool.
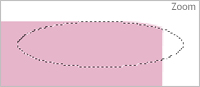
Do the same in left corner.
Pick Gradient Tool and hit the coloured bar in Options Bar. This is the gradient playground.
The small arrows under the coloured bar indicate changes in the gradient. By clicking them you can change the colour of them. You can add new arrows by clicking the empty square under the bar.
The arrows and the colours of them have to look like this:
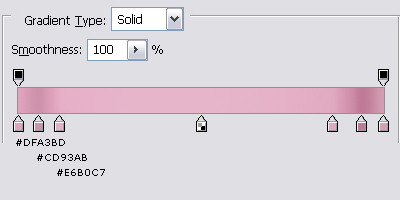
Then hit "New" and "OK".
Select the iPod-layer and fill it with the new "gradient" (if necessary use Dodge Tool in the top to spice it up).
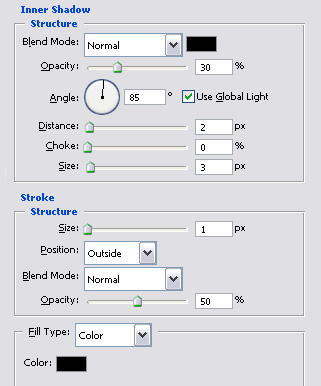
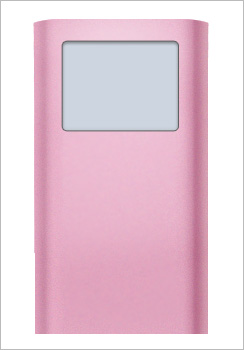
Create a new layer. It's time for the display. Use the colour #CDD5E0 and pick Rounded Rectangle Tool with Radius=4 in Options Bar.
Go to Blending Options and use these settings for Inner Shadow and Stroke.
Last step is the buttons if I'm allowed to call it that. Create a new layer and pick Elliptical Marquee Tool. Hold down Shift while making the circle - the wide of the circle is almost the same is the display. Grab Gradient Tool and fill the selection with 2 colours which are very close to #FFFFFF.
Create a new layer and do the same again with a smaller button.

The icons are easy to make with the shape tools.
This is what I got: