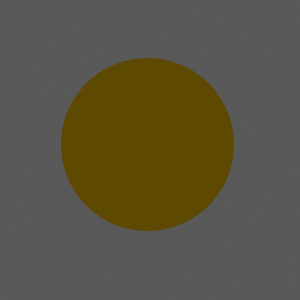
Start by drawing a circle of this color on a new layer:
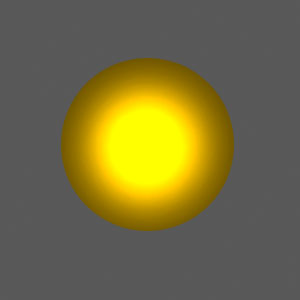
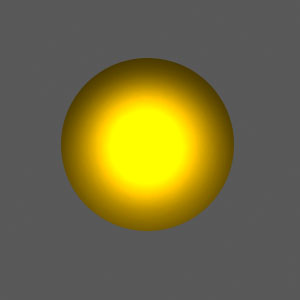
Now, using Dodge Tool [O], lighten the center of the circle with small circular strokes:
Now add a Inner Shadow layer style. Make the settings like you see below:
Your image should now look like this:
Go to your background color layer, and using Dodge Tool and Burn Tool, make an "outer edge" for the light.
Unfortunately, the background now looks like this:

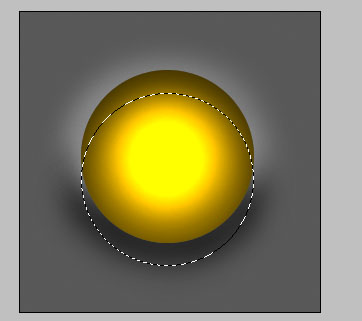
To fix this, select the layer transparency of the light layer, then go back to to your background layer and hit Delete. Make sure you have the background grey as your secondary color.
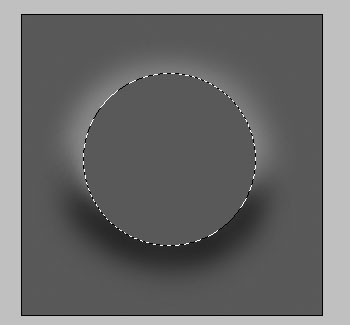
Go to Free Transform Selection, and move the selection circle slightly lower than the light.
Copy the light layer, and with the copy layer selected, hit Delete.
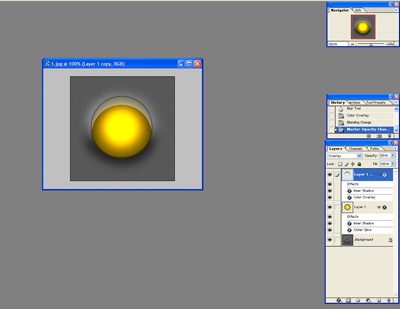
Your layer set should now look like this:
Set a Color Overlay layer style for the copy, and make the color white.

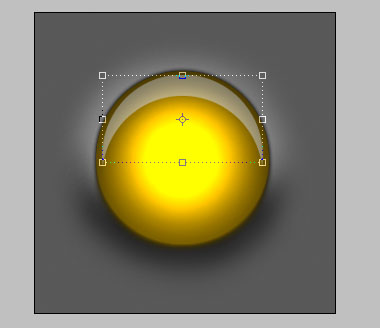
Set the blending mode for the (reflection) layer to Overlay, and set the layer opacity to around 60.
Using Free Transform, make the reflection slightly smaller, so that the optics look right.
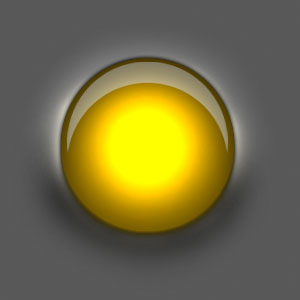
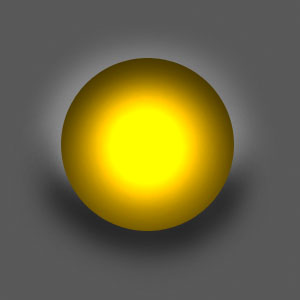
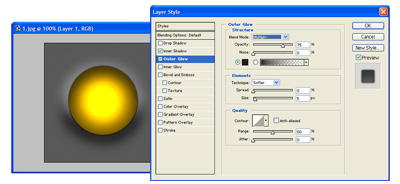
Now set an Outer Glow layer style to the original light layer, set the effect blend mode to multiply, and make the settings like below:
Create a new layer just above the background layer.:

Set the new layer's blend mode to Overlay, and get yourself a nice whitish-yellow color as your primary color.
With a small brush set to a low opacity, draw around the lower outside edge of the light.
This creates a glow effect around the light, adding to the realism.