Create a triangular shape using polygon shape tool.
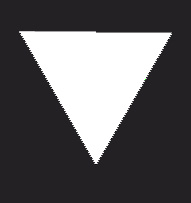
Select the top nodes using direct selection tool. Drag downwards.
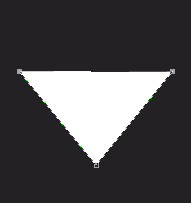
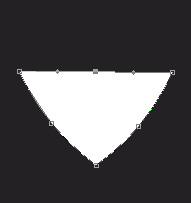
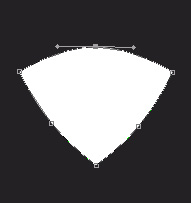
Select the add anchor point tool and add point at the center of each side.

Drag the anchor point outwards to achieve the shape shown below.
Select the whole path and duplicate it. Press Ctrl+T and scale it down.
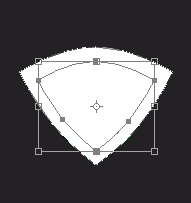
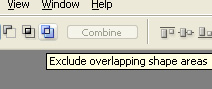
Select both the paths and enable exclude overlapping shape area form the top bar.

Create a rectangle using rectangular shape tool.

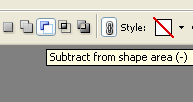
Enable subtract form shape area form the top bar.
Create another rectangle over the first rectangle.

Press Ctrl+T. Right click the layer and select warp.
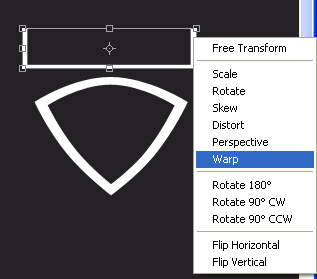
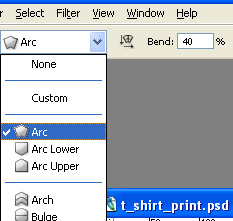
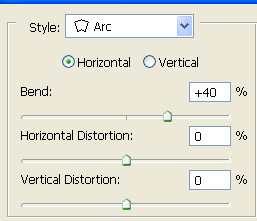
Form custom warp shape select arc and reduce the bend value to 40%.

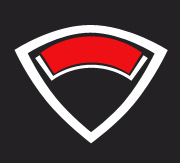
Scale it down and place inside the design.

Similarly create another rectangle and warp the shape.
Type "V FOR VICTORY" on top of the design.

Right click the layer in layer window and select warp text. Apply settings as shown.

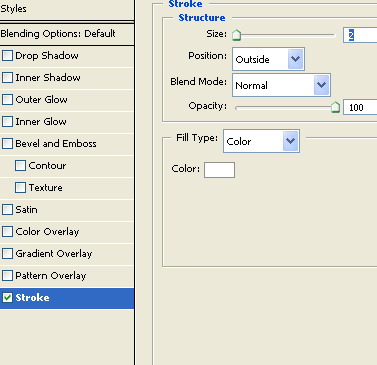
Double click the layer and apply following layer style.

Insert a victory sign using windows default windings font. Press A to get this sign.

Add team-1 in the red box and apply warp as explained previously.

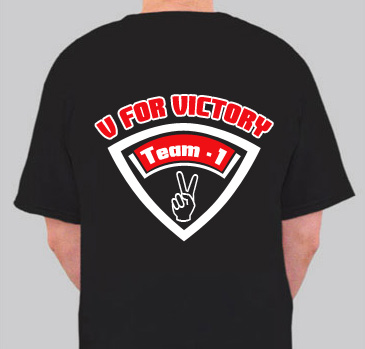
To preview your design on a T-Shirt, open an image of a model wearing T-Shirt.
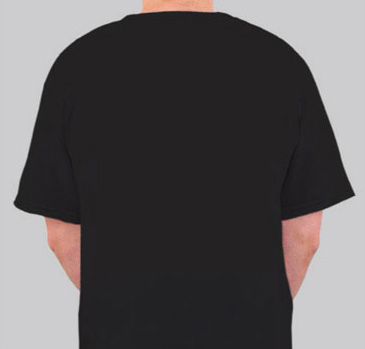
Insert the design and place on front or back of the T-Shirt. Try to stick to the solid fills instead of gradients.