Start by creating a rectangle.

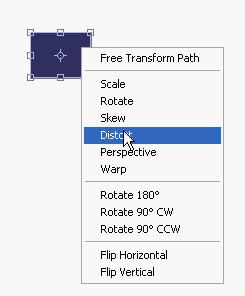
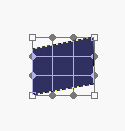
Press Ctrl+T. Right click the layer and select distort.
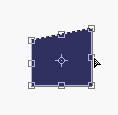
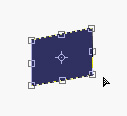
Adjust nodes as shown.
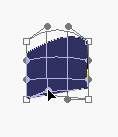
Right click the layer and select warp.
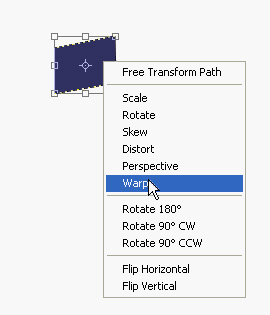
Adjust nodes to give it an open page shape as shown.

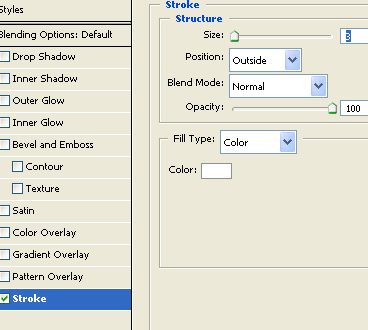
Apply layer style as shown.
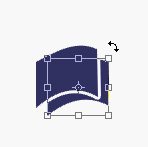
Duplicate the layer and move few pixels upwards.

Scale down the bottom layer vertically and rotate.

Similarly create another page below this layer.

Select the three layers together. Duplicate it . Press Ctrl+T. Right click the layer and select flip horizontal.
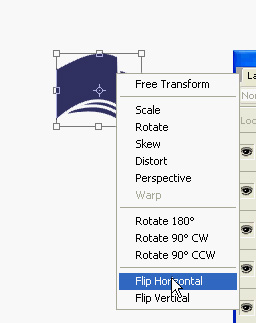
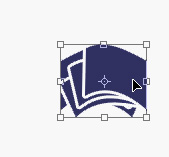
Move it to the other side to complete an open book.

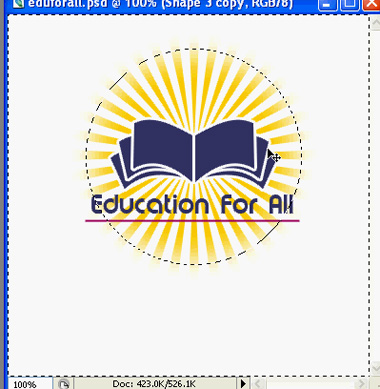
Type the company name.

Add a line below the text.

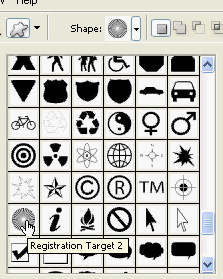
Create registration target 2 shape using custom shape tool.

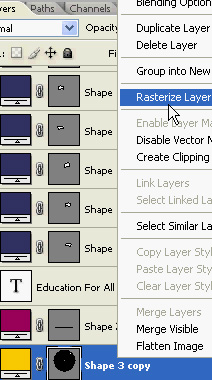
Right click the layer and select rasterize.
Create a circular selection using elliptical marquee tool.

Press Ctrl+Alt+D to apply the feather to the selection.

Press Ctrl+Shift+I to inverse the selection. Press delete twice to remove the outer area.

Create a rectangular selection using rectangular marquee tool covering the text and line.

Press Ctrl+Alt+D to apply the feather to the selection.
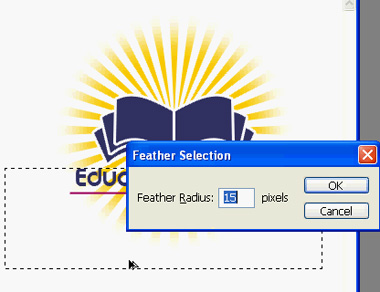
Press delete to remove the selected area.