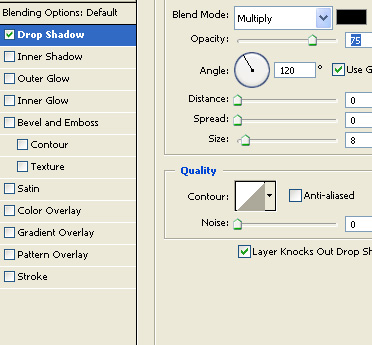
Start by creating a rounded rectangle shape using rounded rectangle shape tool.
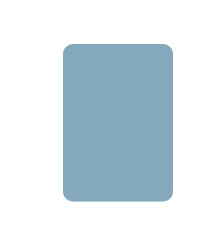
Create a circular frame shape using custom shape tool.
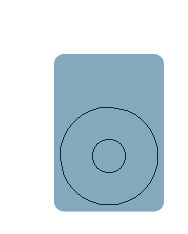
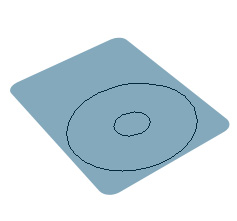
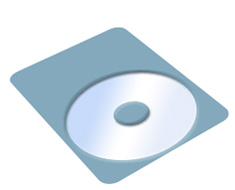
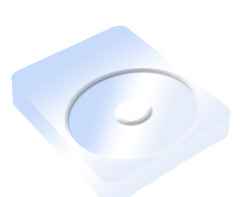
Select both the layers. Press Ctrl+t. Right click the layer and select distort. Adjust nodes to get the shape as shown.
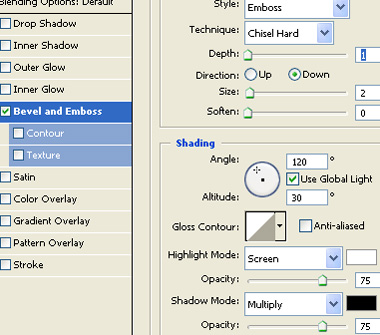
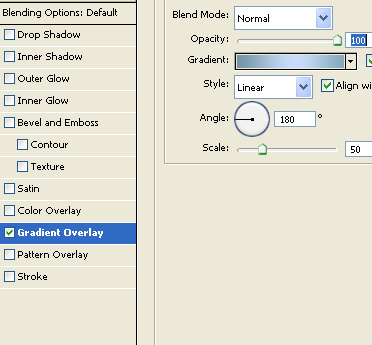
Select the circular frame layer. Double click the layer to open layer style window. Apply layer style with the settings shown.

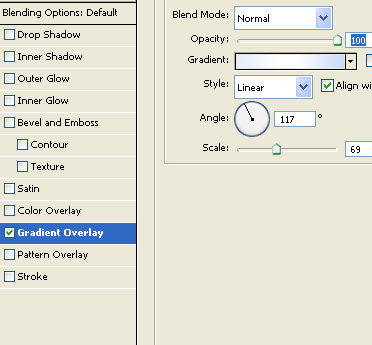
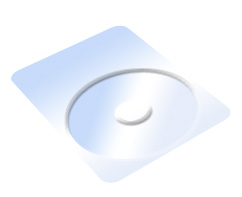
Select the rounded rectangle layer. Double click the layer to open layer style window. Apply layer style with the settings shown.
Press Alt key and keep hitting down arrow to create a 3D extrusion.
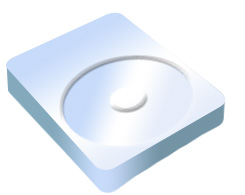
Select and merge all the duplicate layers. Double click the layer to open layer style window. Apply layer style with the settings shown.
Create a circular frame shape using custom shape tool. Enable subtract from shape area at the top bar. Create two rectangle as to create a quarter circular frame.
Apply the same layer style we used for rounded rectangle layer.

Press Alt key and keep hitting down arrow to create a 3D extrusion. Select and merge all the duplicate layers and apply the same layer style we used for the 3D extrusion layer.

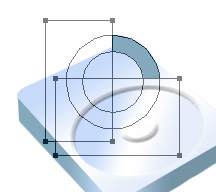
Create a circle shape using elliptical shape tool. Enable add to shape area at the top bar. Create some more overlapping rectangular shapes as shown.
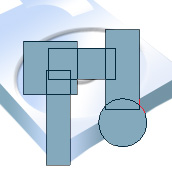
Press Ctrl+T. Right click the layer and select distort. Adjust nodes to get the shape as shown.

Repeat the above steps to create 3D extrusion.
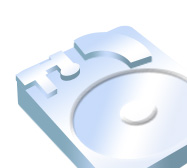
Select and merge all the layers. Double click the layer to open layer style window. Apply layer style with the settings shown.