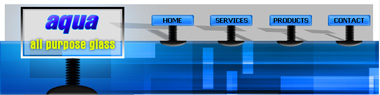
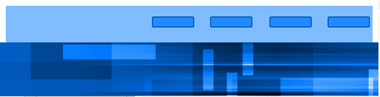
Start by creating a rectangle using rectangular shape tool.

Create another rectangle half in height of the header using rectangular shape tool.
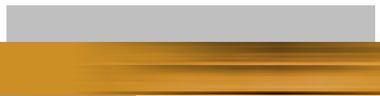
Insert an image of brick wall. In fact any textured image would do.
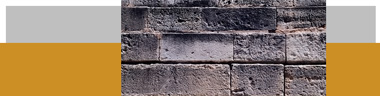
From filter menu select blur>>motion blur. Blur the image horizontally.
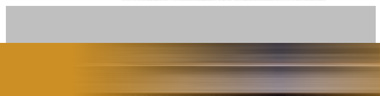
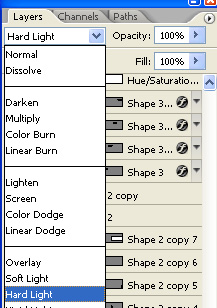
Change the layer mode to hard light.
Press Ctrl+Alt+G to create clipping mask.
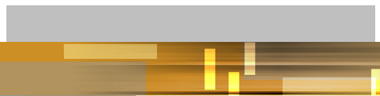
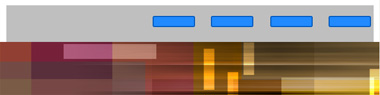
Create a few rectangles and play around with their layer modes.

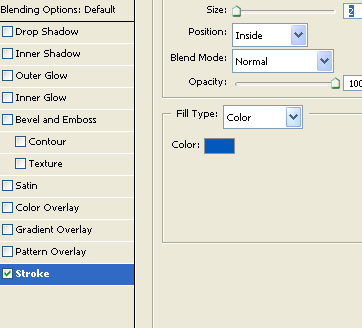
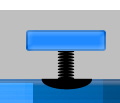
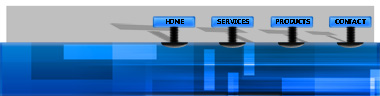
Create a rounded rectangle using rounded rectangle shape tool.
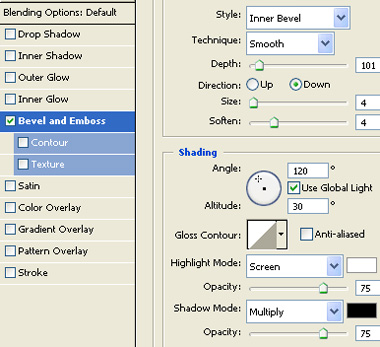
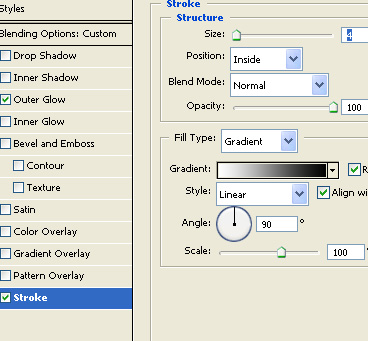
Double click the layer to open layer style window. Apply layer style with the settings shown.
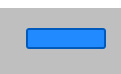
Duplicate layer and place for the buttons.
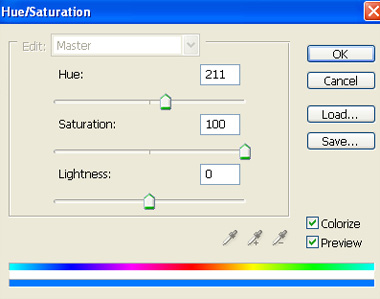
Select the top layer. From layer menu select new adjustment layer>>hue/saturation. Apply settings as shown.
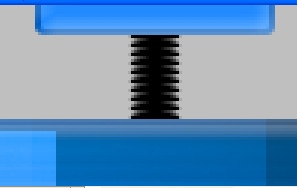
Create an ellipse using elliptical shape tool.
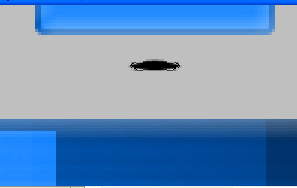
Place it right below the button layer.
Create duplicates and place below one another.
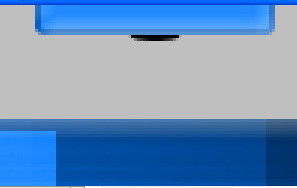
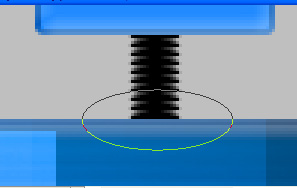
Select all ellipse layers and merge together. Create an ellipse in path mode using elliptical shape tool.
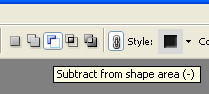
Enable subtract form shape area form the top bar.
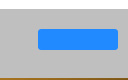
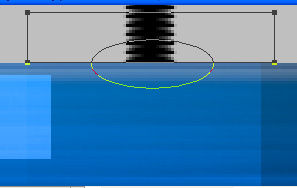
Create a rectangle using rectangular shape tool.
From layer menu select vector mask>>current path. Fill the layer with black color.
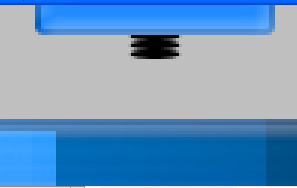
Double click the layer to open layer style window. Apply layer style with the settings shown.
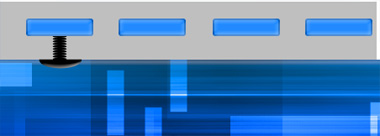
Duplicate both black layers and place below other buttons.
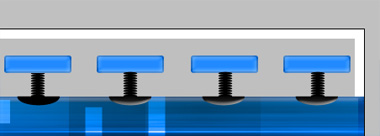
Type button links over the rectangular buttons. Select one set of button layers and duplicate. Merge the layers. Enable lock transparent pixels from layer palette. Fill with a solid color. Press Ctrl+T. Right click the layer and select distort. Adjust nodes to get the a perspective shadow. Similarly create perspective shadow for all the buttons.
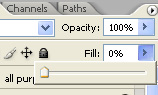
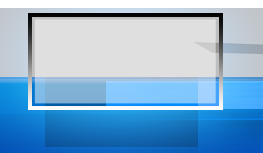
Create a black rectangle using rectangular shape tool.
Double click the layer to open layer style window. Apply layer style with the settings shown.

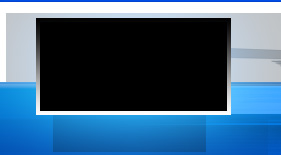
Reduce the fill value to 0.

Create a white rectangle using rectangular shape tool. Reduce opacity and place it below the frame.
Create a stand for this as you did for the buttons.
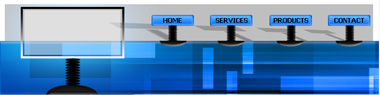
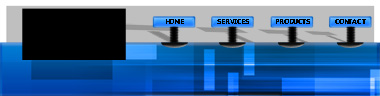
Insert company logo and place over the big rectangle.