How to save renders in cinema 4d
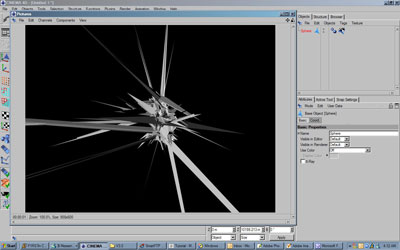
1. Ok, I am going to first assume that you have a render open already in Cinema 4D. If not, open one up.

2. This is the render I will be saving. The next thing to do is to set up how you want your render to be saved. I will show you the basics of how to save your image. There are hundreds of possibilities to how you save, so don't be to afraid to experiment. Go to Render > Render Settings.

3. A new box should pop up called "Render Settings"... go figure. There is a menu on the left, select Output from this menu. From here, pick a size for your render. I picked 800x600 just to keep things simple:

4. Now, in that menu again, select Save. This will bring up a bunch of other settings. First select a path to save your image to. As you see, I chose a directory where I would remember where it is, and I named the file myrender. You don't need to worry about file types yet. Next, we want to make sure that we save the format as TIFF, or Targa, or something else that has an alpha channel. Why is this? You will see later in the tutorial. Select a dpi for your image, and then exit out of the Render Settings Box.

5. Now go back to Render > Render to Picture Viewer.

6. A new window will pop up where it will render your image in front of you. When it is complete, your picture will be in the directory you saved it to.
7. Open your image in Photoshop. Open your channels tab (Window > Channels), and ctrl+left click the alpha layer (the layer with the white where the render is with black surrounding it).

8. Now only your render should be selected! Go back to your layers Tab, and Copy paste your render into any image you want now without any annoying selection tool to cut out your render :)
Now save it as a PSD, and your set to go! Good luck!
Copyright © . All Rights Reserved

