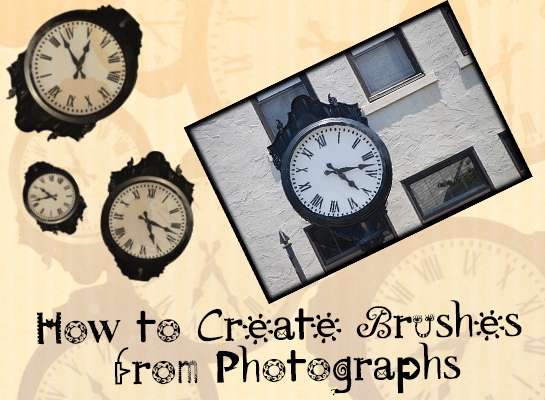
How to Create Brushes from Photographs
One of the most useful, time - saving features that Photoshop offers is the ability to create your own brushes. The Brush Tool makes it extremely easy to stamp the same image repeatedly, and it is especially useful for creating abstract images and backgrounds. Creating brushes from scratch can be somewhat difficult, especially if you lack drawing skills or do not own a digital pen tablet. One solution to this problem is to define your brushes by cutting out part of a photograph, a process which is much easier than creating brushes from scratch.
This tutorial will show you how to cut any subject out of a photograph and turn it into a brush so that you will have easy access to the image for creative use in other documents.
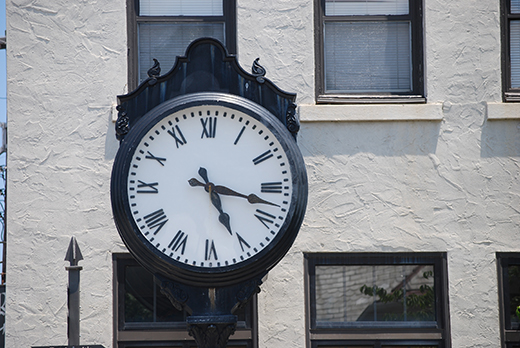
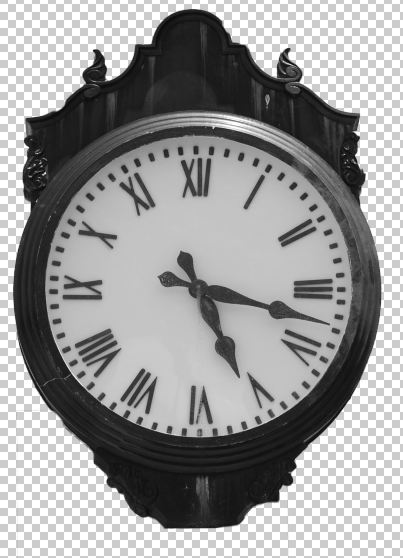
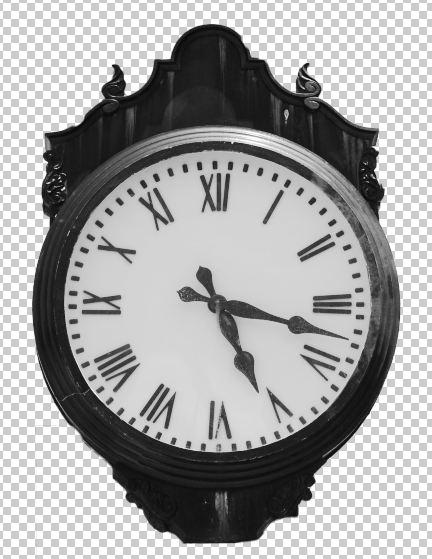
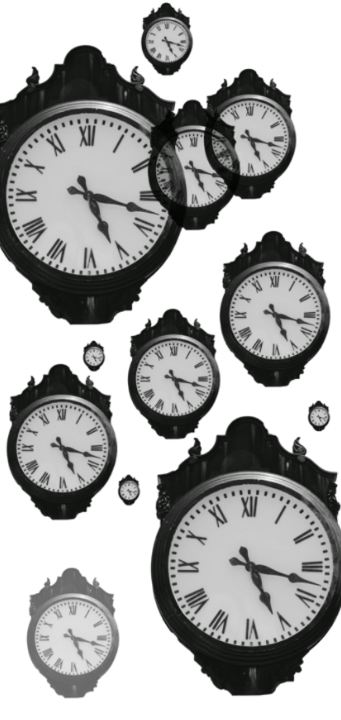
Original Photograph:
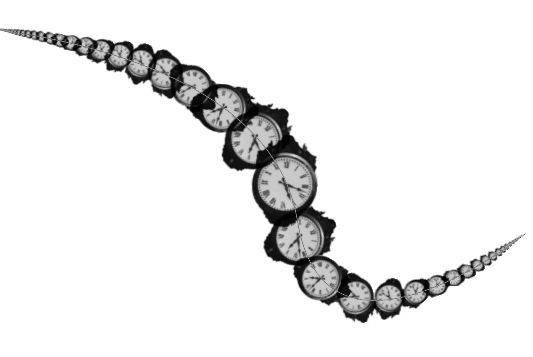
Brush Tool:
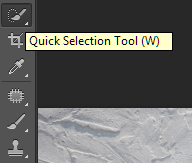
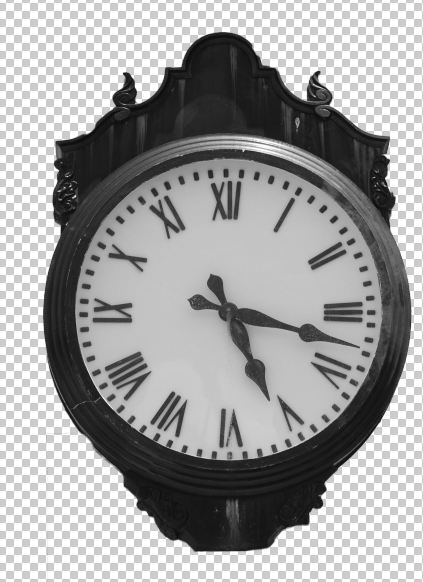
Step 1: Open a high - resolution photograph into Photoshop and press W to activate the Quick Selection Tool. Click around inside the part of the photo that you want to extract. For my photo, I chose to extract the top portion of the clock. If you make any mistakes, you can press Alt - Click to deselect areas of the photo.
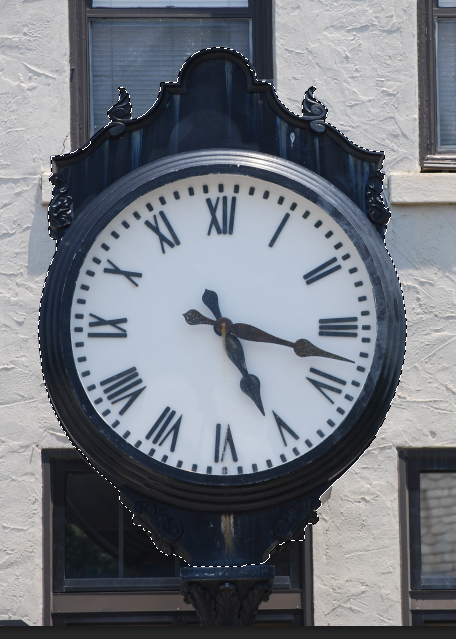
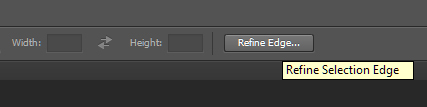
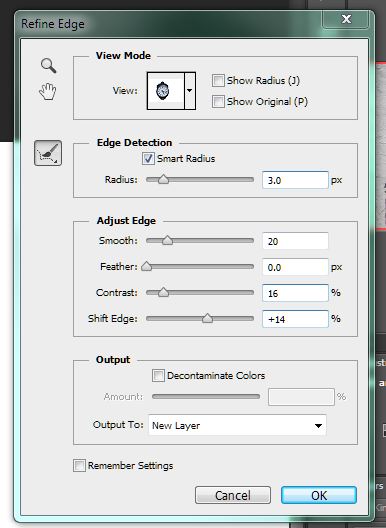
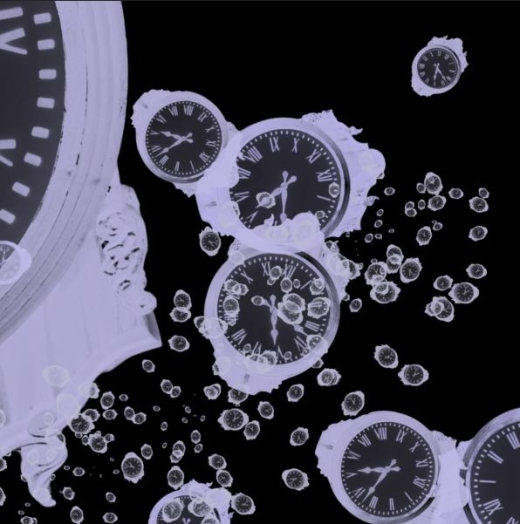
Step 2: Once your subject is selected, click the button at the top of the screen that says "Refine Edge..." The Refine Edge tool will allow you to view the selection against a white background so that you can make necessary adjustments to the selection. Adjust the sliders to make your selection as clean as possible. The Radius slider can restore some of the detail of the image in softer areas of the selection. The Smooth slider will smooth out any edges that are jagged or aliased. The Feather slider will soften the edge of the selection. The Contrast slider will remove areas that are pixelated or noisy along the edges of the selection creating crisper edges (rather than softer). The Shift Edge tool will expand or shrink the selection.
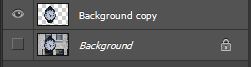
Step 3: When you are happy with your selection, select "New Layer" in the "Output To" drop - down menu. This will open the cutout image in a new layer. Click the little eye icon on the Background layer in the Layers box to hide the Background layer.
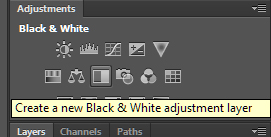
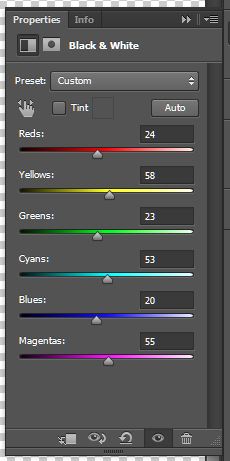
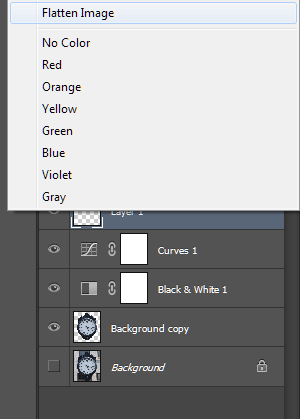
Step 4: Make the image Black & White. There are several ways you can do this, but my favorite method is to use the Black & White Adjustments Layer tool. You can do this by selecting the icon in the Adjustments box (above the Layers box) that says "Create a new Black & White adjustment layer" when you hover over it. You can either use the Auto button to make Photoshop convert the image for you, or you can adjust the sliders to your liking. Another technique is to try all of the preset filters in the Preset drop - down menu to see if they look good with your image. For my image, I chose to use the Auto button.
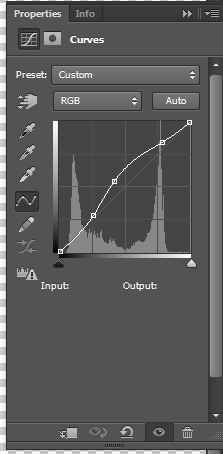
Step 5: Make general adjustments to the brightness / contrast of your image. I chose to create a Curves Adjustment layer, and I used custom adjustment settings to create strong contrast.
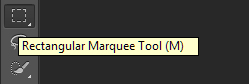
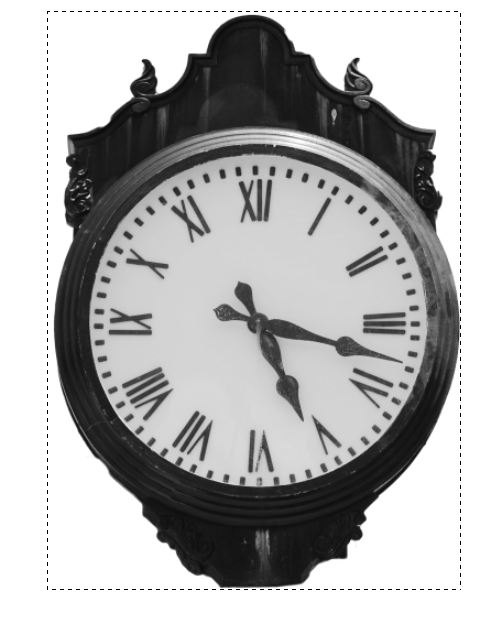
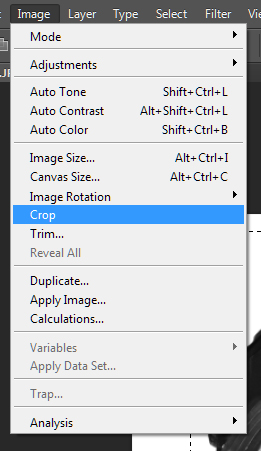
Step 6: Right - click any layer in the layers box and select "Flatten Image." Press M to activate the Rectangular Marquee tool. Click - and - drag to tightly frame the subject of the photo. Choose Image > Crop to crop the image to the selection. Press Ctrl + D to deselect the image.
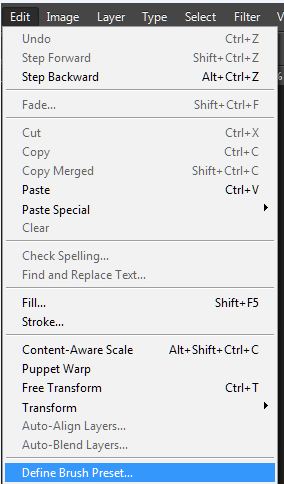
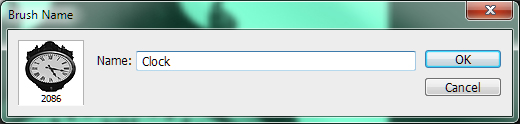
Step 7: Select Edit > Define Brush Preset to create a brush from your image. Name the brush anything you want. Press Ctrl + N and create a new file.
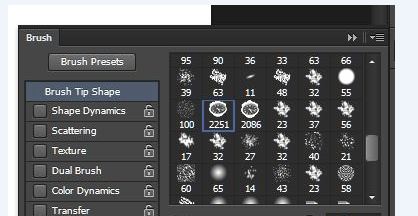
Step 8: Press B to activate the Brush Tool and then click the icon on the right that looks like a 3 brushes in a cup and says "Brush" when you hover over it. Scroll through the Brush Tip Shape box until you find your brush. Reduce the size as much as needed. Click anywhere on the background to try out your new brush.

Step 9: Consider the possibilities of your new brush. Here are some creative ideas for how you can use your new brush in your next web design project:
Try out various blending modes to create spectacular lighting effects.

Change the Scatter and Spacing settings of the Brush tool to make it replicate.
Create an abstract background or customized stationery.
Use it to trace paths.
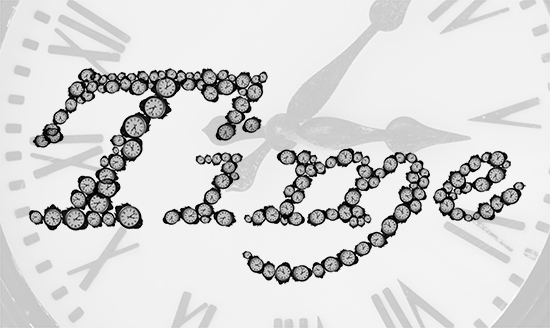
Trace text with the brush.
Use it for digital scrapbooking.
About the author

Copyright © . All Rights Reserved