Create a 3D Beveled Star in Photoshop Using Smart Objects(Exclusive Tutorial)
Create a 3D Beveled Star in Photoshop Using Smart Objects
In this tutorial I will show you how easy is to create a beautiful beveled star in Photoshop in just a few steps. We wil obtain a vector star that you can customize very easy changing shape, color, etc. Ok let's start!
Drawing a Circle Helps Us Build the Star
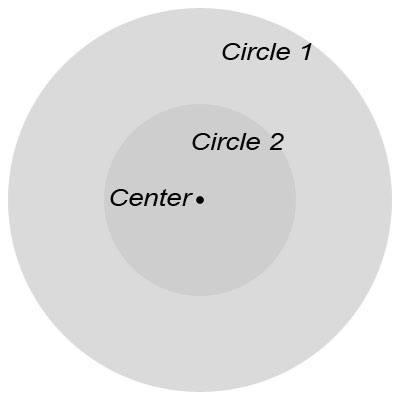
It is very important to make our star symeric so that it does not look weird. For that I will use two circle shapes with a center point like in the image. Make sure that the two circles have the same center point. Select the three layers(2 circles and center point) and use the Align Vertical/Horizontal Center to make sure of that.
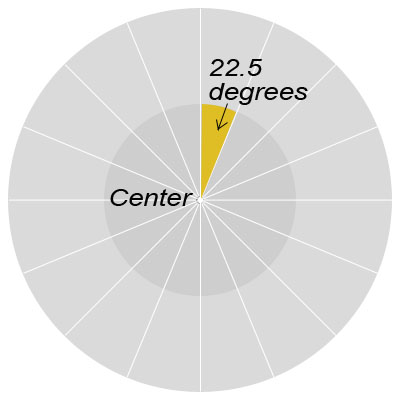
Now Draw a verical line, like a diameter that passes from the center point. Duplicate that line several times and rotate it 90 degrees, then 45 degrees and finally 22.5 degrees. That way we can easily build our star with eight corners.
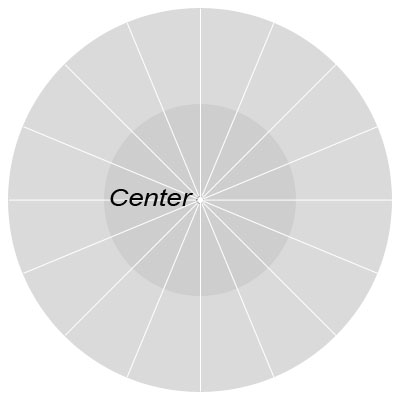
If we do a little math 22.5 degrees/corner x 16 corners = 360 degrees , exactly our circle. If you want a star with more corners you divide the circle in 11.25 degrees, it is really easy.
Drawing the Star with Pen Tool
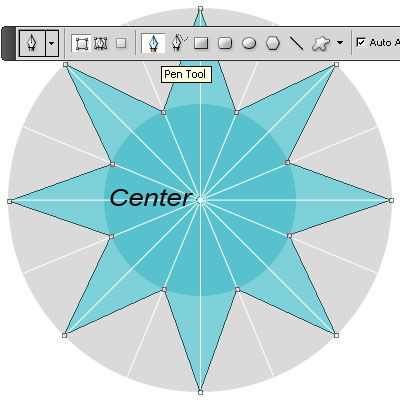
Now it is really easy to draw the star using the Pen Tool. Lower the opacity of the star layer so that you can see the points you have to link to obtain the star. You can see in the image below exactly the points from both circle 1 and circle 2 you have to link.
Beveled Star using Smart Objects
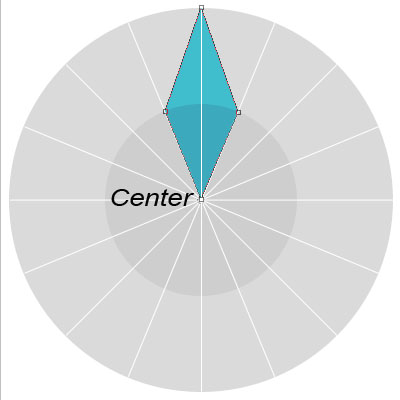
We saw that is not hard to make a perfect star but I want to obtain a star that gives the impression that is beveled using Smart Objects. Use again the Pen Tool but this time draw only the shape below:
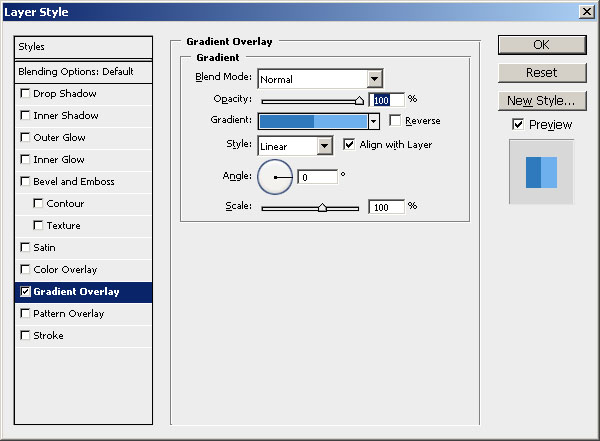
Open the Layer Style Window and Add Gradien Overlay with the following settings. Choose what color you like for the gradient but it has to be same color, different tones one dark and one brite. The location of the colors is 50% for both tones.
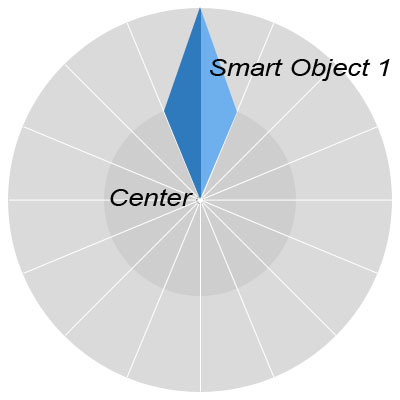
Right click on the Shape Layer Name and choose Convert to Smart Object. The shape was transformed in an object that can be edited in another psd file. you will see in the final step how easy it is to change the star color.
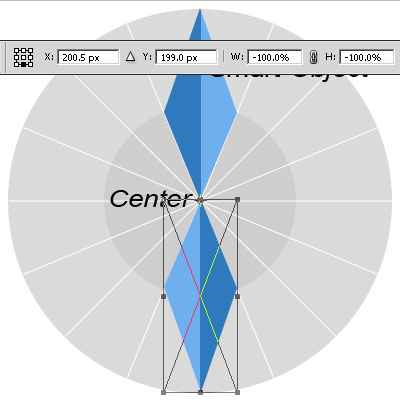
Duplicate the Smart Object 1 and transform it using the settings from the image. So we obtain an object Filped horizontal and vertical.
Select the two smart objects, right click and choose again Convert to Smart Object. It looks complicated but it is really not at all once you understand the mechanism.
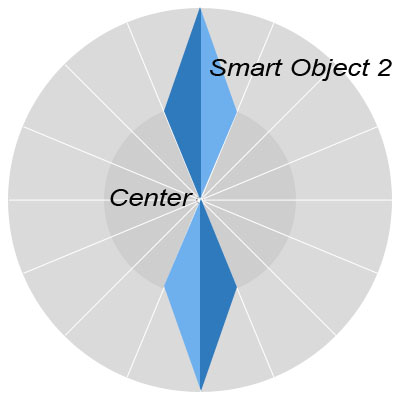
The final step is to duplicate the Smart Object 2 , three times and rotate it 45 , 90 and 135 degrees. Select all the four Smart Object 2 layers and convert them to Smart Object 3. The star is ready to be resized, to add it shadow, light etc.
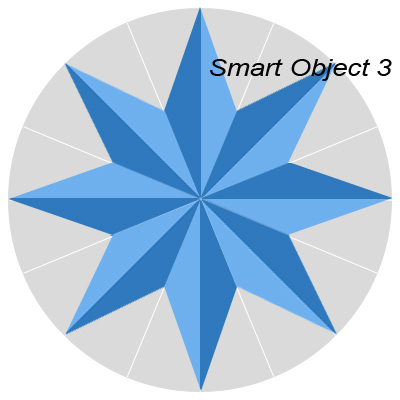
You can now hide the circles and leave only the star. If you want to change the color simply double click on the Smart Object 3 that will open a new psd file. Double click on the Smart Object 2, that will open a new File and finally double click on Smart Object 1. In the third file opened simply change the Gradient Overlay colors. Save and close all the three files and you will notice that the star color is now changed.
This will take you less than a minute.
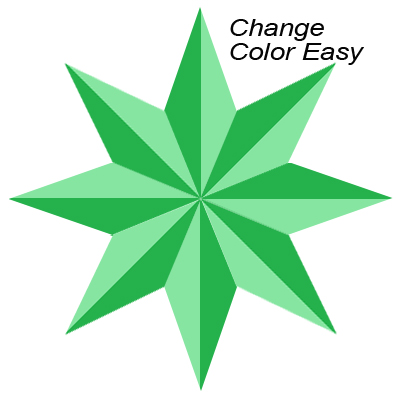
Tip! If you want to obtain different colors you have to Save As the final psd file, the one that contains the Smart Object 3. Do not duplicate the Smart Object 3 and try to edit the colors you will only obtain two identical stars. With a little bit of imagination you can obtain lots of different stars.
About the author
Copyright © . All Rights Reserved
