Design a Parental Advisory Label
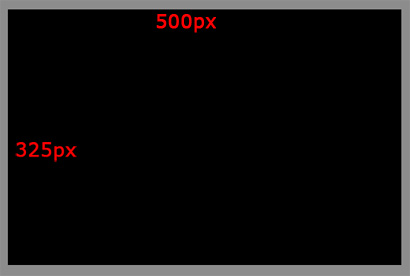
1. Begin with a document around 800x600 pixels. Fill the background with a medium gray and then create a new layer. Using the rectangular marquee tool (M) draw a selection about 500x325 pixels. You can use the fixed size style which is located on the top nav settings bar. Fill in your selection with black. Don't deselect yet.
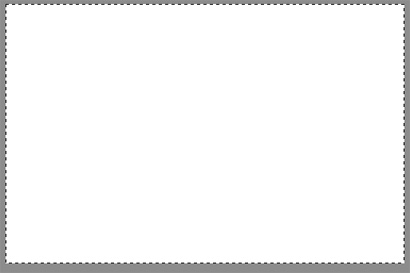
2. With the selection still active, create a new layer and fill the same selection with white.
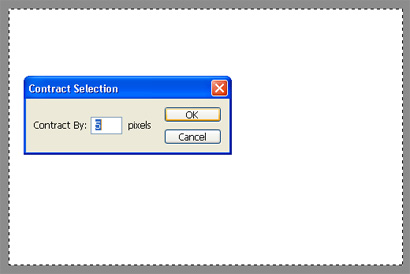
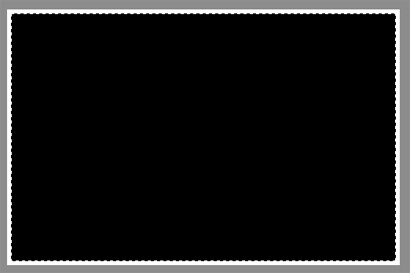
3. Next go to select>modify>contract and use a value of 5 pixels. Hit OK then hit delete on your keyboard. Don't not deselect yet.
4. This is what you should have.
5. With the contracted selection still active, choose the rectangular marquee tool (M) and use the 'intersect with selection' option as shown.

6. Draw over your selection where you want the white bar to appear. Try to get it to be close to the height it needs to be.
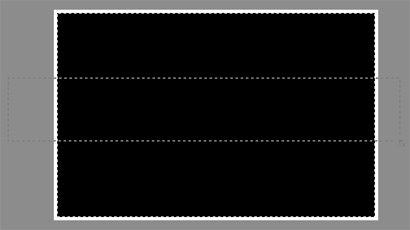
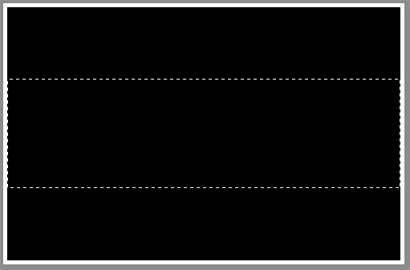
7. This is what you should have when you let go of your mouse button. Fill it with white. Make sure this is on the layer with the white border.
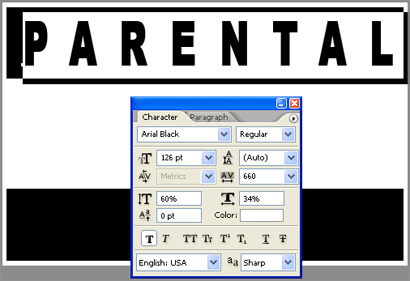
8. Now click the add text tool (T) and type in 'PARENTAL' using these text settings. To open the text settings box, highlight the letters PARENTAL then hit Ctrl+T.
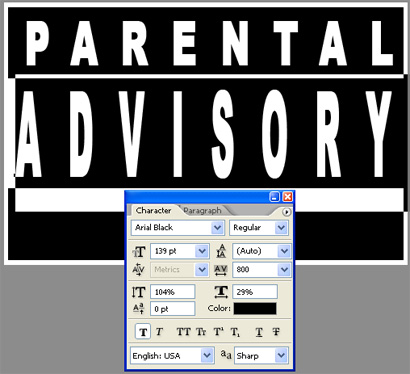
9. On a new text layer use these settings for 'ADVISORY'.
10. On a new text layer use these settings for 'EXPLICIT CONTENT'.
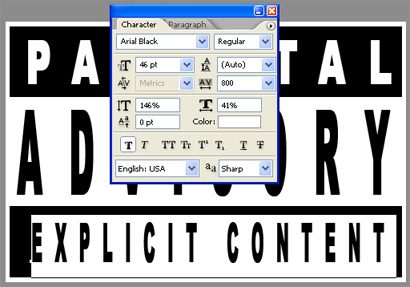
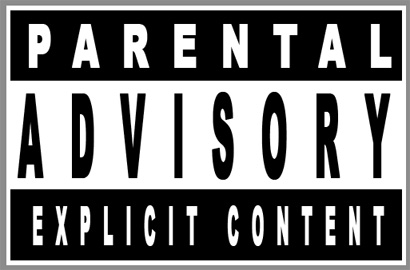
11. Here is what you should have.
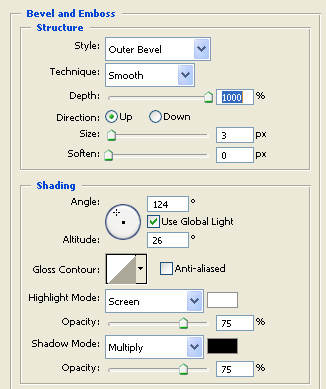
12. Next select the 'PARENTAL' layer and go into blending options. Use these settings. After selecting OK, right click on your 'PARENTAL' layer (click directly to the right of the layer preview box) and click 'copy layer style'. Now right click on your 'ADVISORY' and 'EXPLICIT CONTENT' layer in the same spot and select 'paste layer style'. This will quickly apply the same layer style to all text layers without going into blending options for each one.
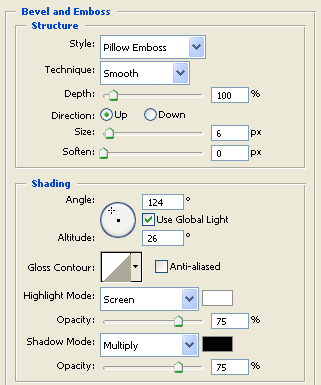
13. Now go into blending option for your white layer (the layer with the white border and white bar) and apply these styles.
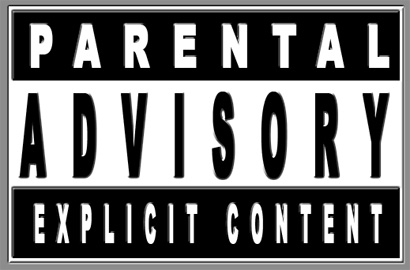
14. Here is what you should have right now.
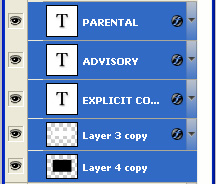
15. Next select every layer that creates the label. You can do this by selecting the top layer, holding Shift, then select the bottom layer so that those layers and all layers in between are selected. Like shown.
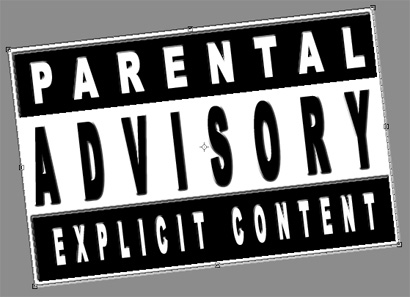
16. With all those layers still selected enter free transform mode (Ctrl+T) and rotate the label to something like this:
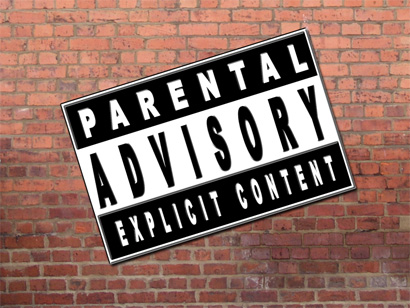
17. Now find a brick texture and paste it in your document above your background layer but below every other layer.
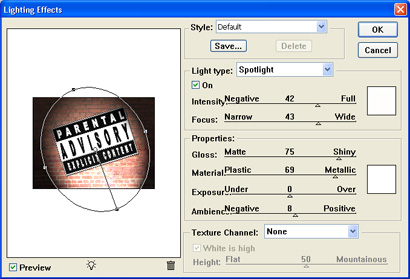
18. Next select your top most layer whatever it may be and hit Ctrl+Shift+Alt+E. This will merge all visible on a new layer at the top. Then go to filter>render>lighting effects. Use settings similar to this:
19. Now to add another final touch, a shadow to the label itself. The easier method is to take your black layer (that you made in he beginning of this tutorial) and move it all the way to the top. Move the fill meter down to 0%. Make sure your layers look like this:

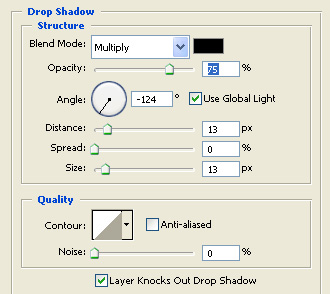
20. Enter the blending options and apply a drop shadow with these settings:
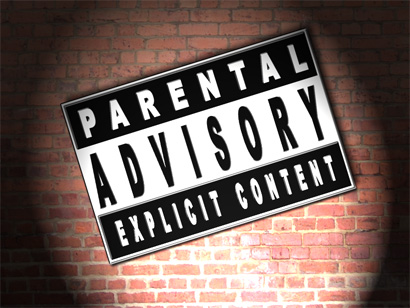
21. Here is what you should get!
Copyright © . All Rights Reserved